We’re excited to announce that Flux Kontext, the latest innovation from Black Forest Labs, is now integrated into the Runnit platform. This advanced tool empowers creators, designers, and AI professionals to perform precise, instruction-based image edits using natural language prompts.
What is Flux Kontext?
Flux Kontext is a state-of-the-art AI model designed for intuitive image editing. Unlike traditional tools that require detailed descriptions or manual adjustments, Flux Kontext allows users to make specific changes to images by simply stating their intent. For example, commands like “change the car color to red” or “remove the person in the background” are executed seamlessly, with the model understanding and preserving the context of the original image.
Key Features
- Instruction-Based Editing: Make targeted changes without affecting the rest of the image.
- Character Consistency: Maintain the identity and features of subjects across multiple edits.
- Style Transfer: Apply different artistic styles to images while preserving their core elements.
- Text Editing: Modify text within images accurately, maintaining font and style consistency.
- Iterative Workflow: Build upon previous edits, allowing for complex transformations over multiple steps.
How to Access Flux Kontext on Runnit
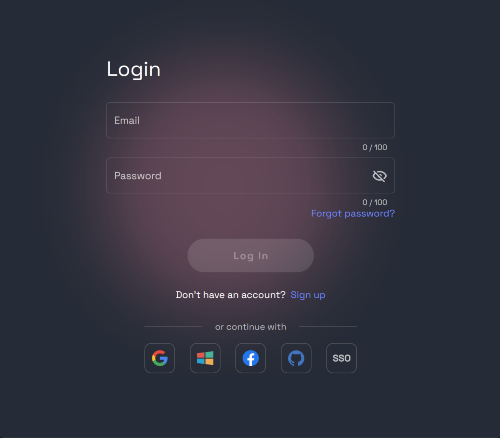
Login: Visit RunDiffusion and log into your account.
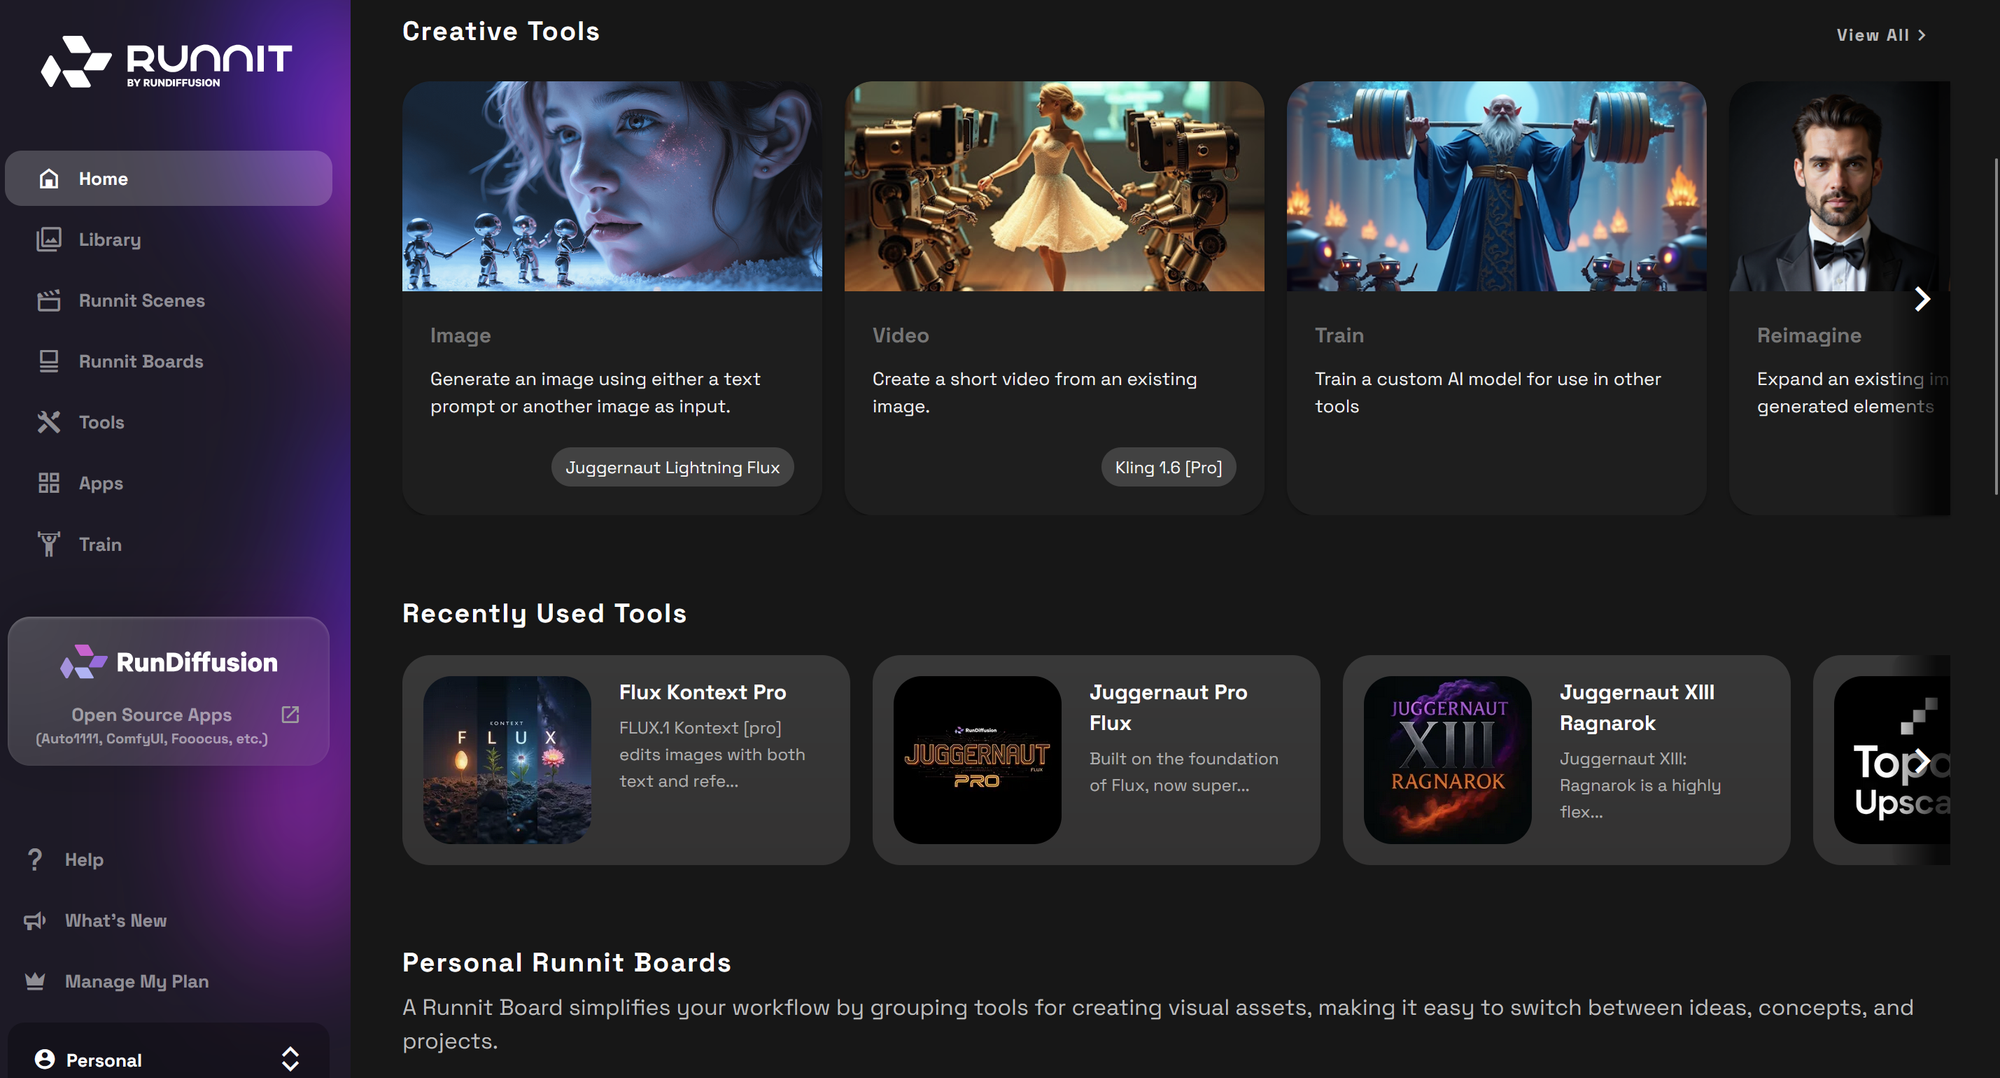
Navigate to the Runnit Platform on RunDiffusion.
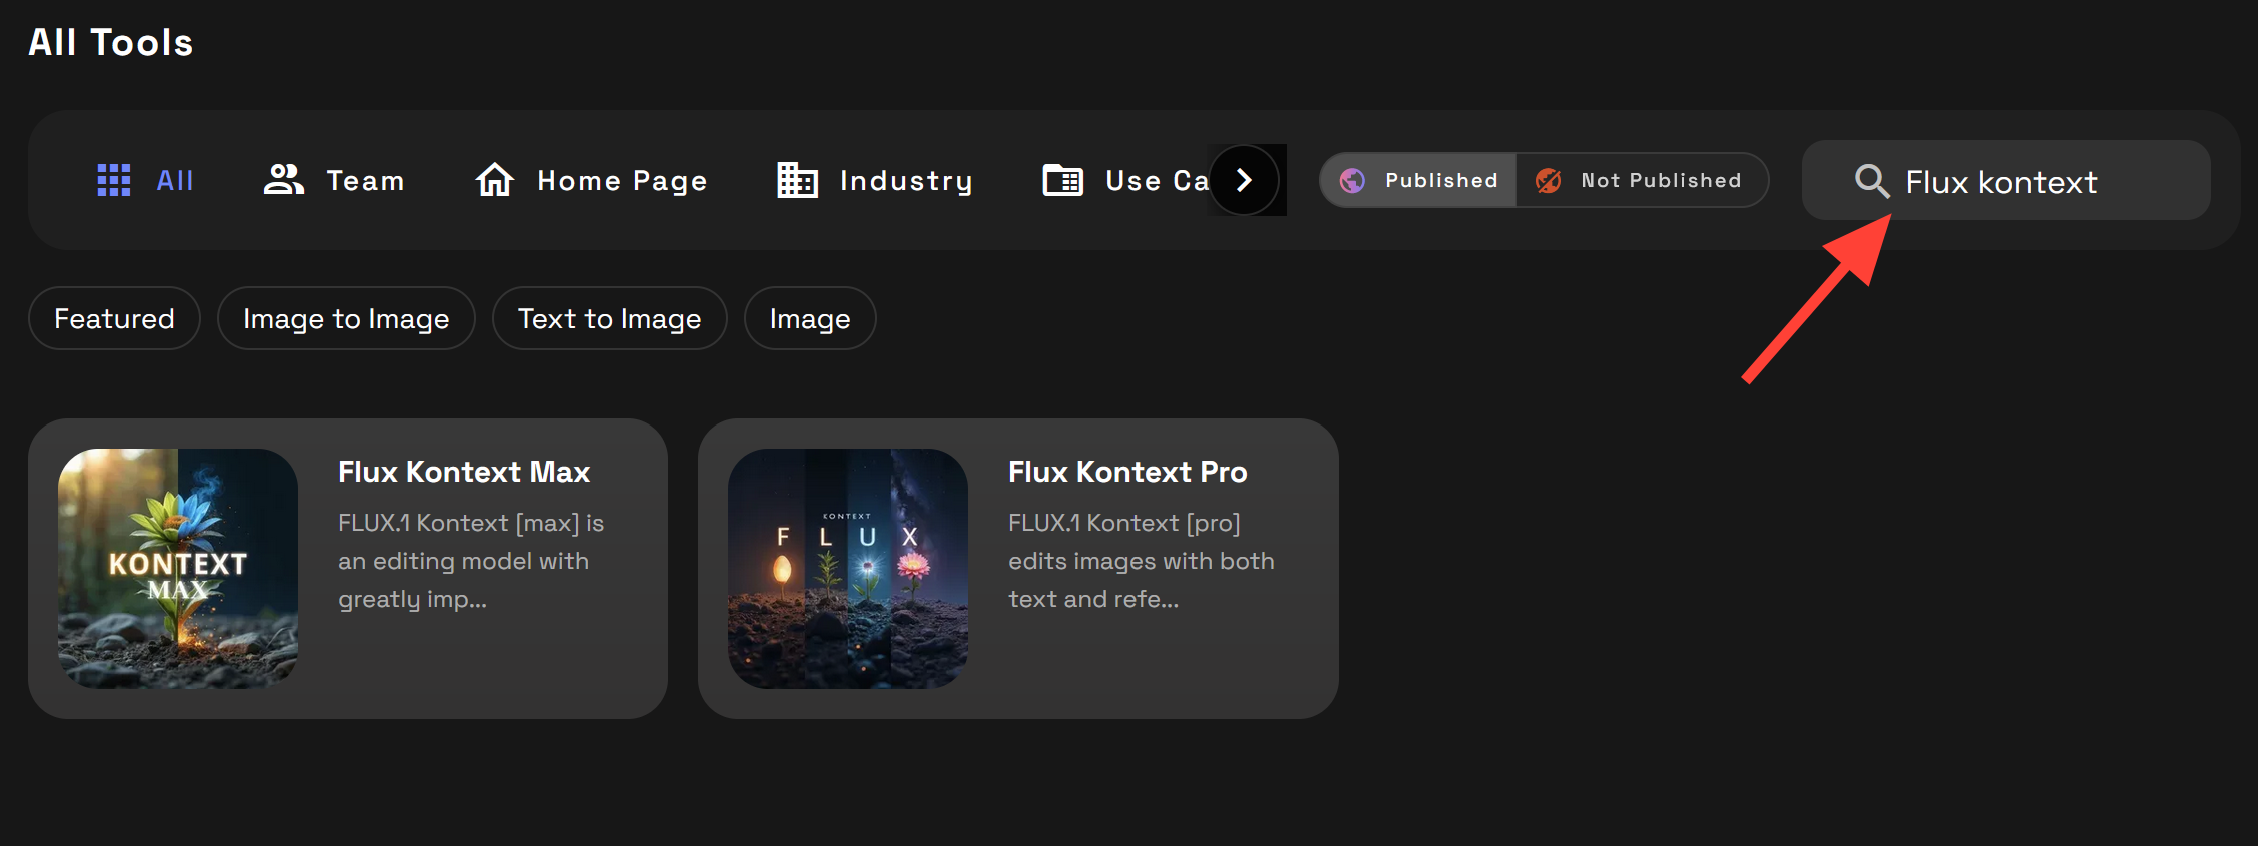
Click on Tools on the left Side Bar.
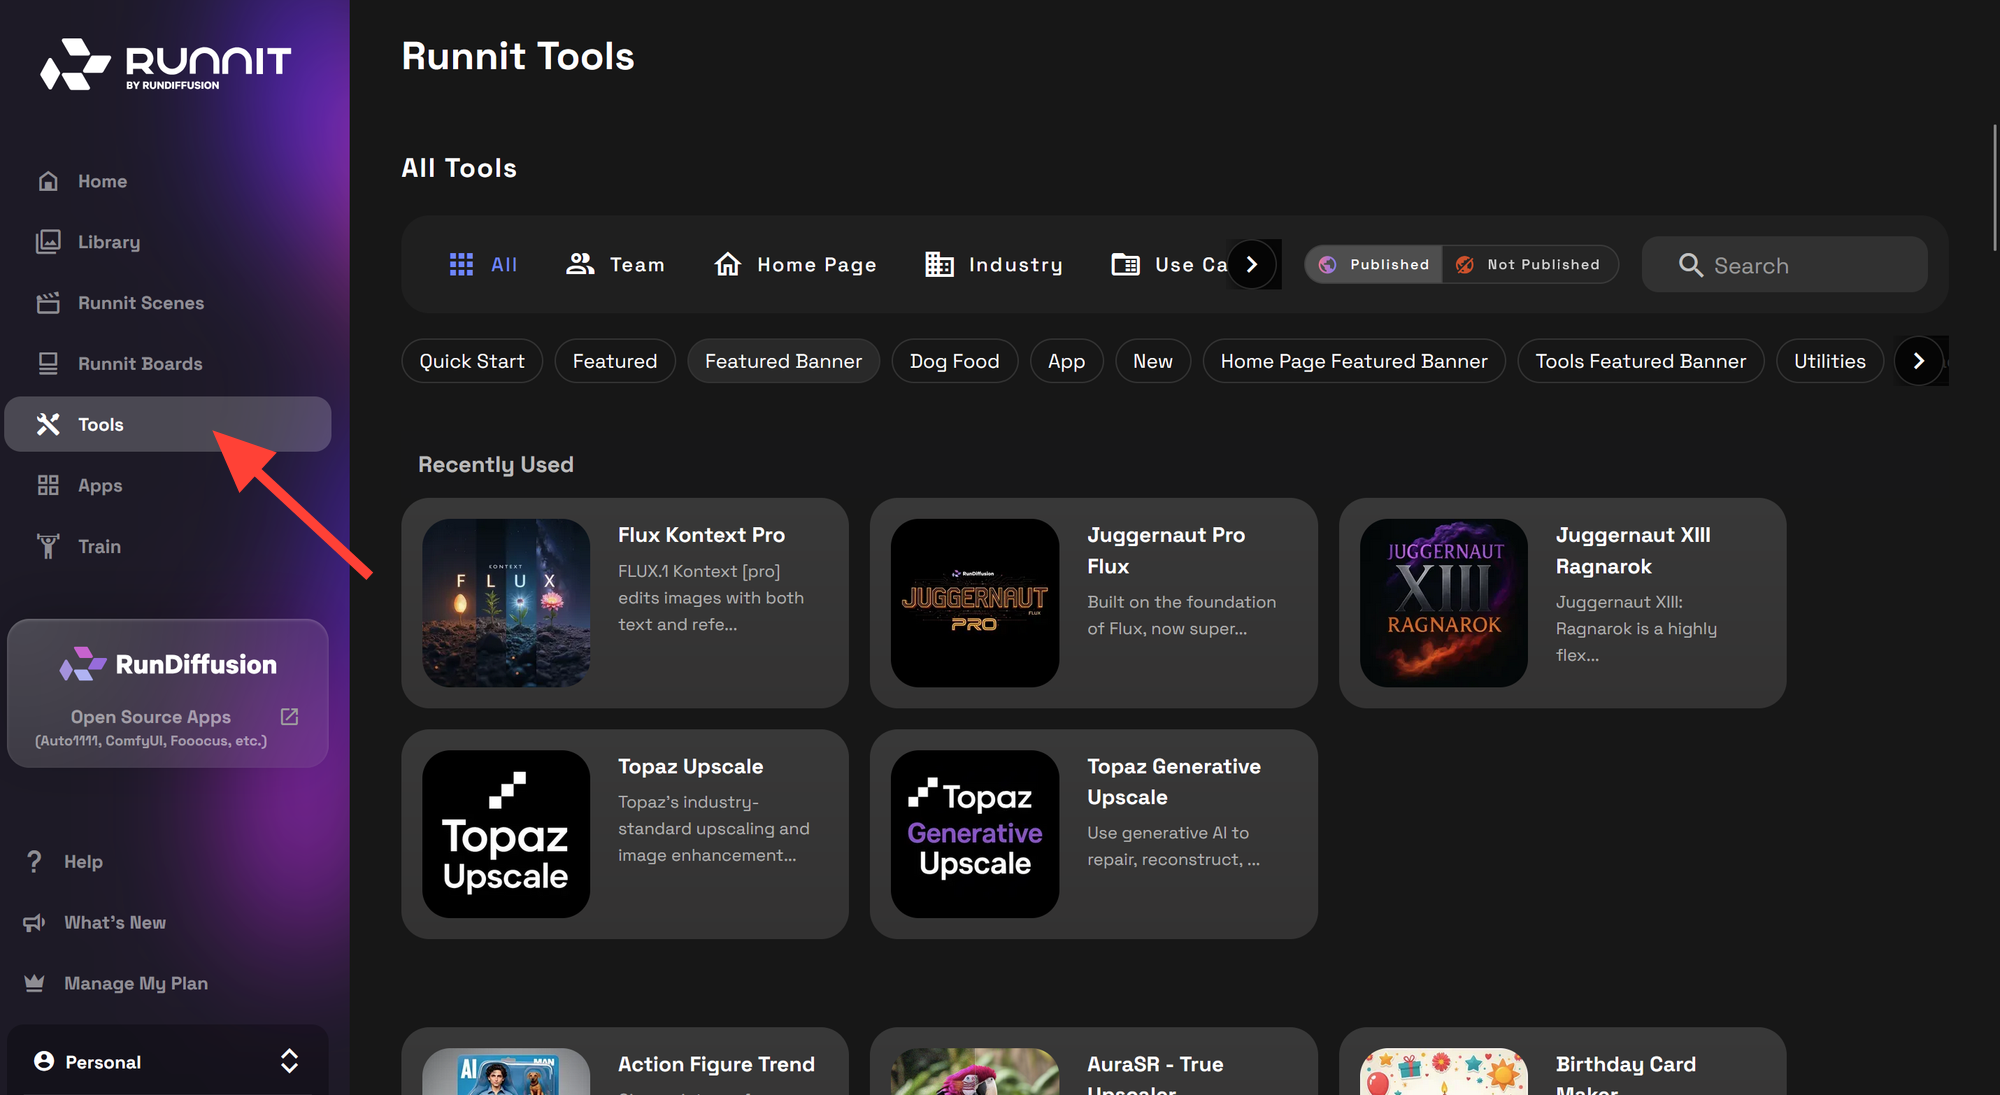
Search for Flux Kontext. Then click on Flux Kontext Max or Flux Kontext Pro.
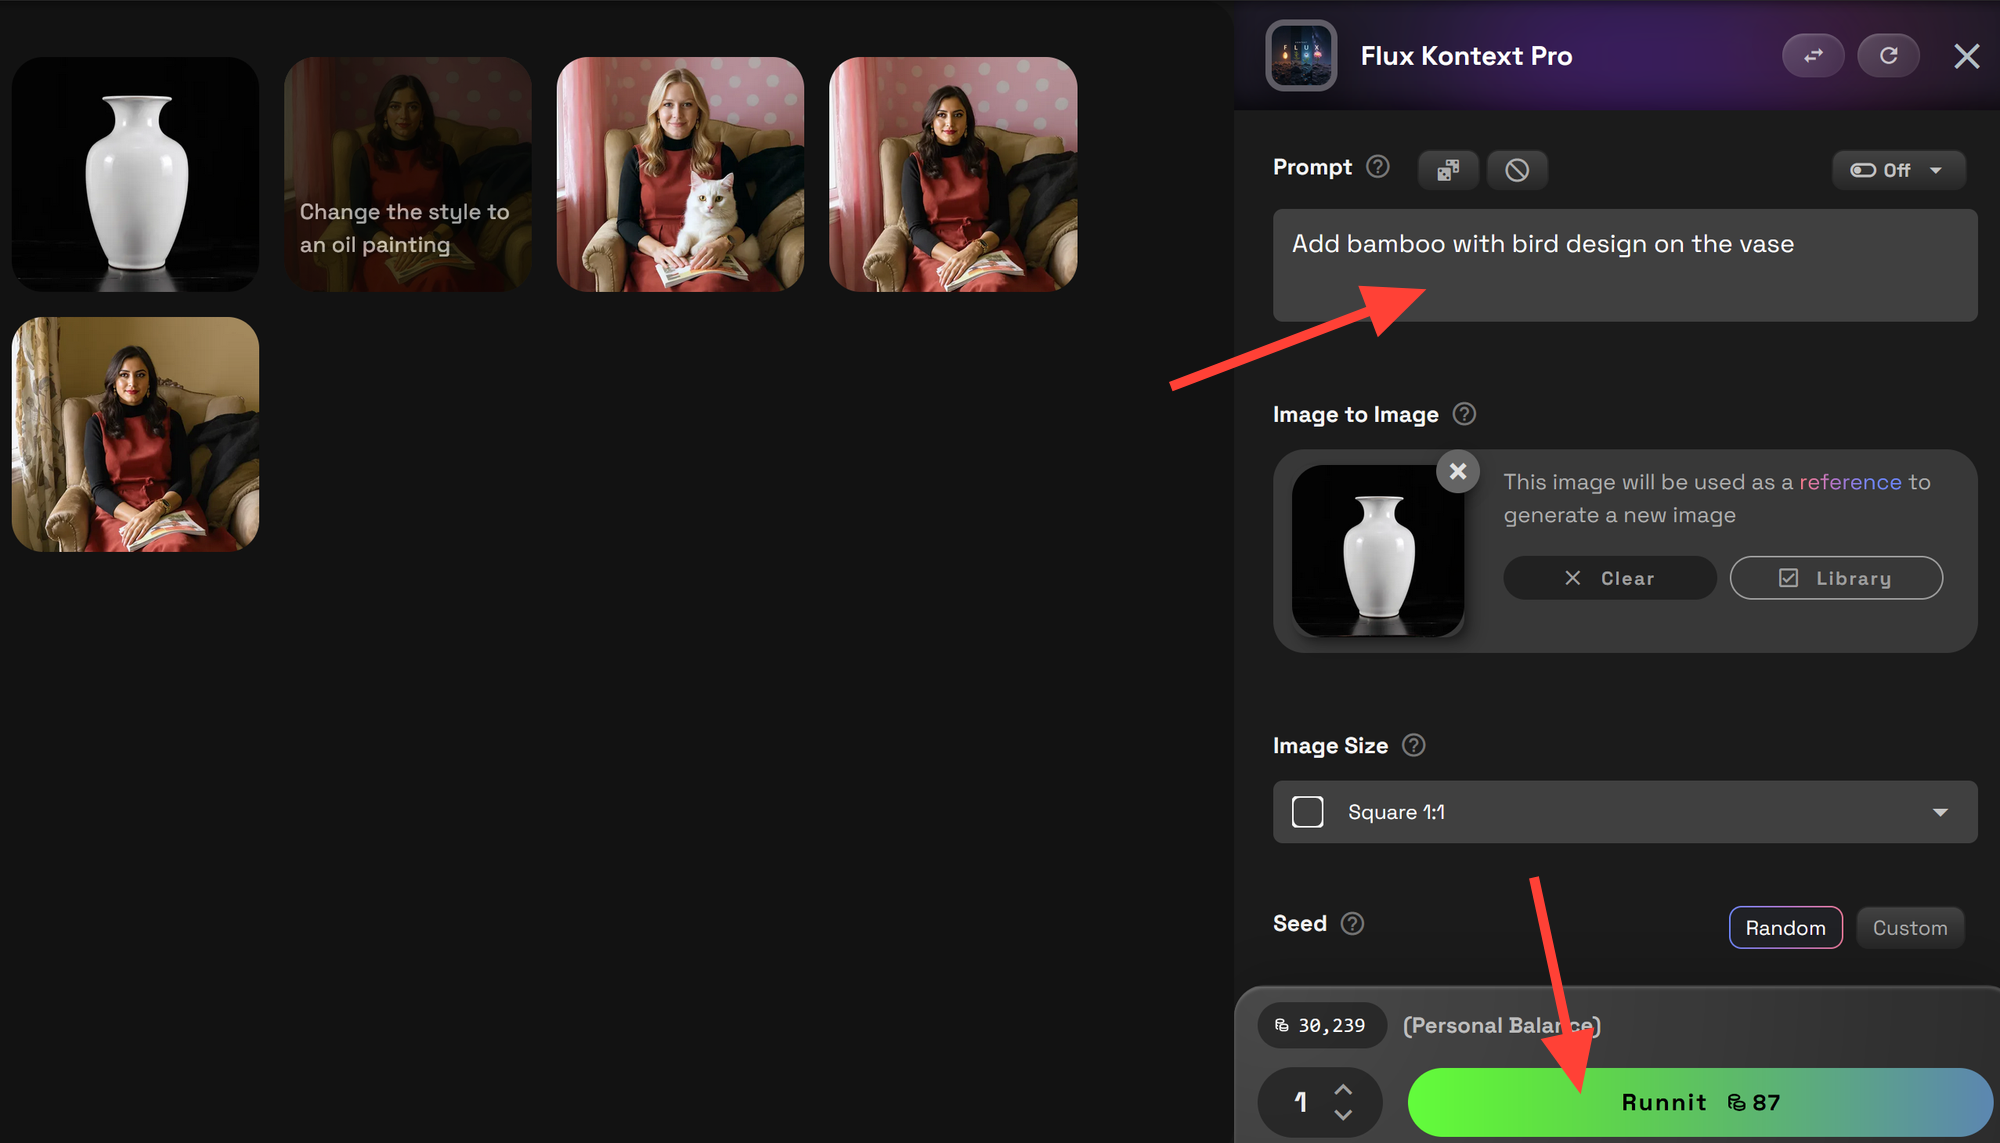
Write a prompt to create your initial image or Upload/Select an image from your library then enter a prompt.
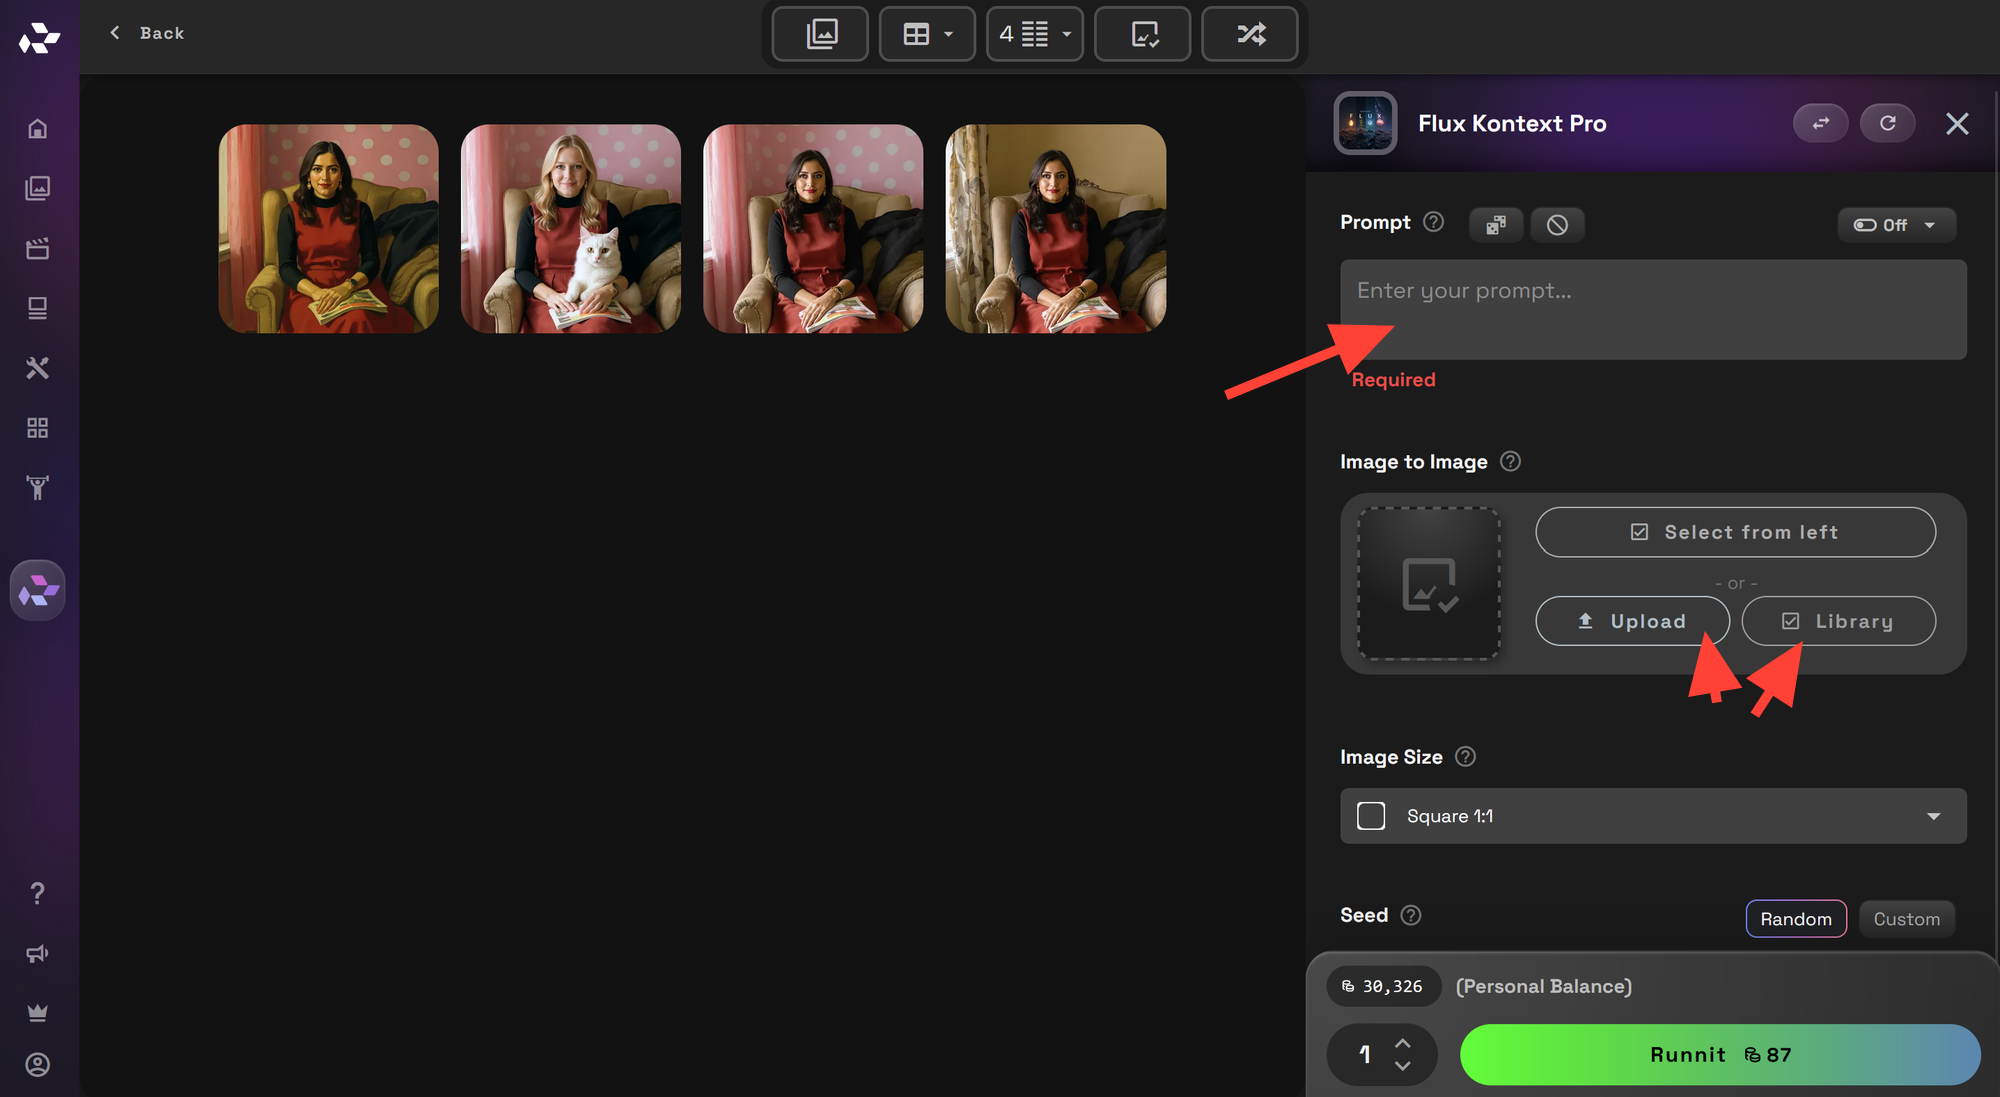
Select Runnit to generate your new image.

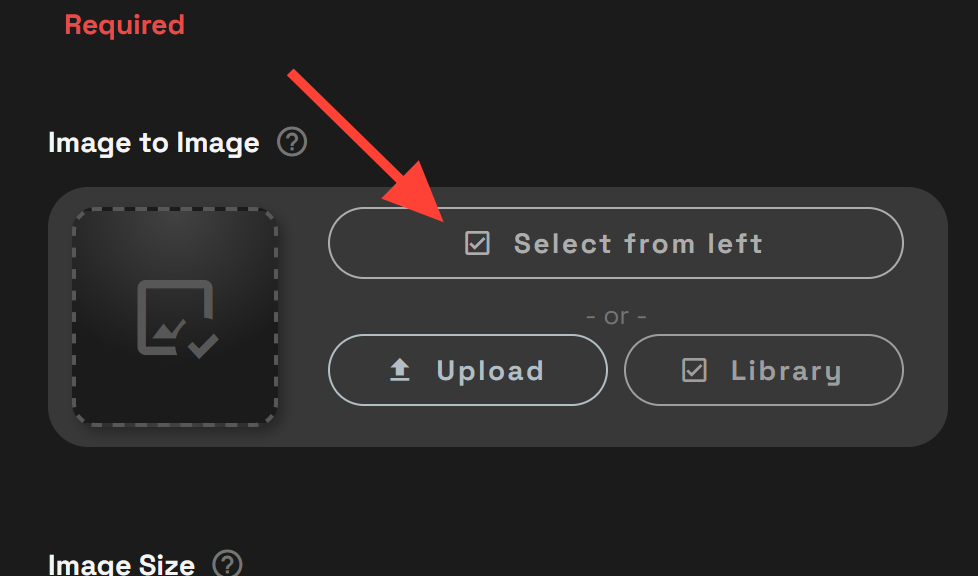
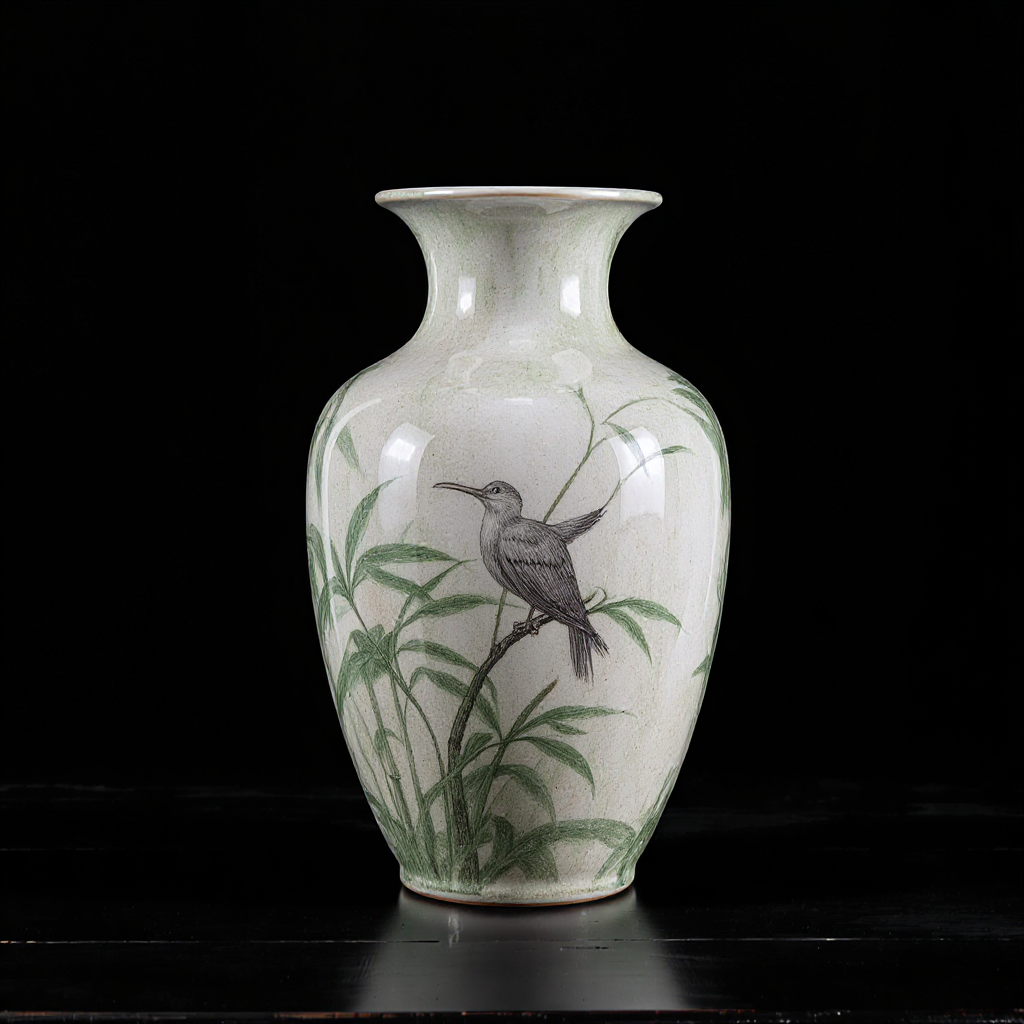
Editing our new creation. Click Select from Left and click on our image.
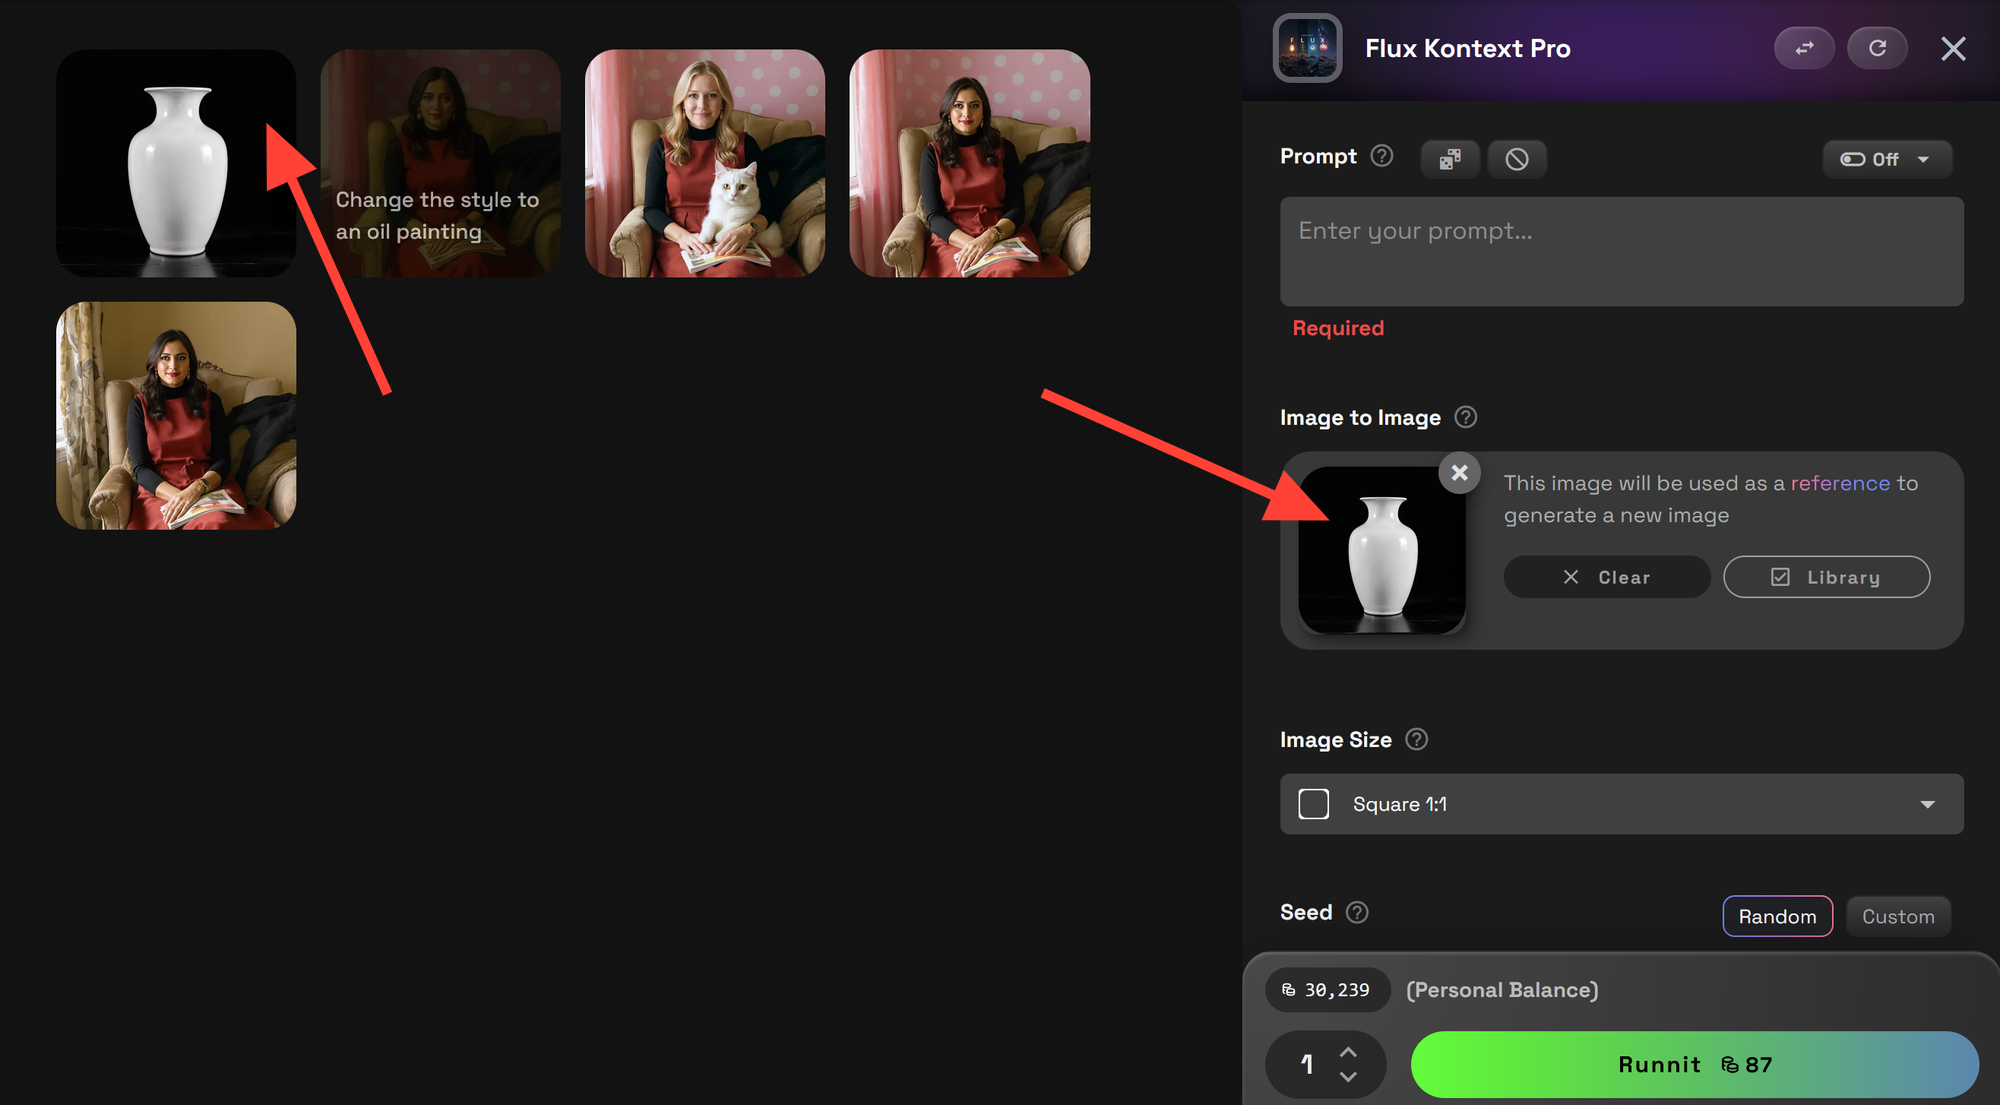
With our image selected we can now direct the changes by entering a new prompt. Then clicking on Runnit to Render your image.
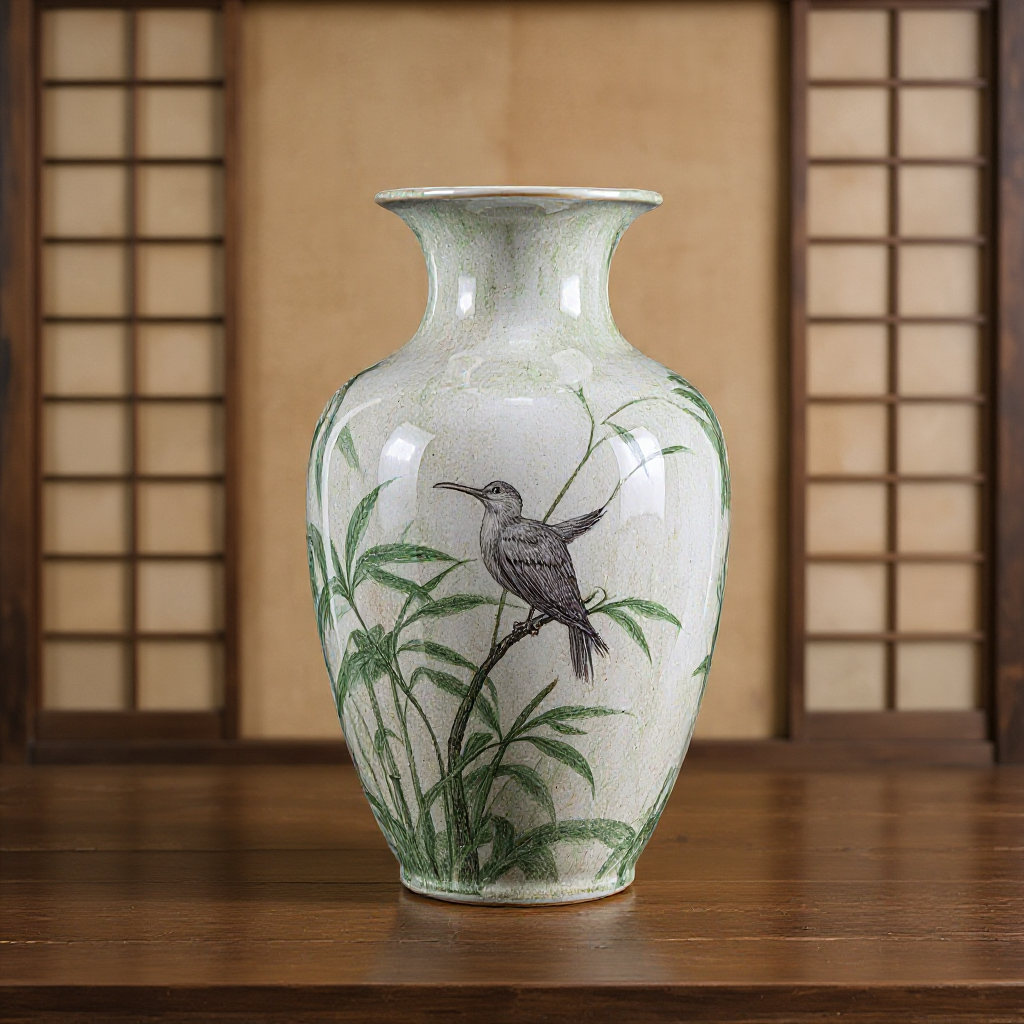
The new image has a nice design. If we want to edit it further we can click Clear. Then click on the new vase.
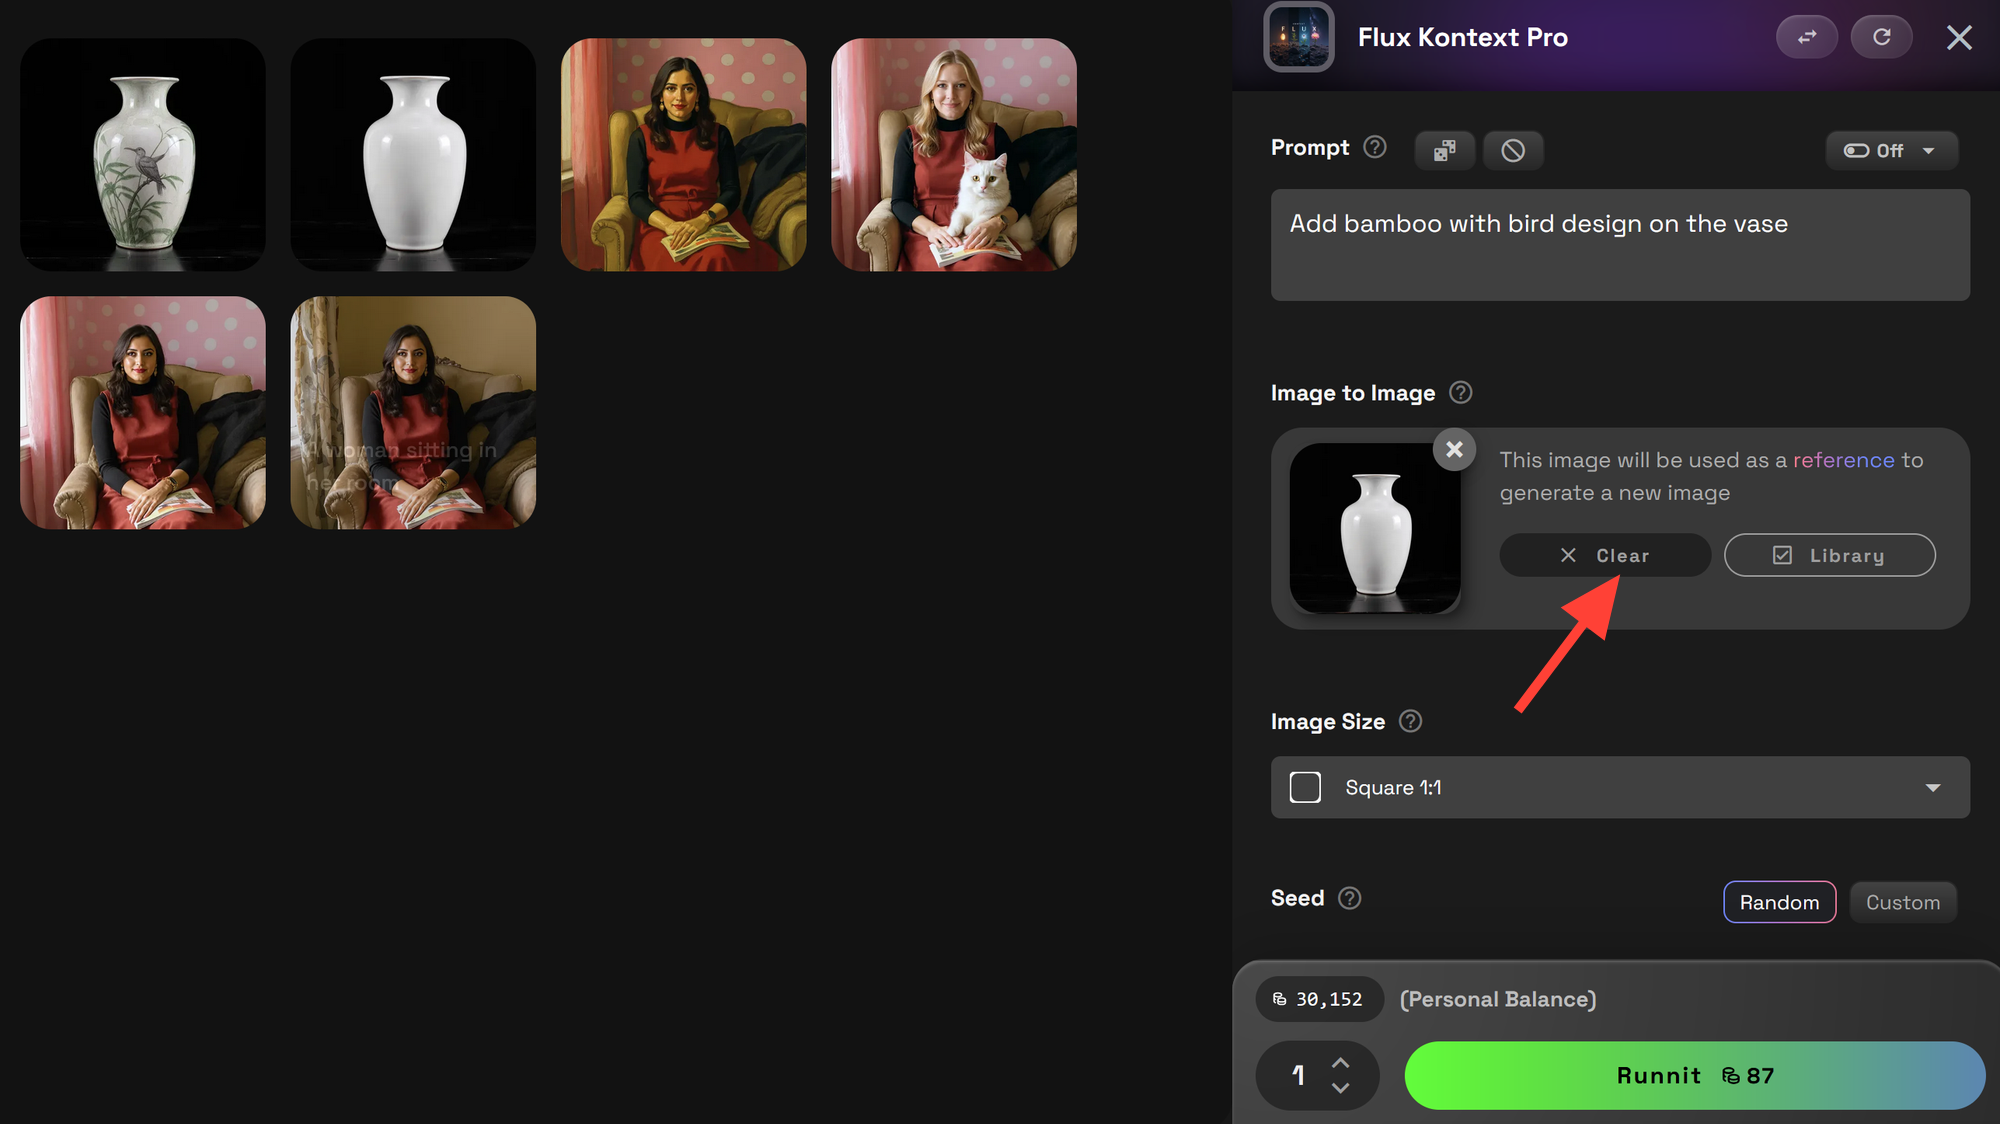
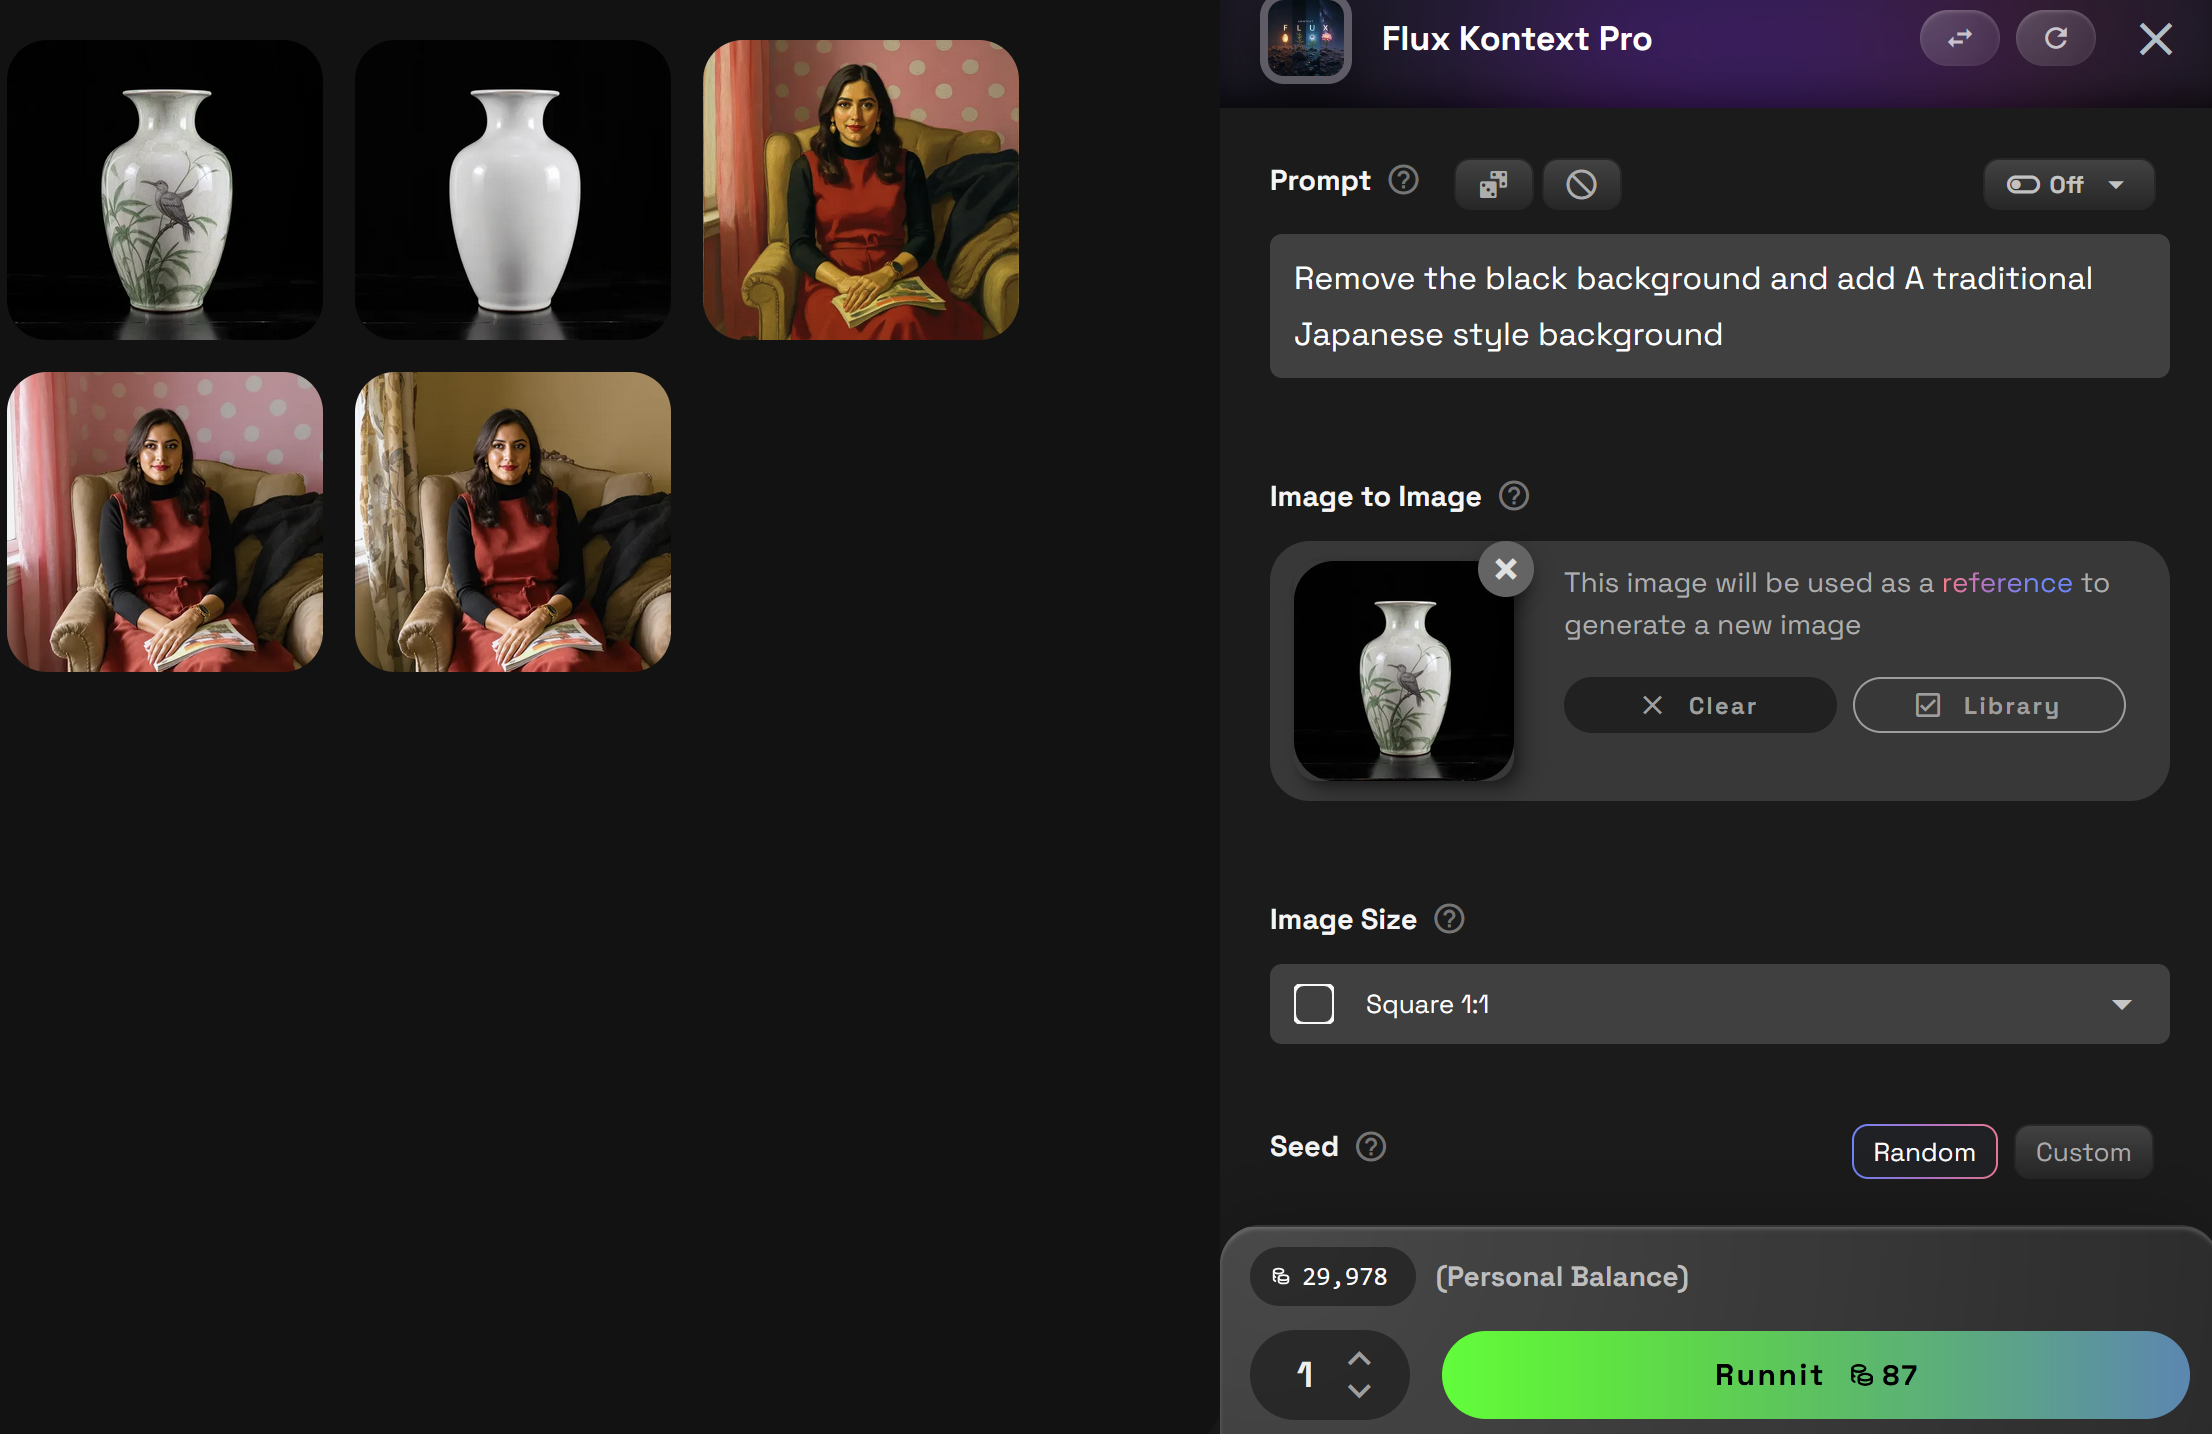
We now enter a new prompt with the new image selected. And click Runnit.
Best Practices for Using Flux Kontext
- Be Specific: Clearly state the desired change, e.g., replace the sky with a sunset.
- Use Direct Commands: Utilize action verbs like add, remove, or change for clarity.
- Preserve Elements: Specify what should remain unchanged, such as keep the original composition.
- Iterate Gradually: For complex edits, make changes step-by-step to maintain quality.
Explore More with Runnit
Enhance your creative projects by integrating Flux Kontext with other tools available on Runnit:
Sketch to Render Pro for Architecture | RunDiffusion
Sketch to Render in Runnit revolutionizes architectural design by transforming sketches into high-quality renders with AI-powered automation. This tool accelerates workflows, enhances client presentations, and integrates seamlessly with existing workflows.
RunDiffusion Team

Inpainting in Runnit | RunDiffusion
Introduction: Inpainting is a powerful technique for editing images by seamlessly blending new elements into existing visuals, often used for restoring, enhancing, or transforming parts of an image. This guide will walk you through each step to add an Inpainting Runnit to your workspace, enabling you to apply inpainting tools to your projects with ease. Step-by-Step Guide to Adding an Inpainting Runnit Step 1: Go to Runnit * Start by navigating to the Runnit section from your main dashboard
RunDiffusion Team

SVG Generator in Runnit | RunDiffusion
Overview The SVG Generator in Runnit is a powerful tool that allows users to create Scalable Vector Graphics (SVG) with precision and ease. Whether you’re designing icons, web elements, or intricate vector illustrations, this tool provides a seamless way to generate high-quality SVGs directly within the Runnit platform. Why Use the SVG Generator? SVG files are widely used for web and graphic design because they are scalable without losing quality. The Runnit SVG Generator simplifies the crea
RunDiffusion Team