
Introduction:
Inpainting is a powerful technique for editing images by seamlessly blending new elements into existing visuals, often used for restoring, enhancing, or transforming parts of an image. This guide will walk you through each step to add inpainting tools to a Board in your workspace, enabling you to apply inpainting tools to your projects with ease.
Step-by-Step Guide to Adding Inpainting Tools to a Board
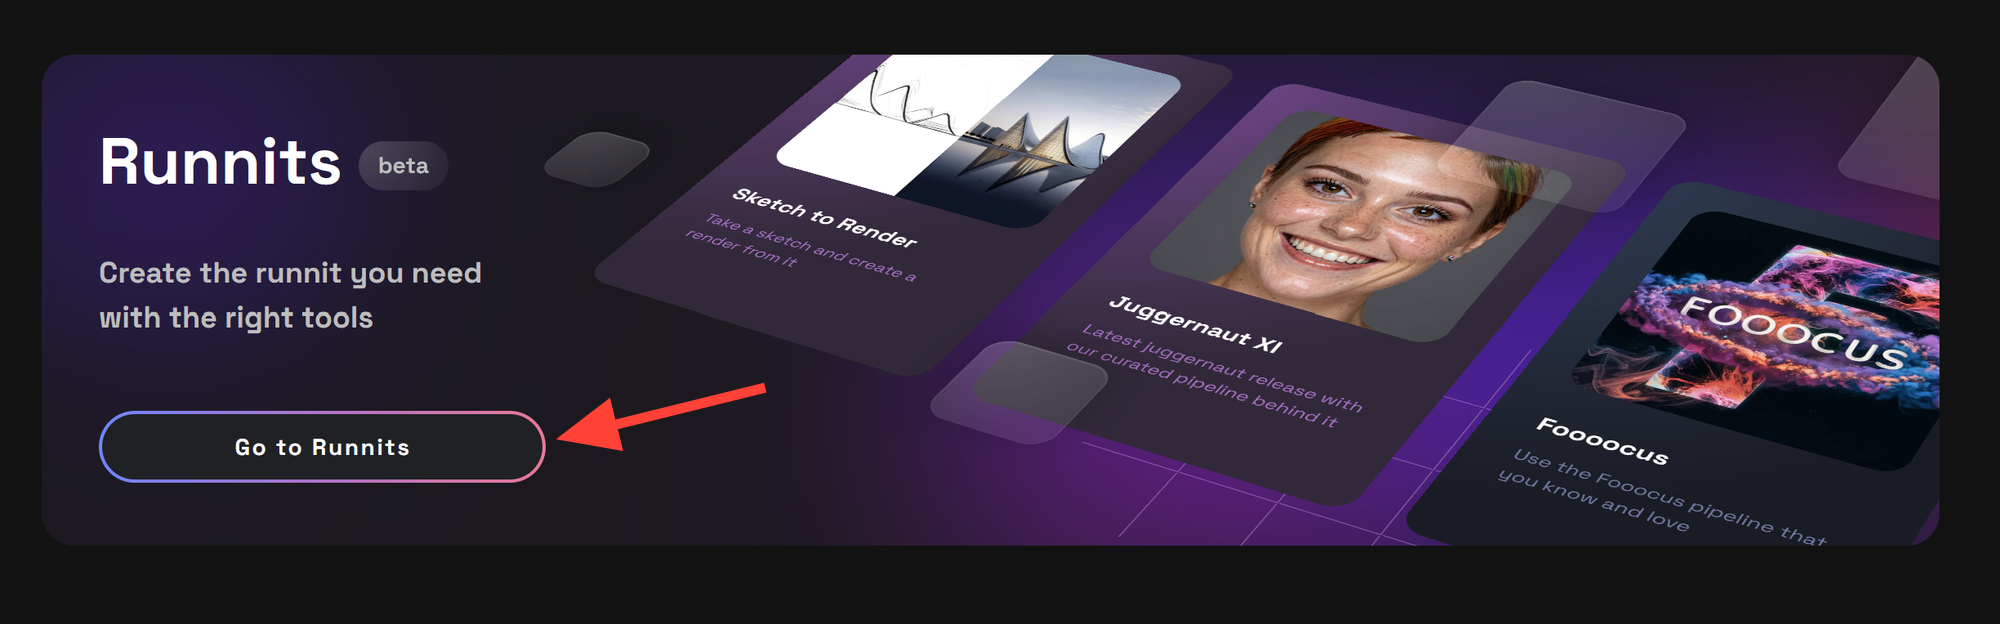
Step 1: Go to the RunDiffusion Platform
- Start by navigating to the RunDiffusion Platform (Formerly Runnit Platform) section from your main dashboard.
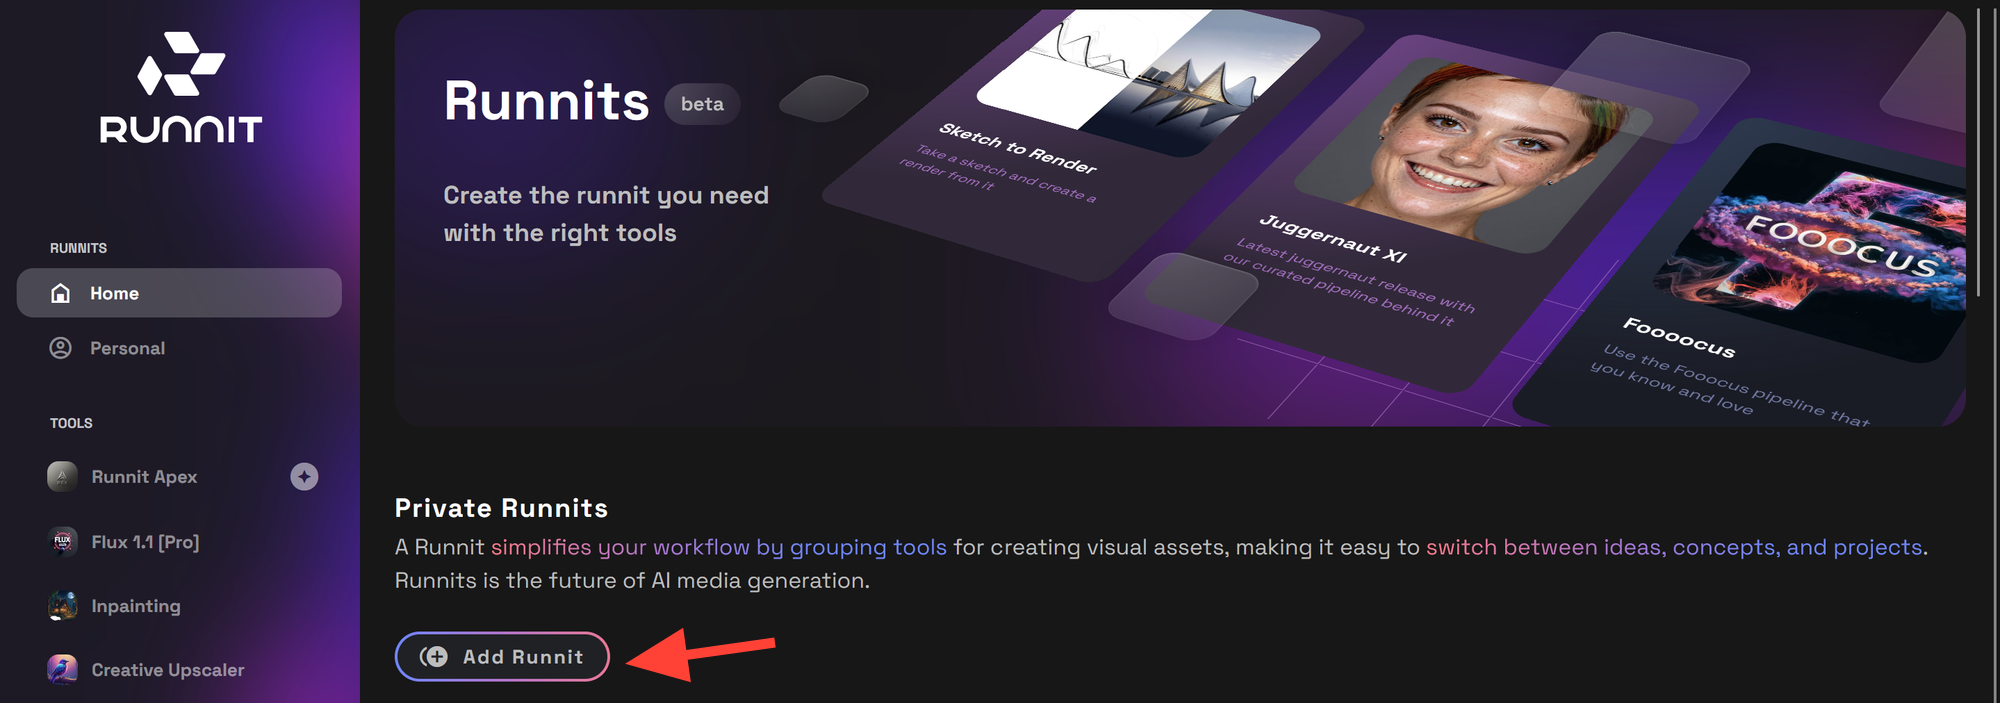
Step 2: Click on Add Board
- Select the option to add a new Board, setting up a dedicated workspace for your inpainting tools. This tool can also be added to other Boards you create.
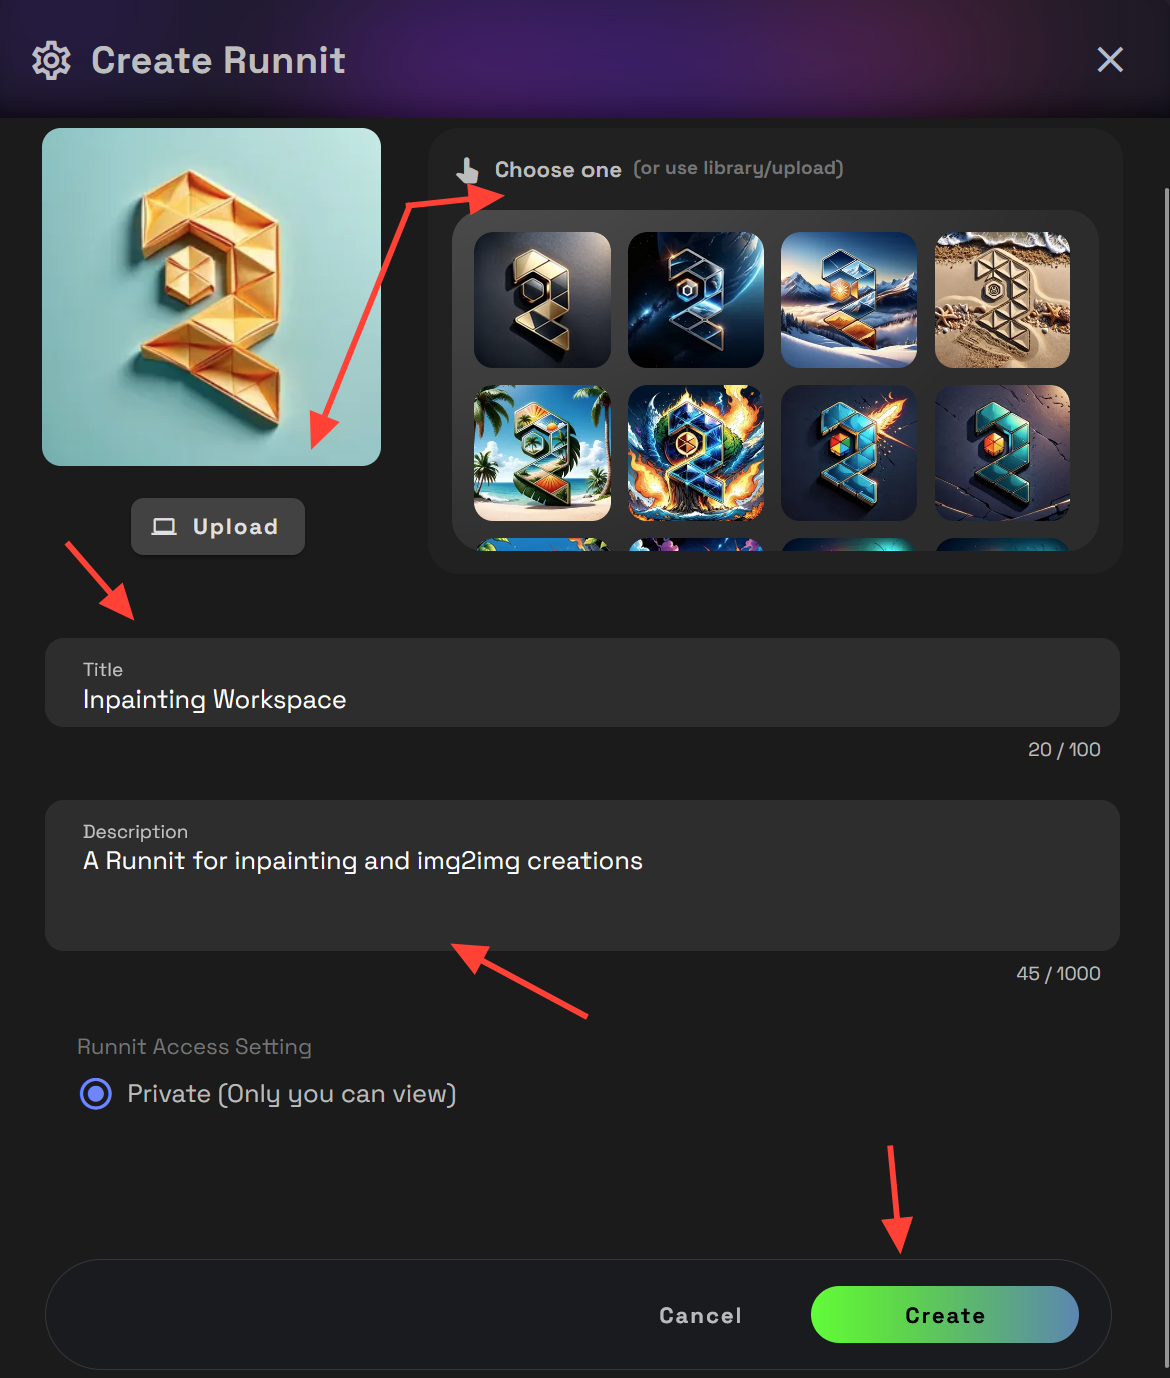
Step 3: Name and Describe Your Board
- Choose a name that clearly indicates this Board is for inpainting, like “Inpainting Workspace,” and add a brief description if needed to keep your projects organized. Select Create to save it.
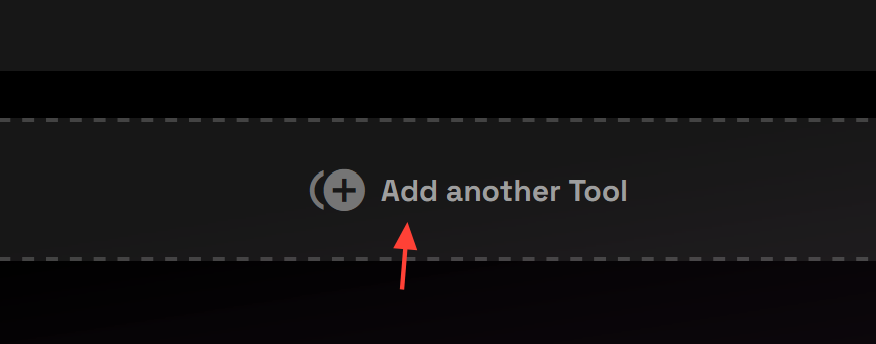
Step 4: Click Add Another Tool
- Begin adding tools to your Board by selecting the Add Another Tool option.
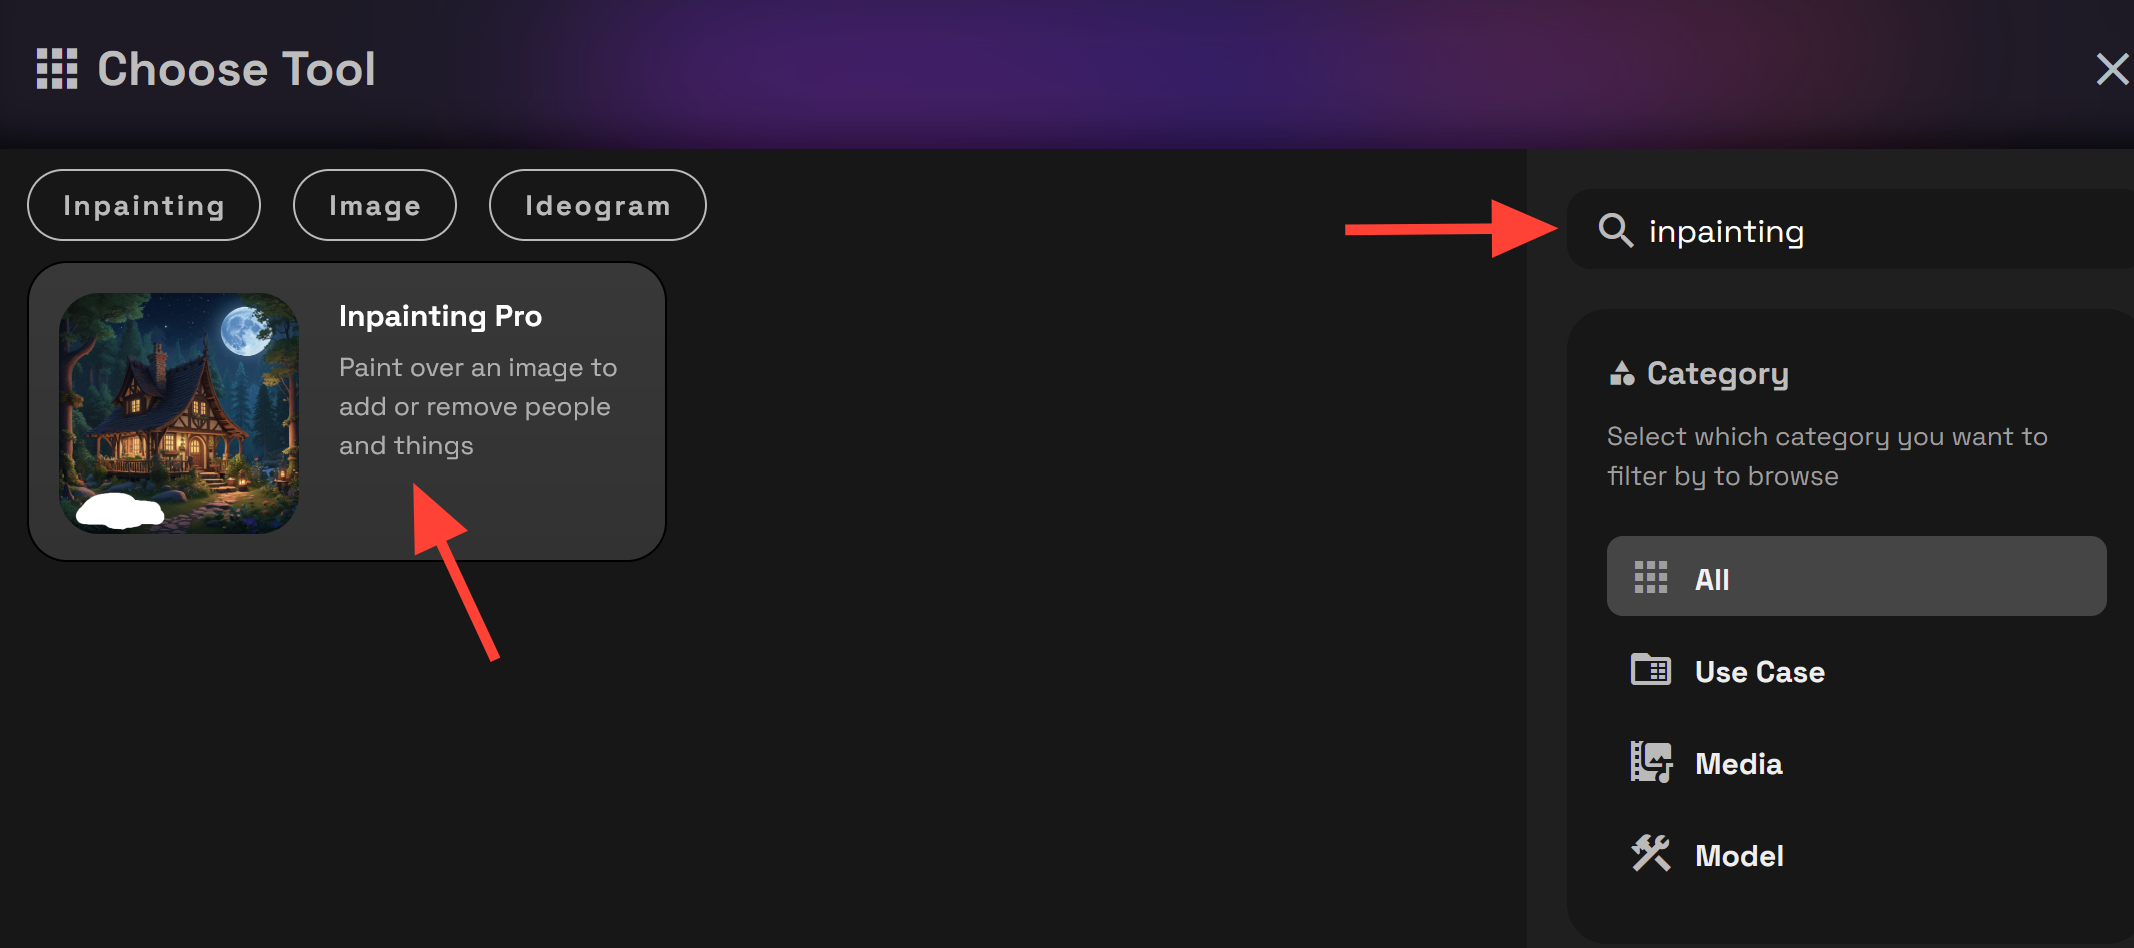
Step 5: Select Inpainting Pro as Your Tool
- From the available tools, choose Inpainting Pro to add it to your workspace. If you have trouble finding it you can search for tools on the right side. Once you have located the tool click on it. It will add it to your Board.
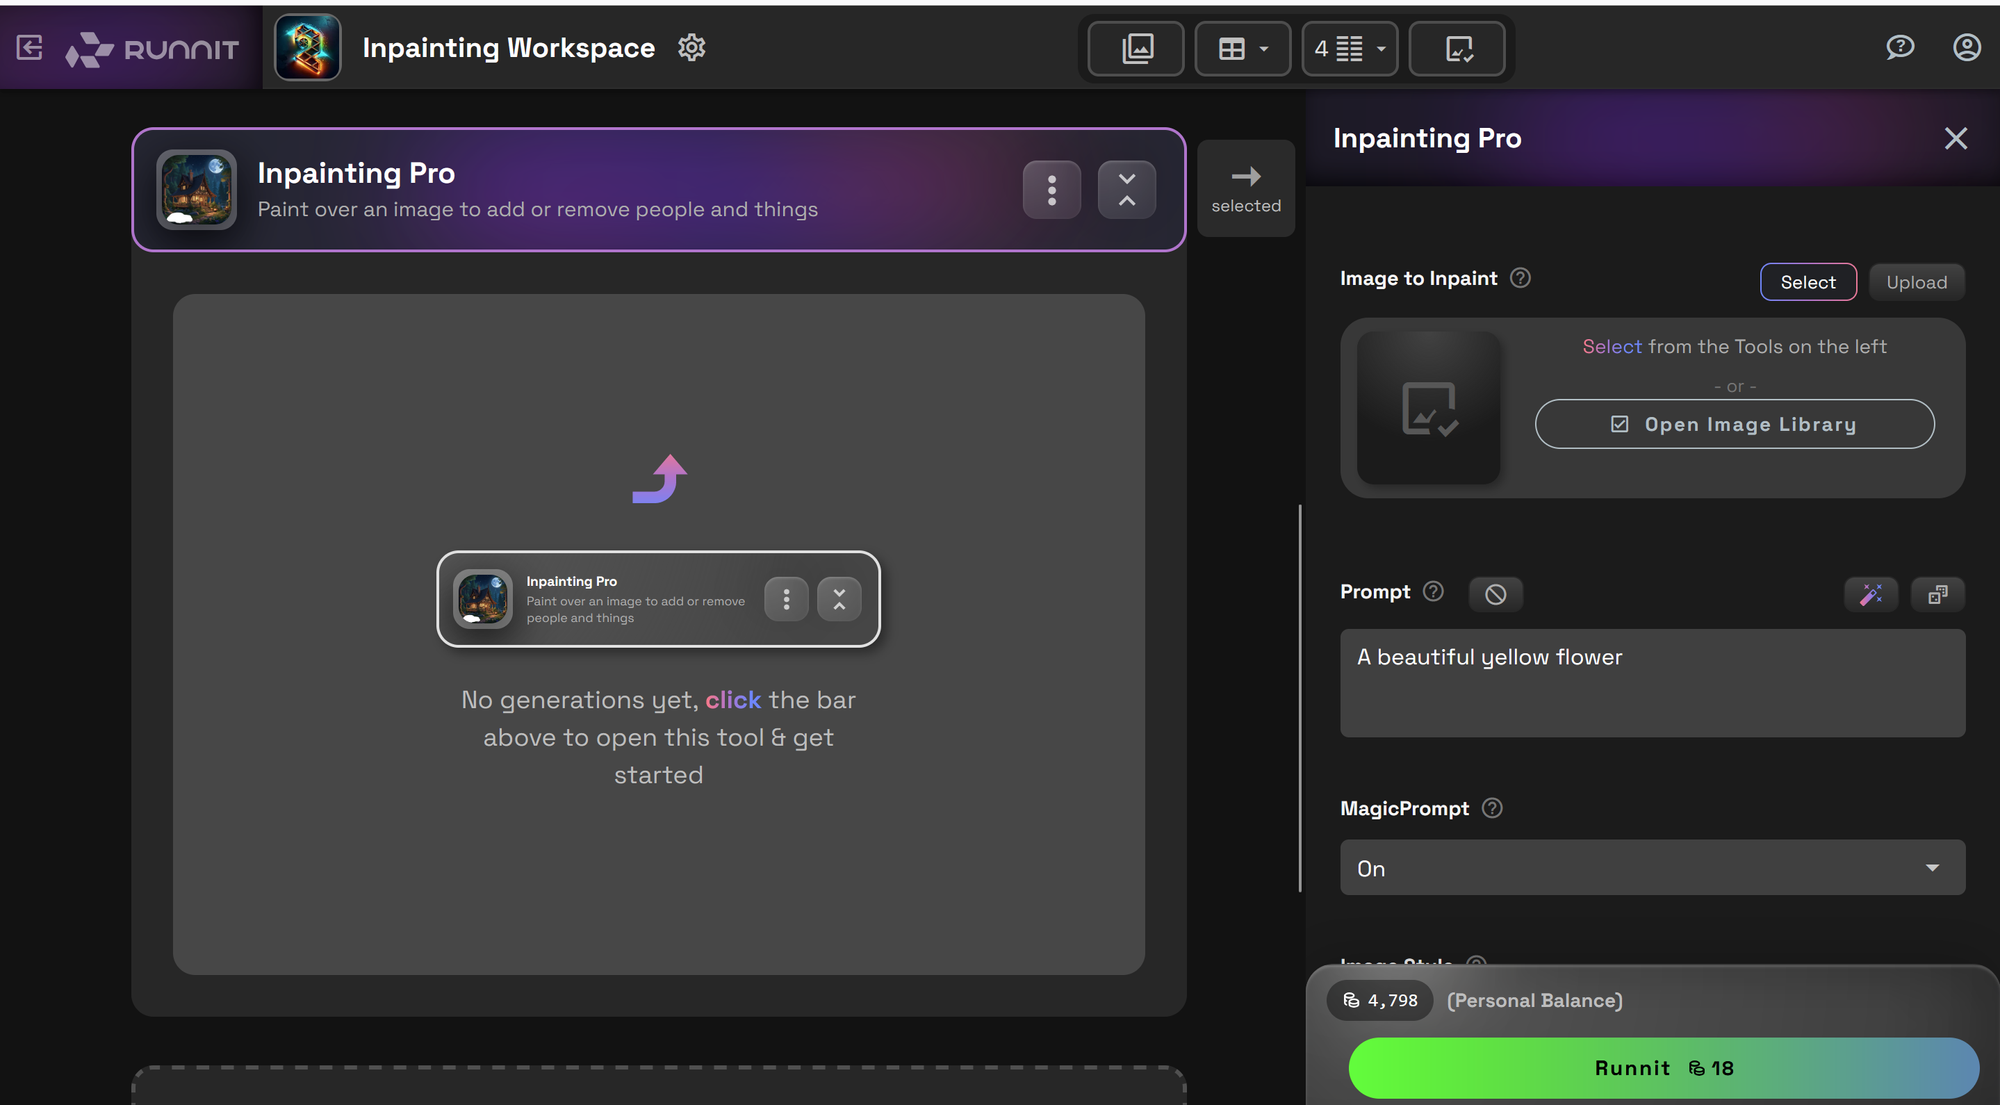
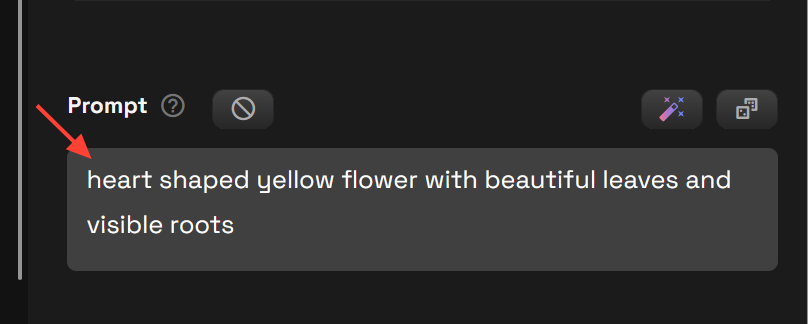
Step 6: Write a Prompt
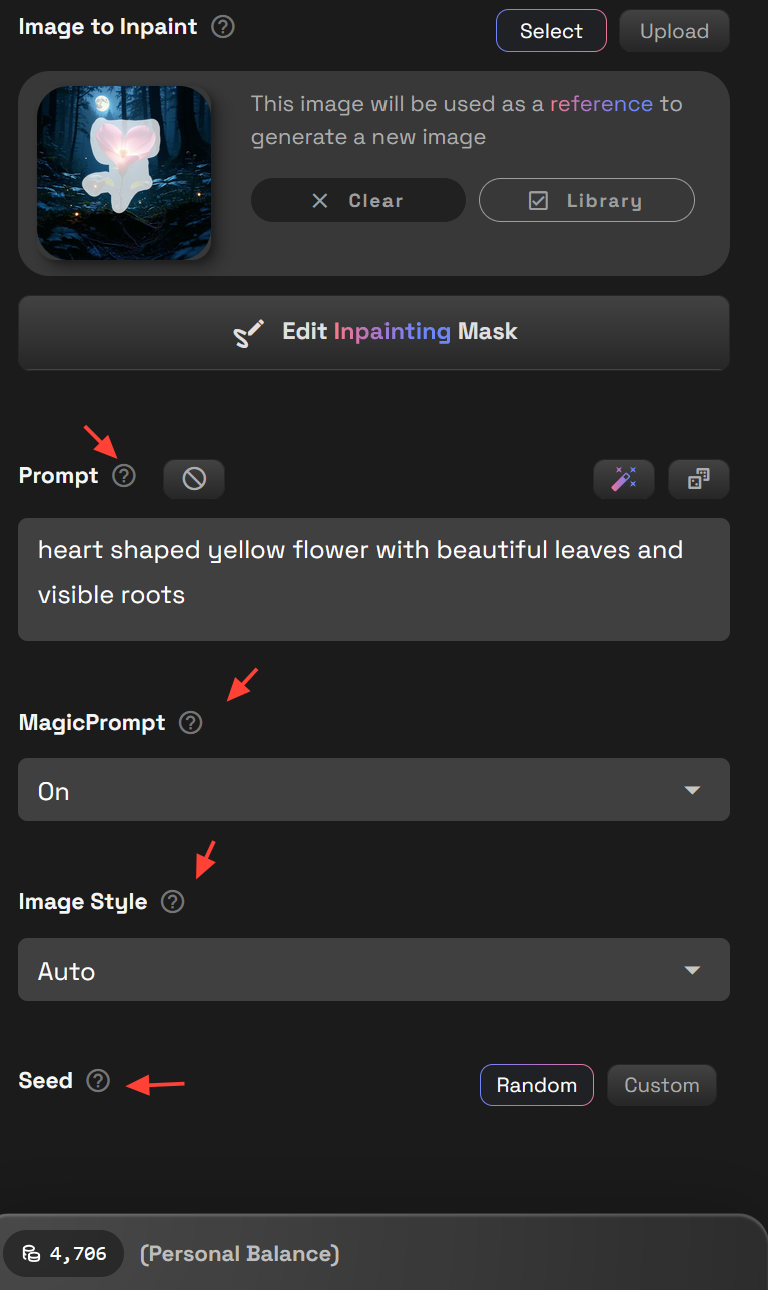
- Enter a descriptive prompt to guide the inpainting process. Magic prompt is on by default which can assist you in helping to create meaningful prompts. If you don't need it you can select the drop down arrow and turn it off.
Step 7: Upload an Image
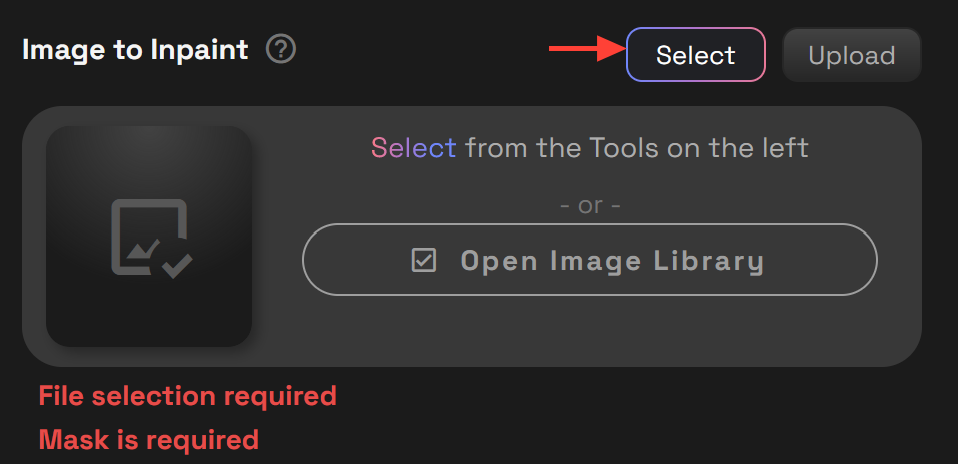
- Upload or Select an image you’d like to edit. This image will serve as the base for your inpainting adjustments.
- Selecting an Image will give you the ability to select an image from your image library on the left side.Selecting Open Image Library in the center will open a pop up window where you can also select or upload images.
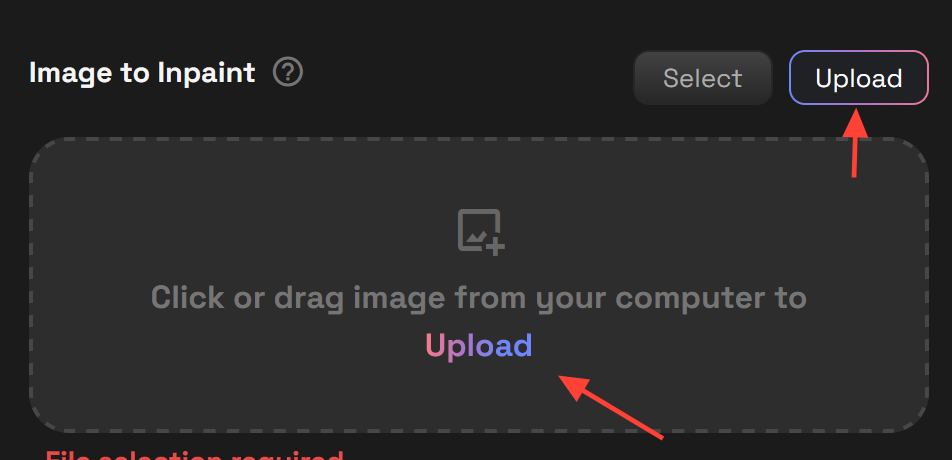
- Upload an image will load an image from your hard drive. You can also drag and drop an image from your computer into the window to upload it.
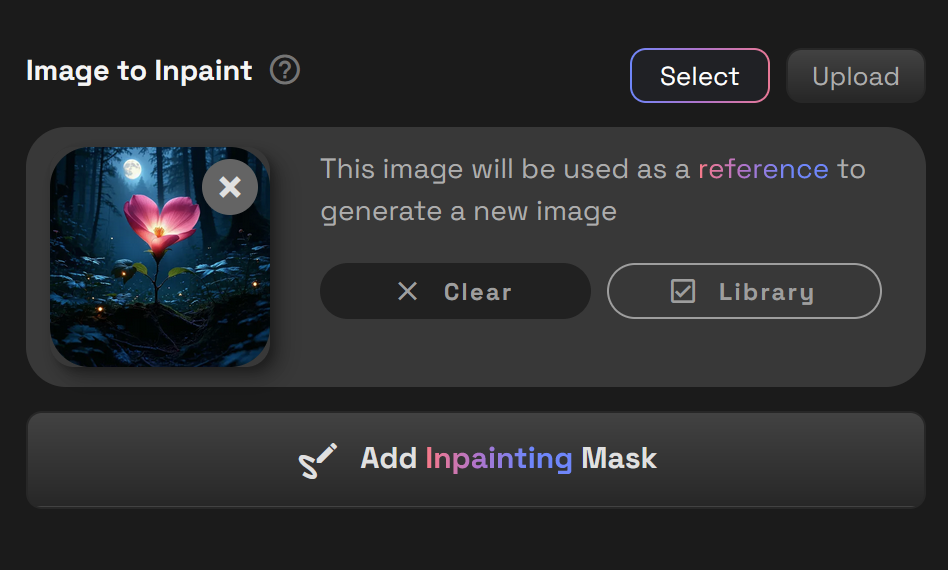
- For this example I am going to select this beautiful flower I created in a forest under the moonlight.
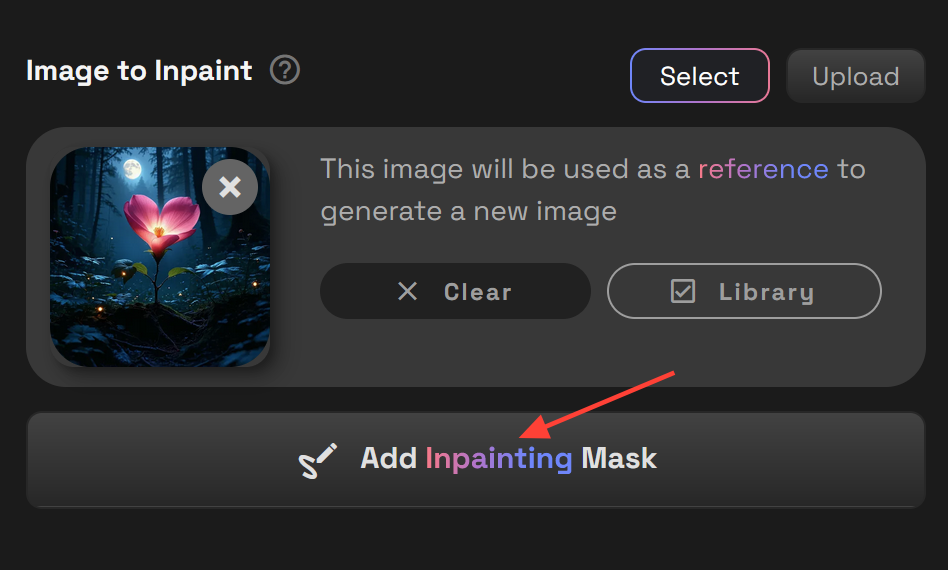
Step 8: Add Inpainting Mask
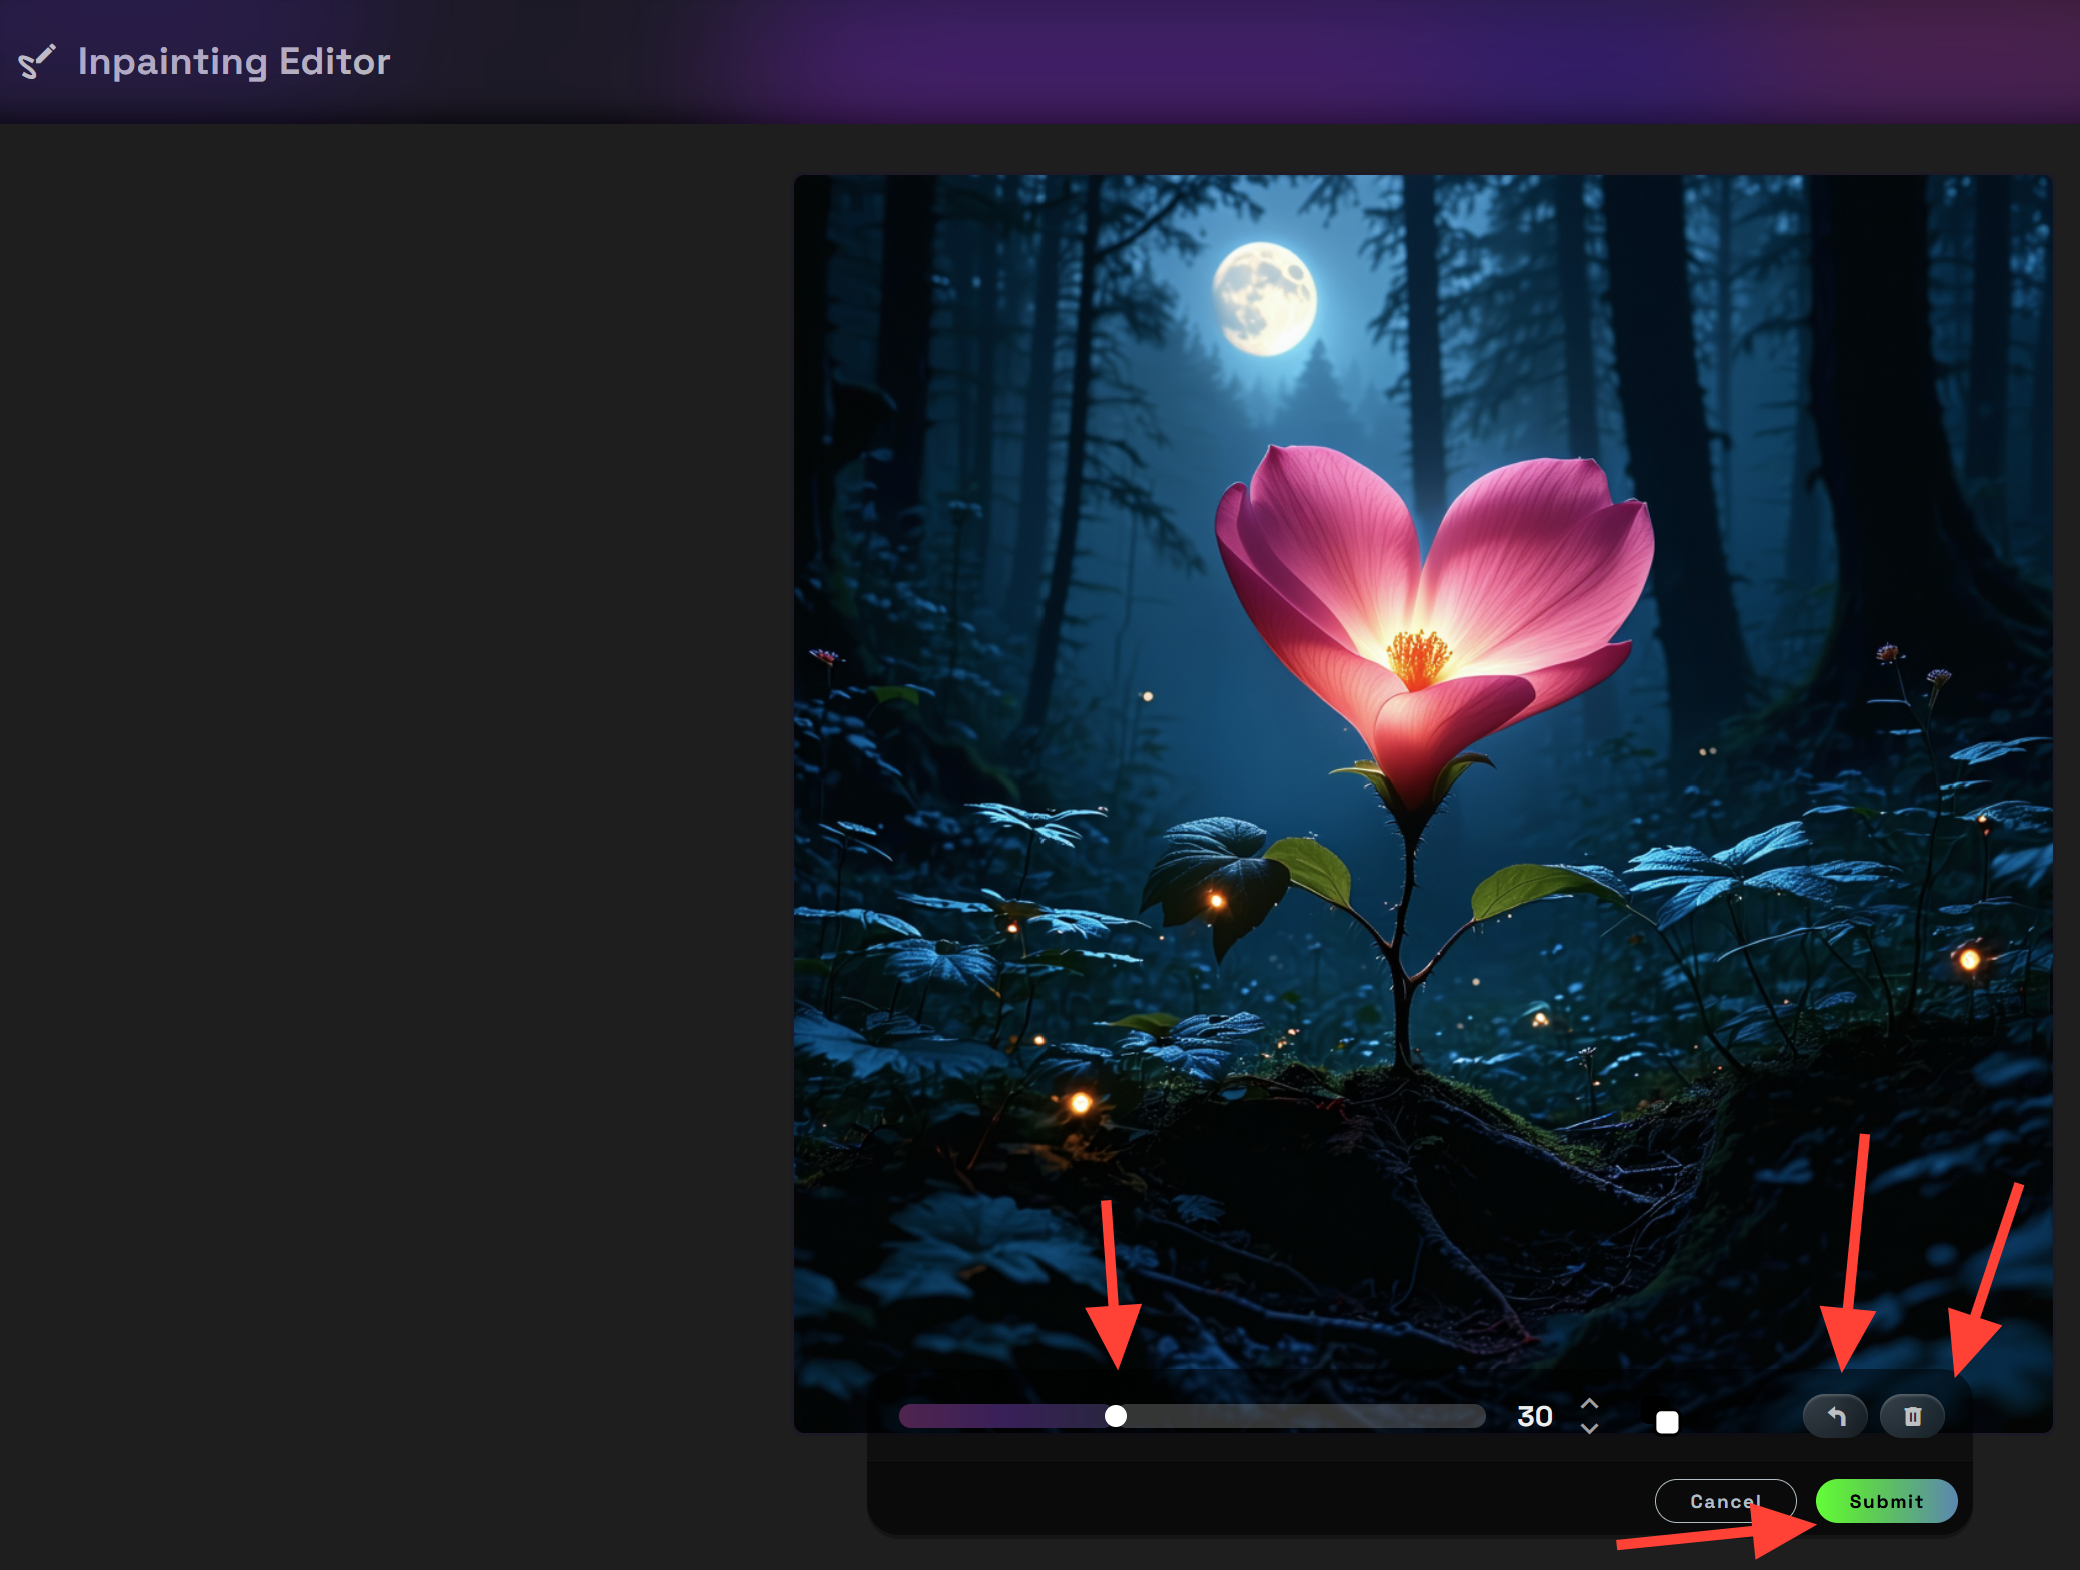
- Click the Add Inpainting Mask button this will open the Inpainting Editor. The mask you create will directs the AI to only make changes to the masked area of the image.
- The inpainting editor has several key features. Bottom left has a slider that can adjust the size of your brush and an undo button you can use if you accidentally apply the mask to the wrong area. Bring your mouse over the part of the image you wish to apply the mask and use your left mouse button to begin applying the mask. The delete button will remove the entire mask you created and the submit will save the mask.
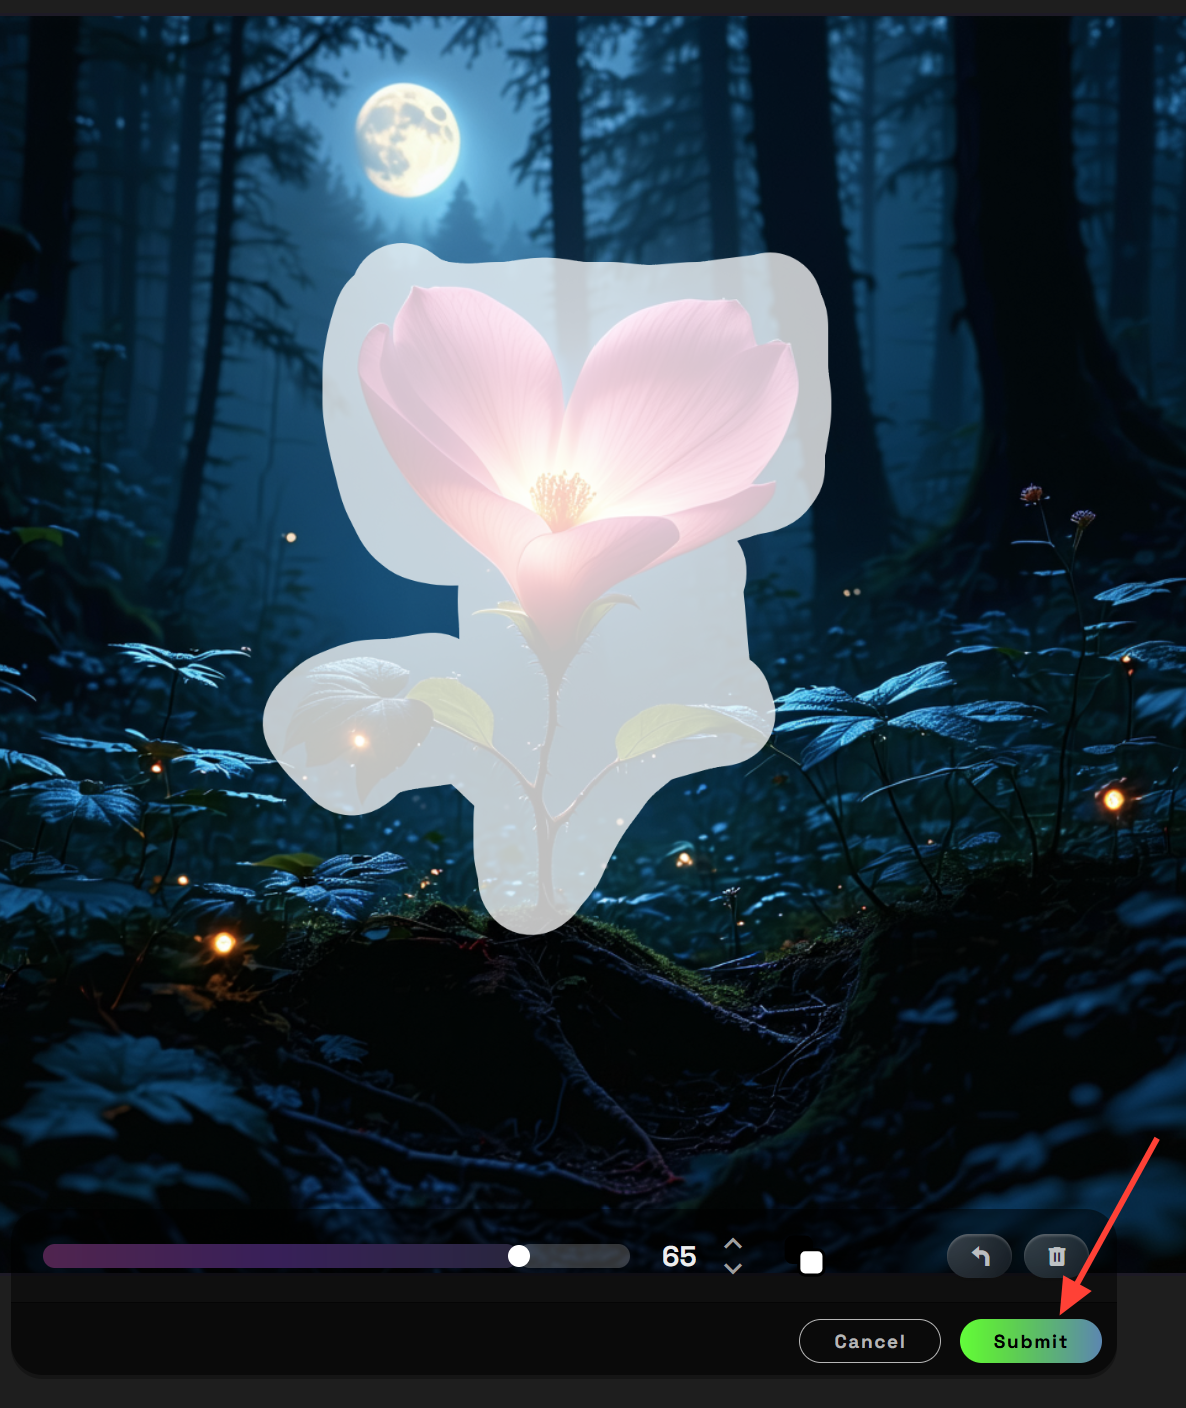
- Once the mask has been applied it should look like the example. Click submit on the inpainting editor when you are ready.
Step 9: Check Settings
- Some settings will have a question mark (?) next to them that you can click on to get additional information.
Step 10: Click Run
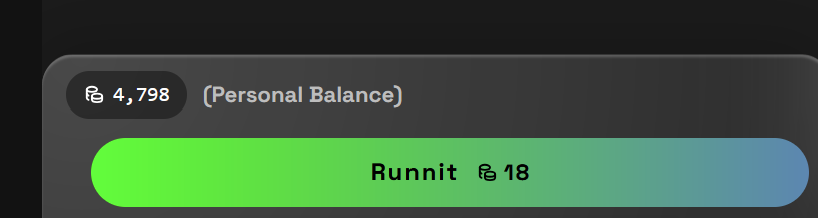
- Once all settings are adjusted, click Run.

Be creative. Feel free to change the prompt or the mask to suit your needs.

Conclusion:
Adding Inpainting Pro to your Board provides a powerful way to enhance and refine images by blending edits naturally into the original visuals. With this setup, you can easily access inpainting features whenever you need them, enabling you to create polished, professional-quality images directly within your Board workspace.
Further Reading:
Basics of the RunDiffusion Platform
AI Videos with the RunDiffusion Platform
Sketch to Render