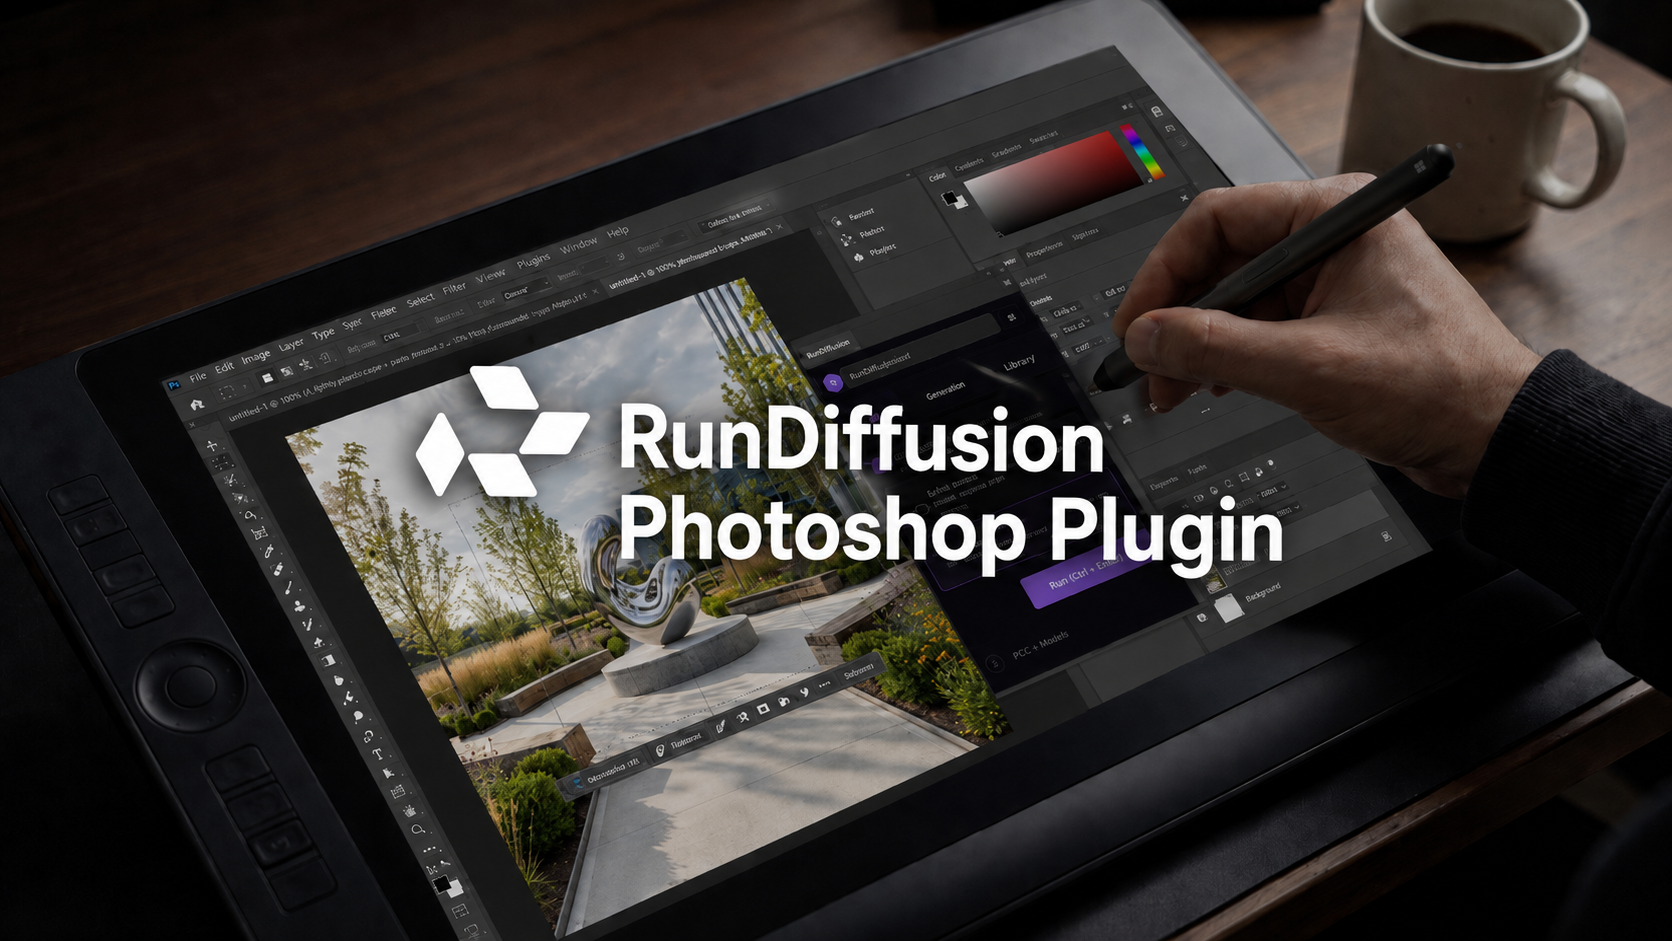
The RunDiffusion Photoshop Plugin lets you use select AI models available through RunDiffusion directly inside Photoshop, including Nano Banana 2, ChatGPT Image, and Seedream.
In this tutorial, you'll learn how to install the plugin from Adobe Exchange, connect your RunDiffusion account, confirm that the plugin is installed in Photoshop, and start generating or editing images from inside your Photoshop workspace.
This gives artists, designers, architects, marketers, and creative teams a faster way to bring AI-assisted image generation and editing into the Photoshop workflow they already use.
Video Tutorial
For an easy to follow RunDiffusion Plugin Tutorial.
Before You Install the RunDiffusion Photoshop Plugin
Before installing the RunDiffusion Photoshop Plugin, complete these steps.
1. Make Sure You Have the Correct Version of Photoshop
Make sure you have installed Adobe Photoshop 23.3.0 or later. Using the right Photoshop version for your operating system and hardware helps avoid compatibility and installation issues.
2. Login/Sign Up for a RunDiffusion Account and Register for a Paid Plan
Create a RunDiffusion account and register for a paid plan before using the plugin. If you already have an account you can simply Login. The plugin connects to RunDiffusion so you can access supported AI models through your account.

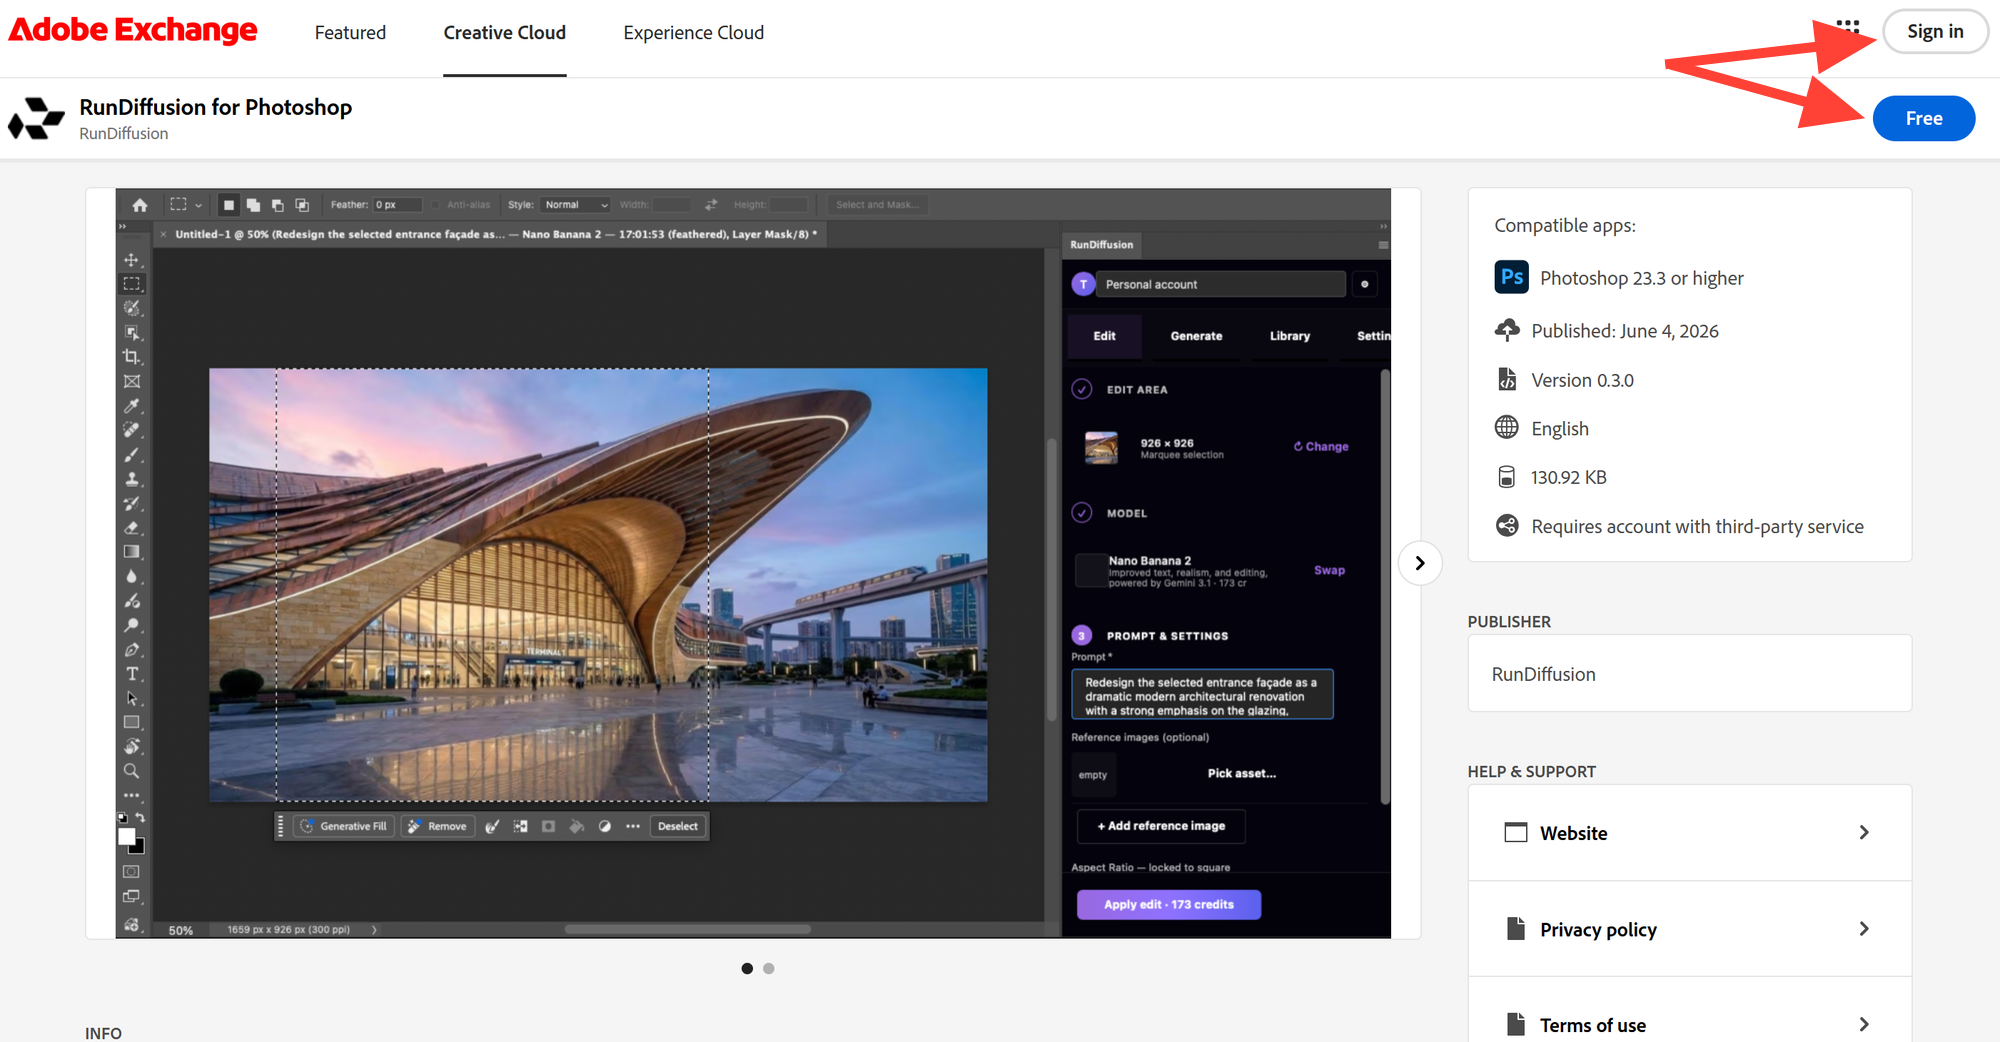
3. Install the Plugin from Adobe Exchange
Go to the Adobe Exchange page for the plugin:
Sign in to your Adobe account, then click the Free button in the top right to begin installation.Adobe Exchange lists the plugin as RunDiffusion for Photoshop.
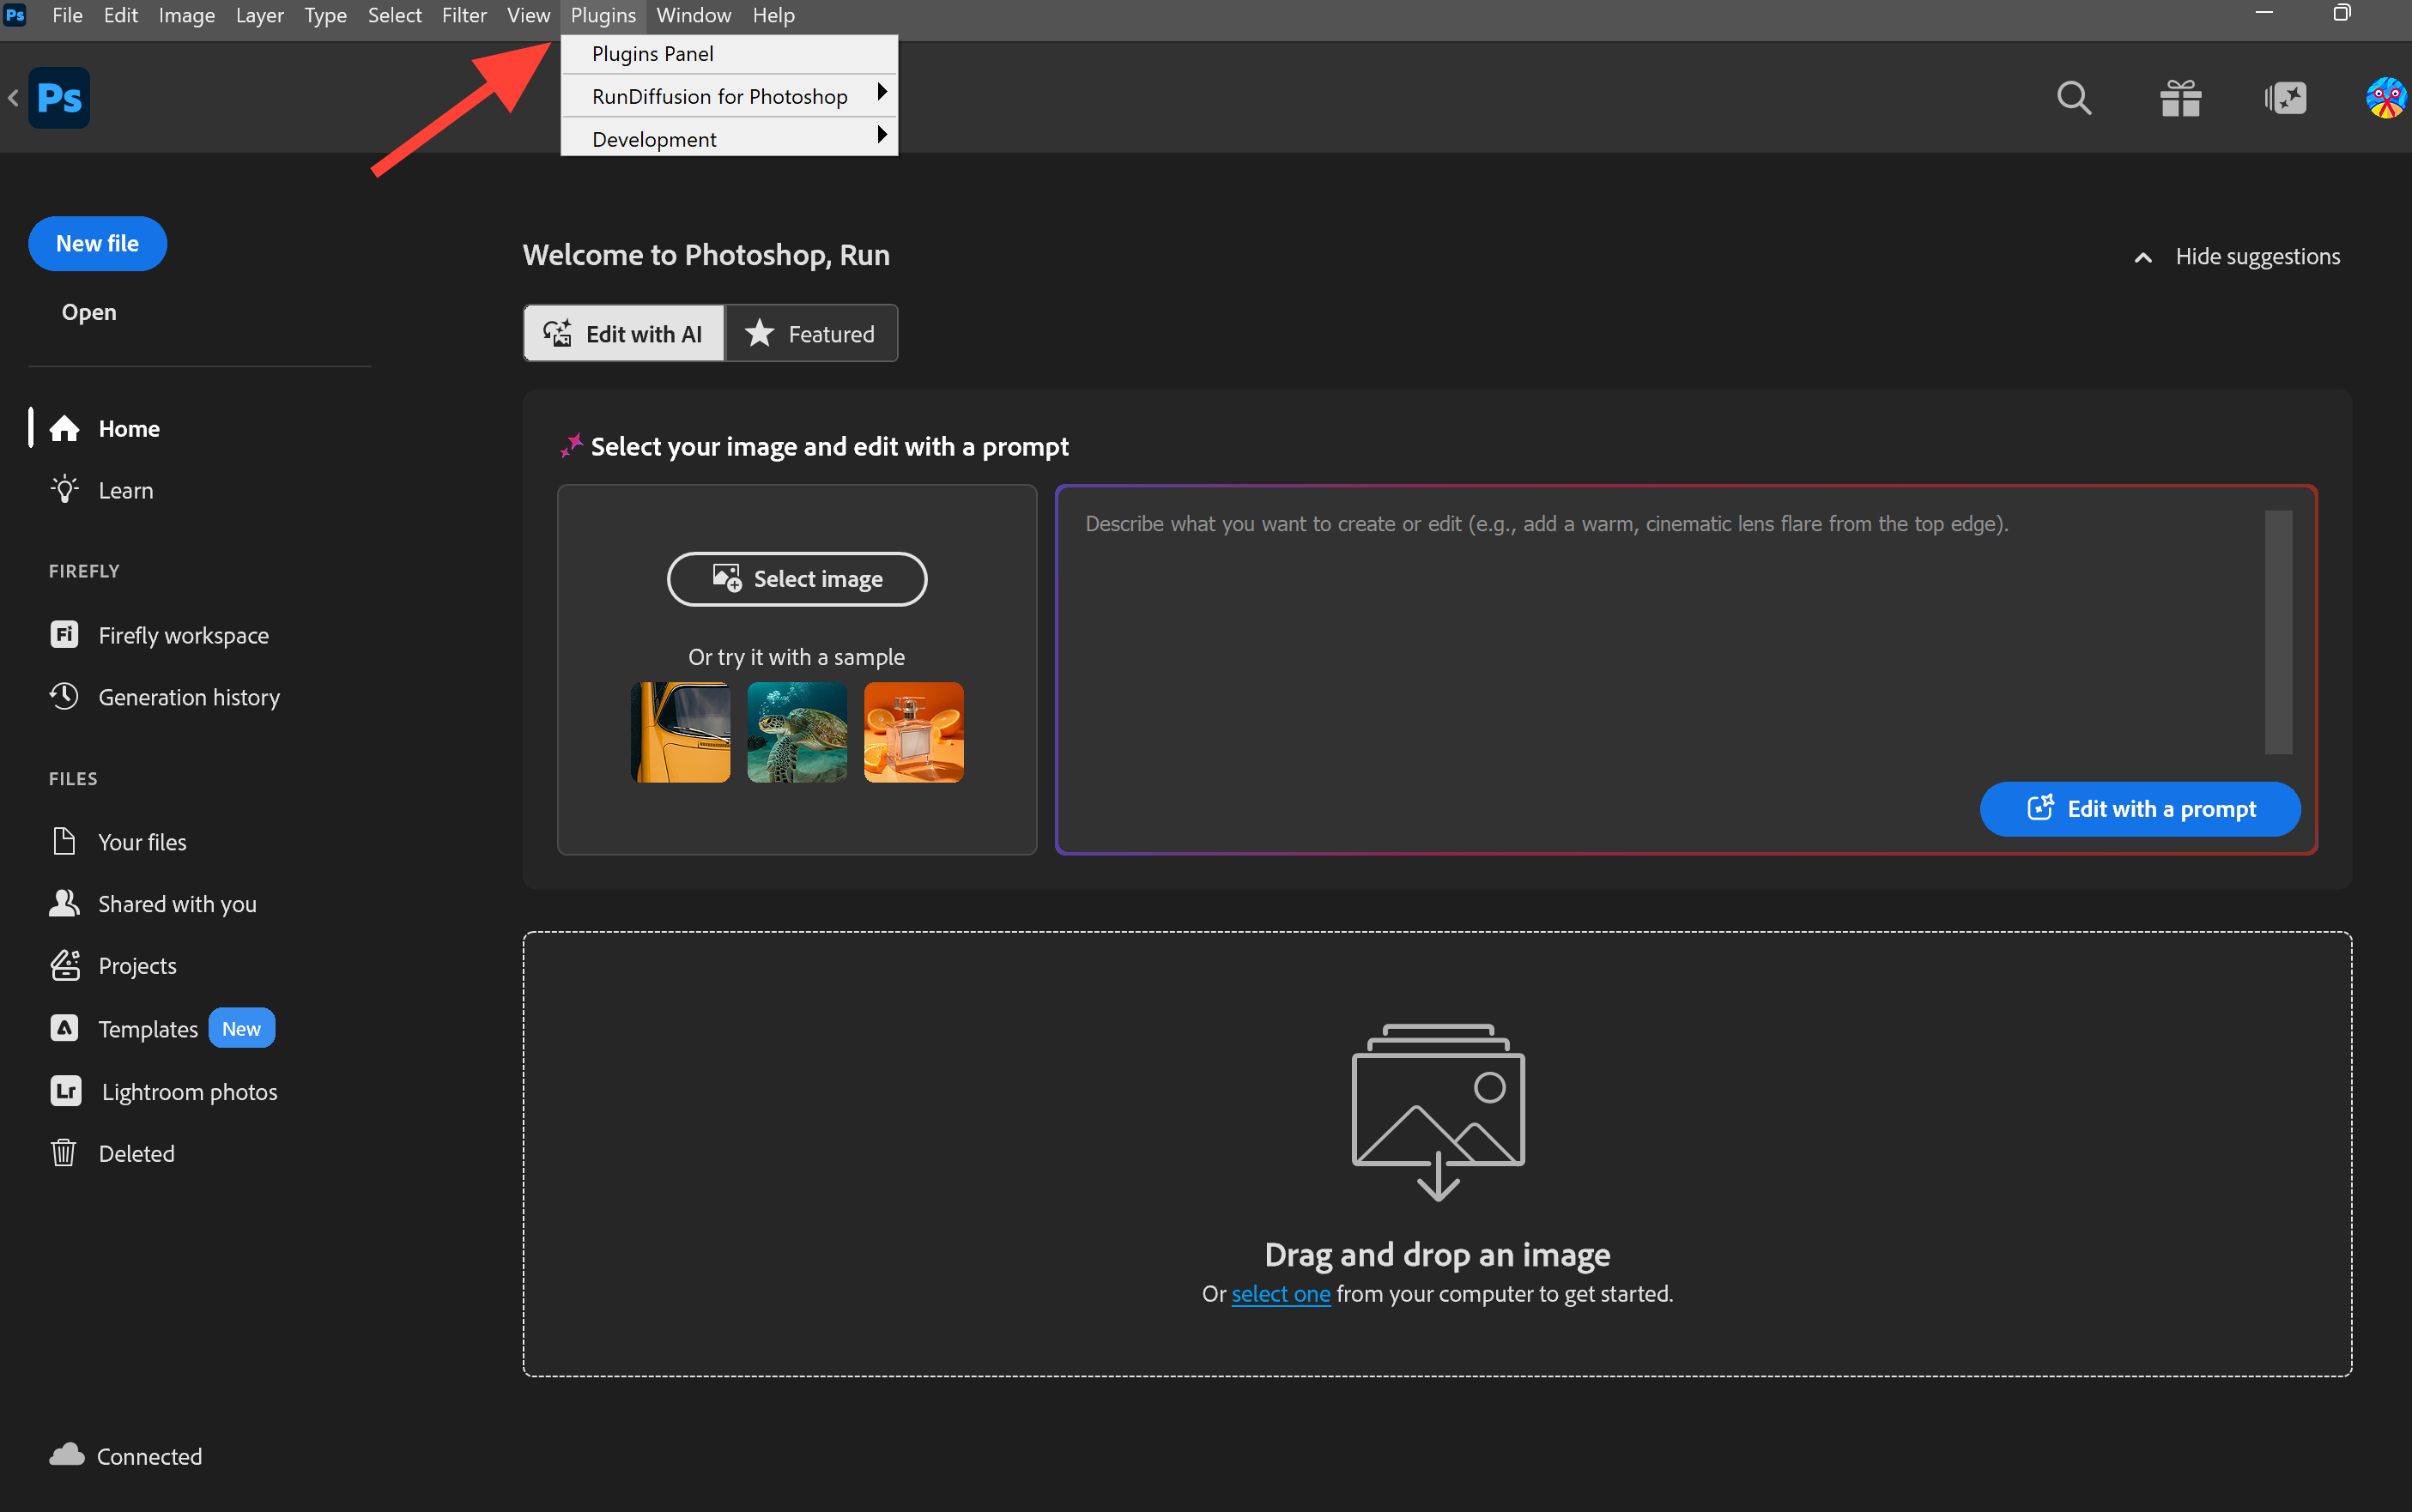
How to Confirm the Plugin Is Installed
After the plugin installation is complete, open Adobe Photoshop. At the top of the application, click Plugins to open the drop-down menu of installed plugins.
Check that the menu includes:
- RunDiffusion for Photoshop
If you see RunDiffusion for Photoshop in the Plugins menu, the plugin has been installed successfully. If you do not see plugins listed here you can check also after you create a New File.
How to Use the RunDiffusion Photoshop Plugin
Once the plugin is installed, follow these steps to start using it inside Photoshop.
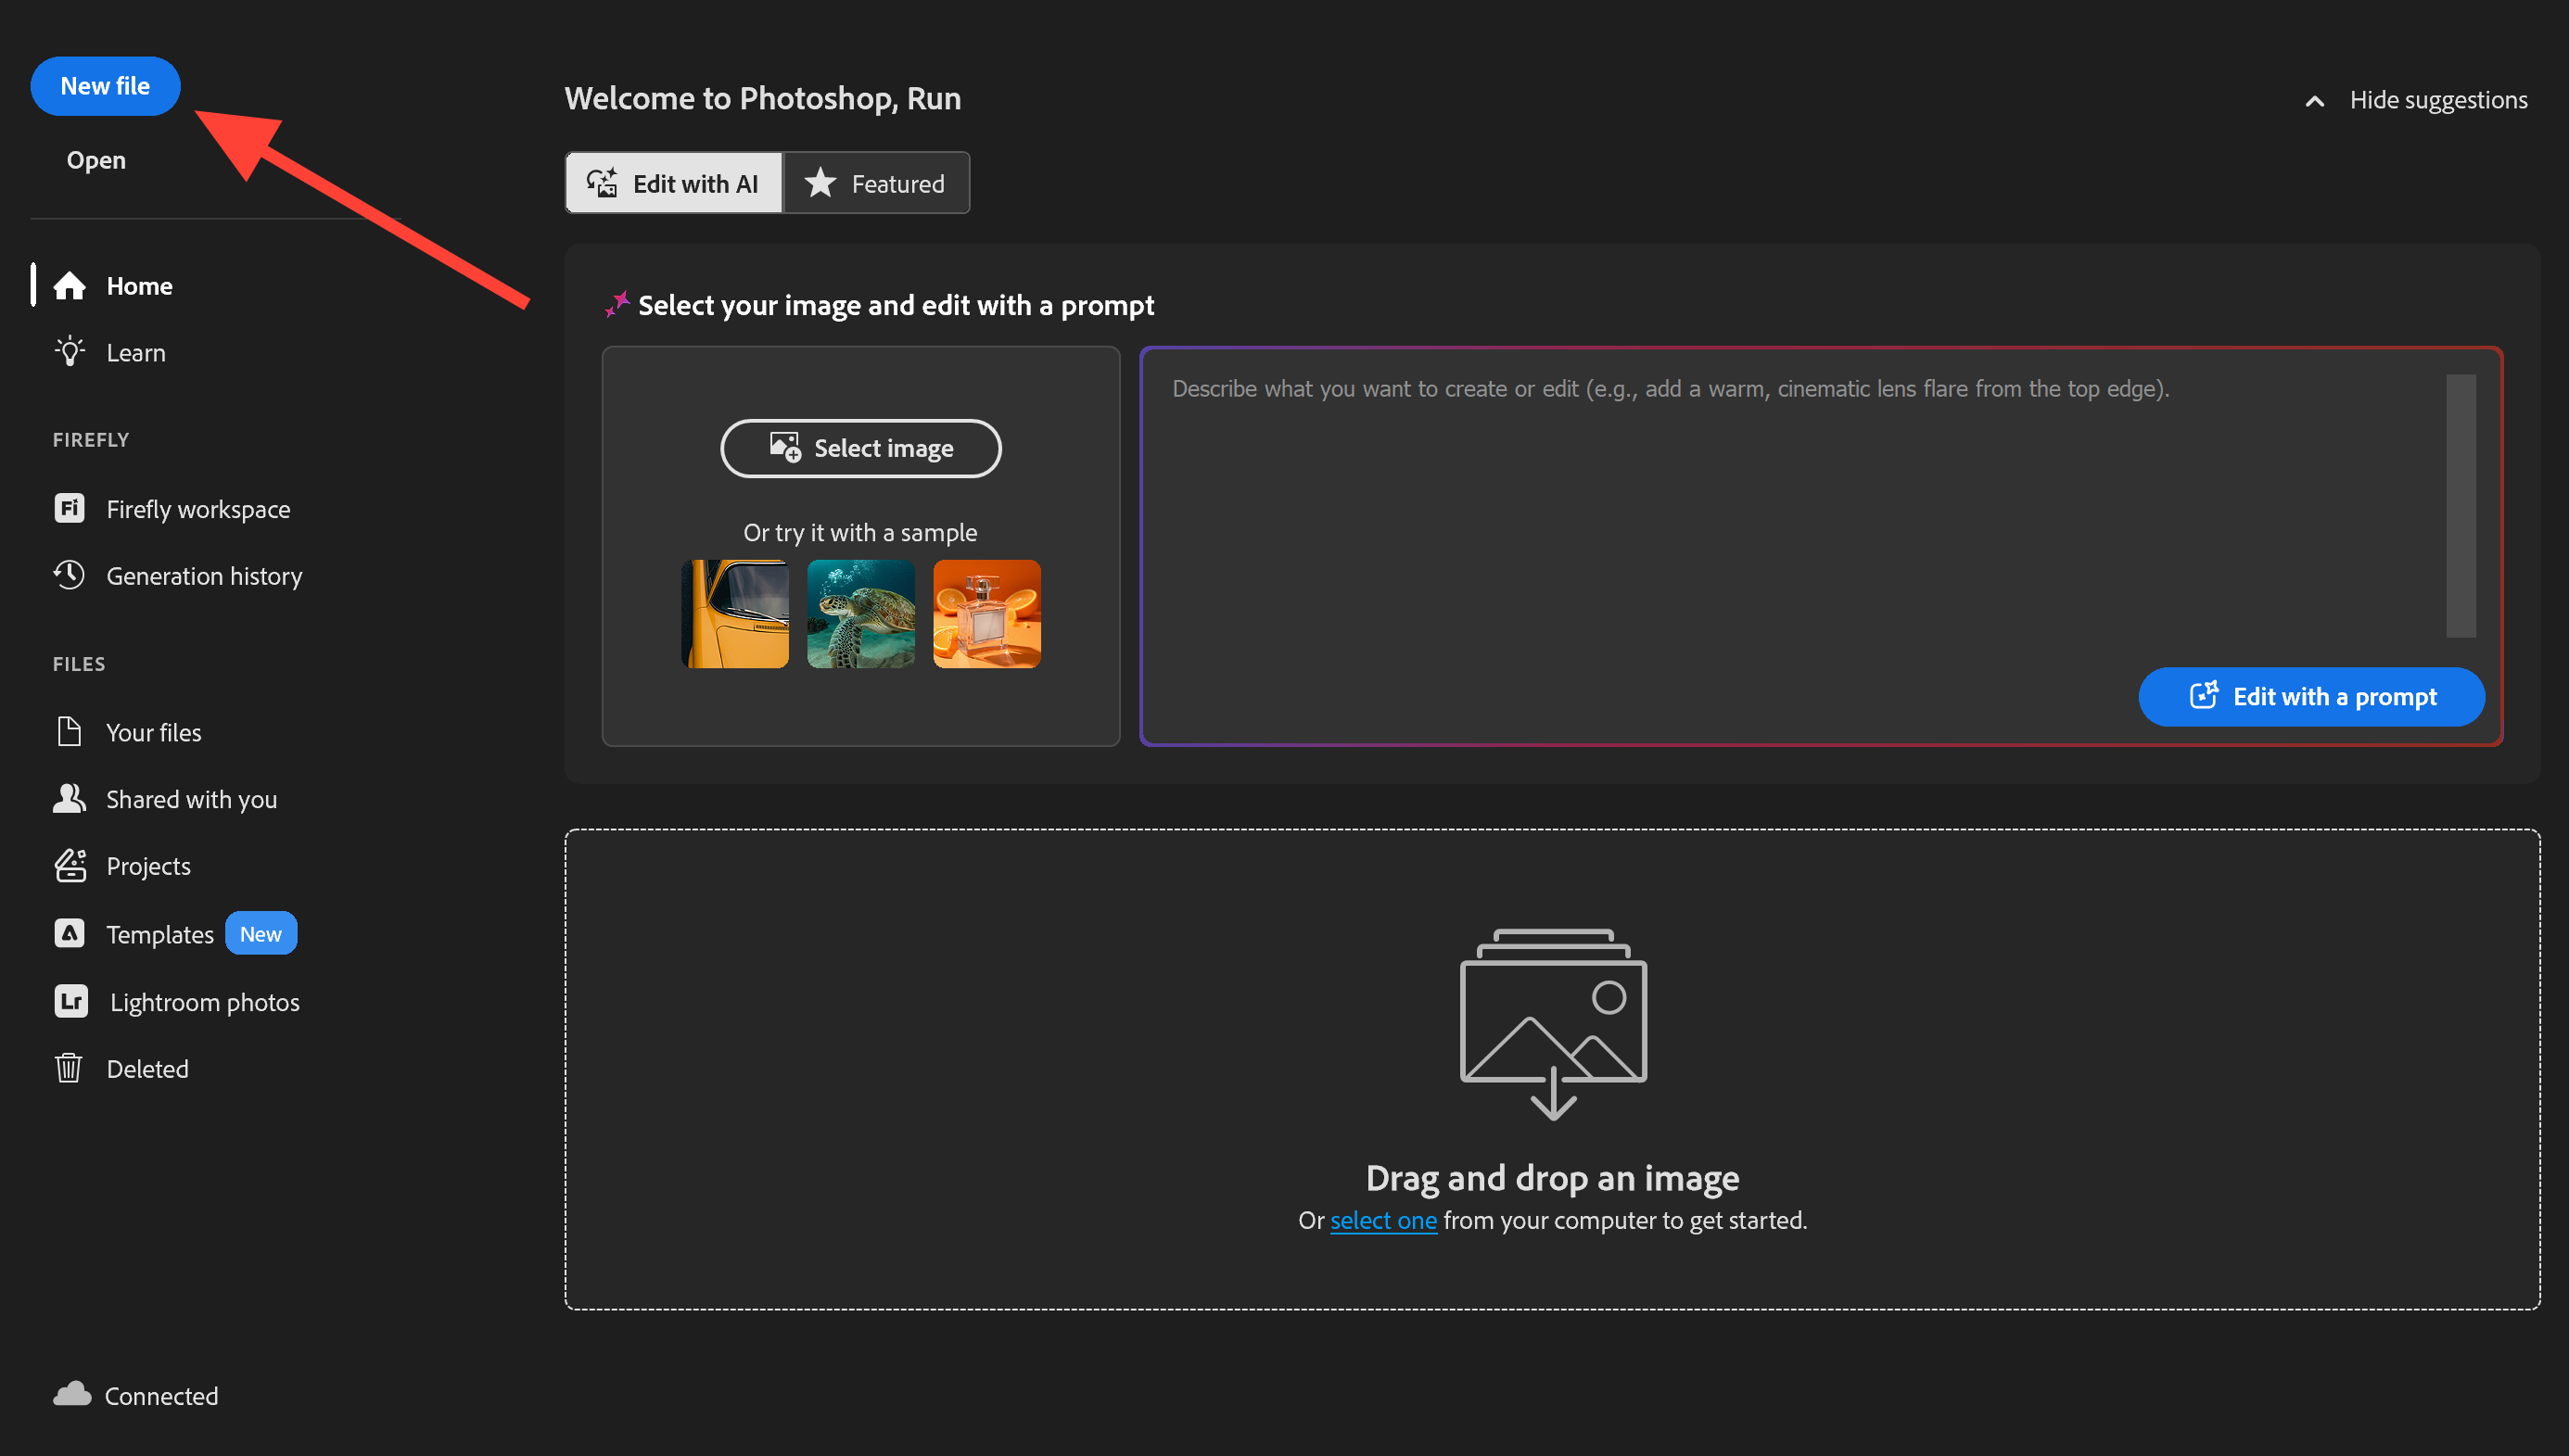
1. Click New File
Open Photoshop and click New File.
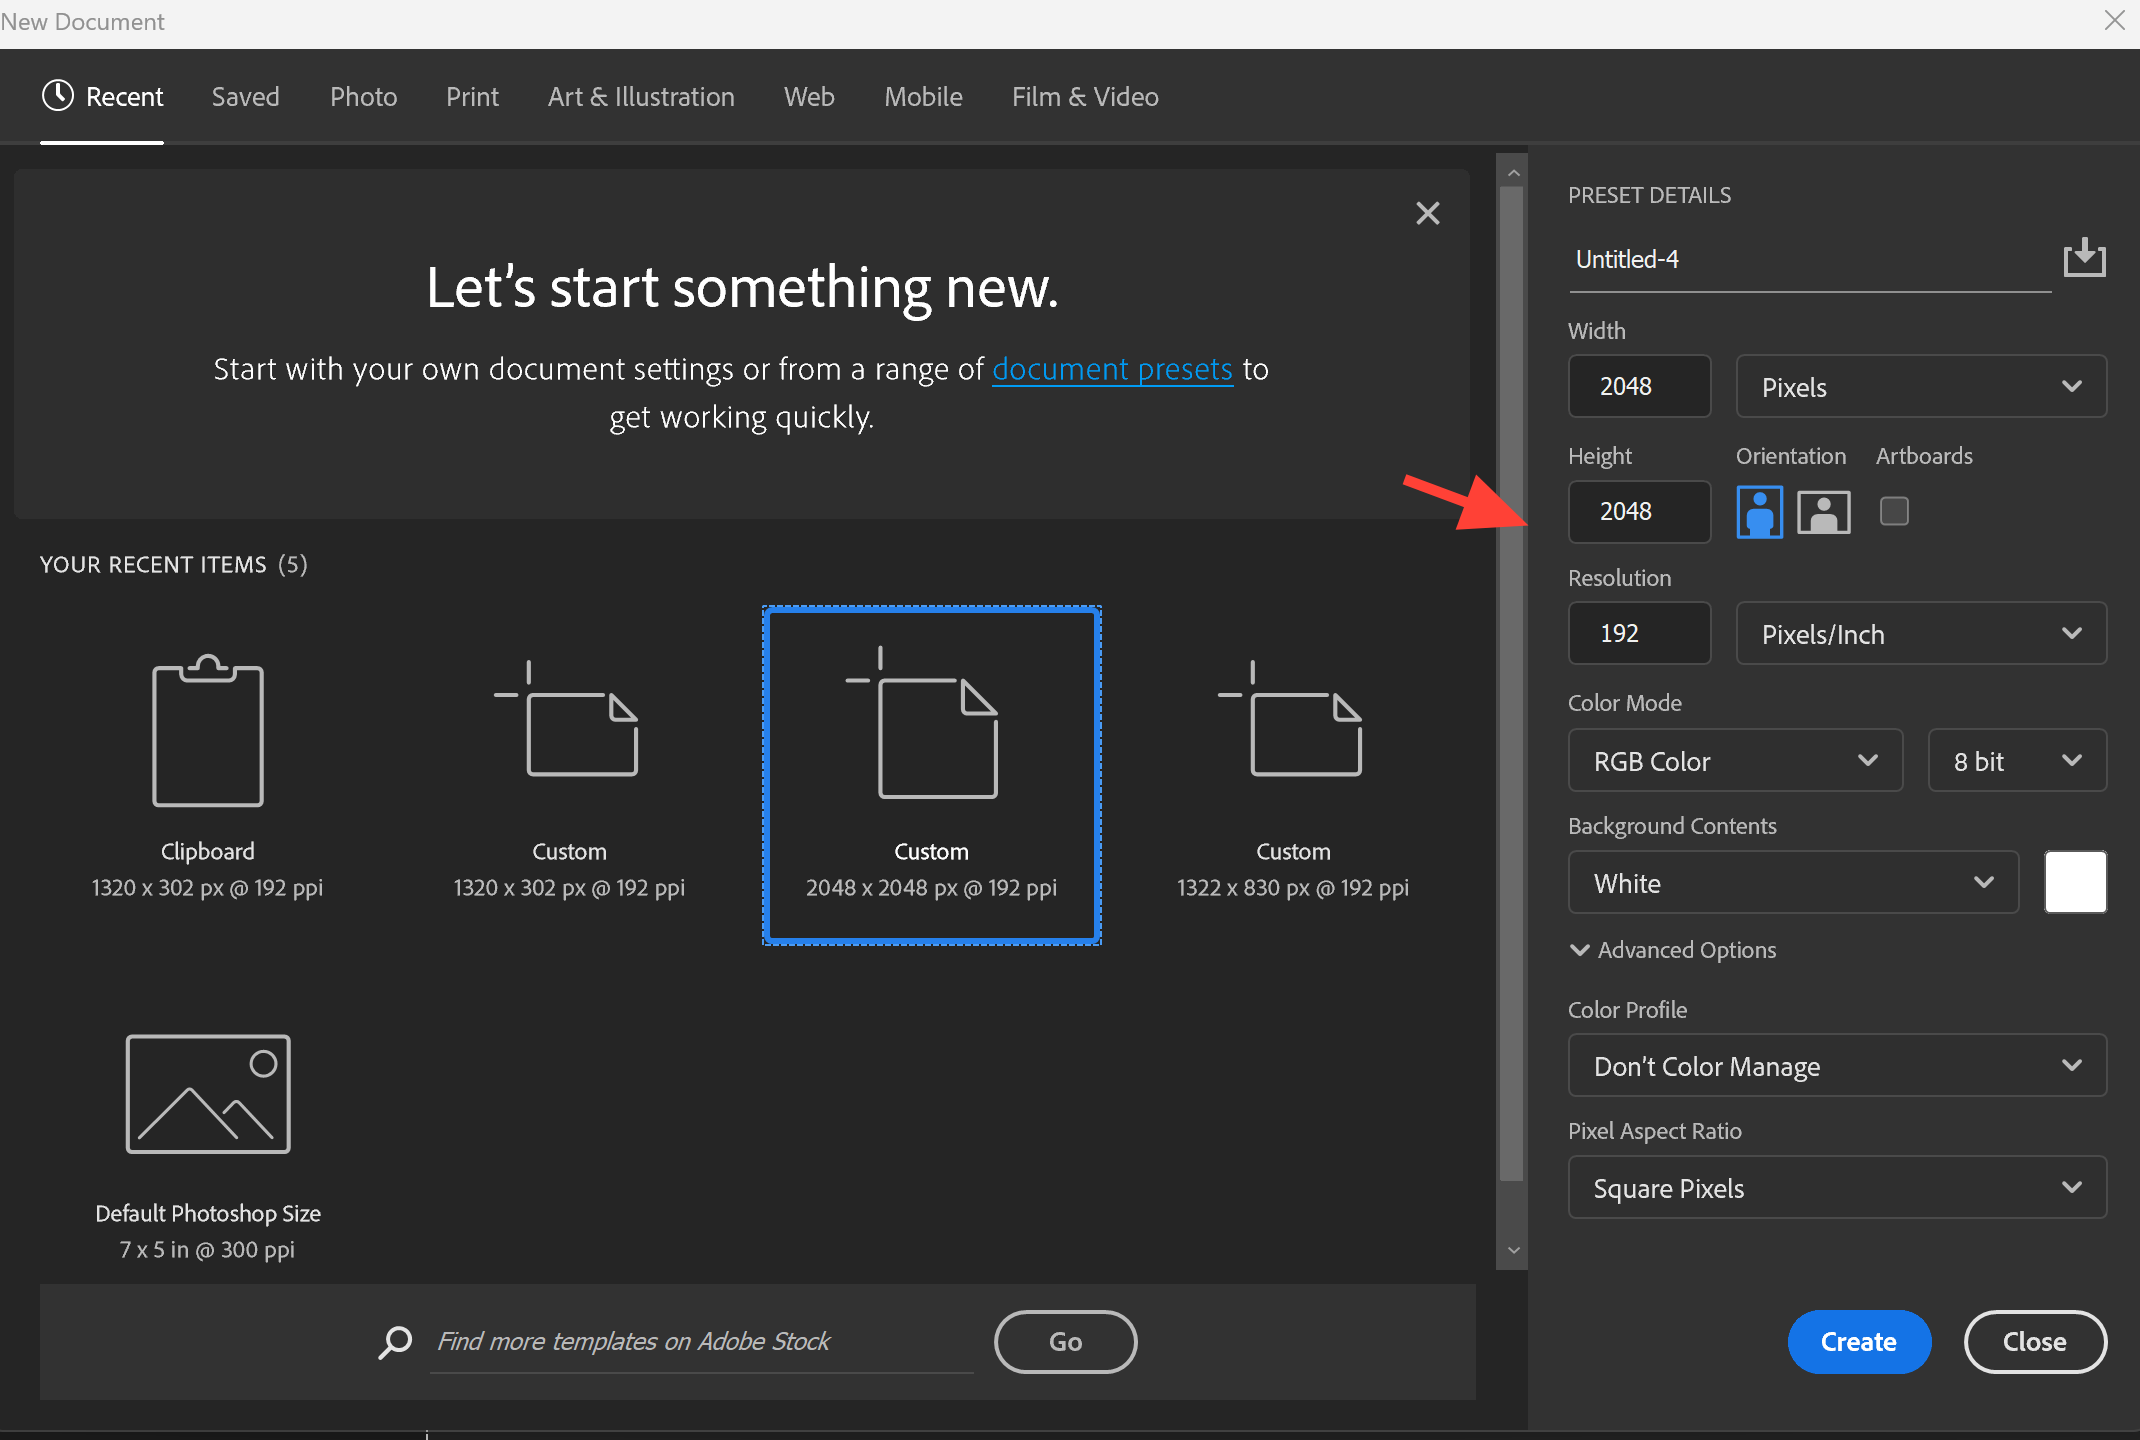
2. Set the Parameters for Your New File
Set the parameters for your new file. For example, you might create a file at:
- 2048 x 2028
- 1024 x 1024
Choose the dimensions and settings that fit your project. Standard image generation is 1024 x 1024 and 2048 x 2048 for most models so the closer you are to those resolutions the better results you will have.
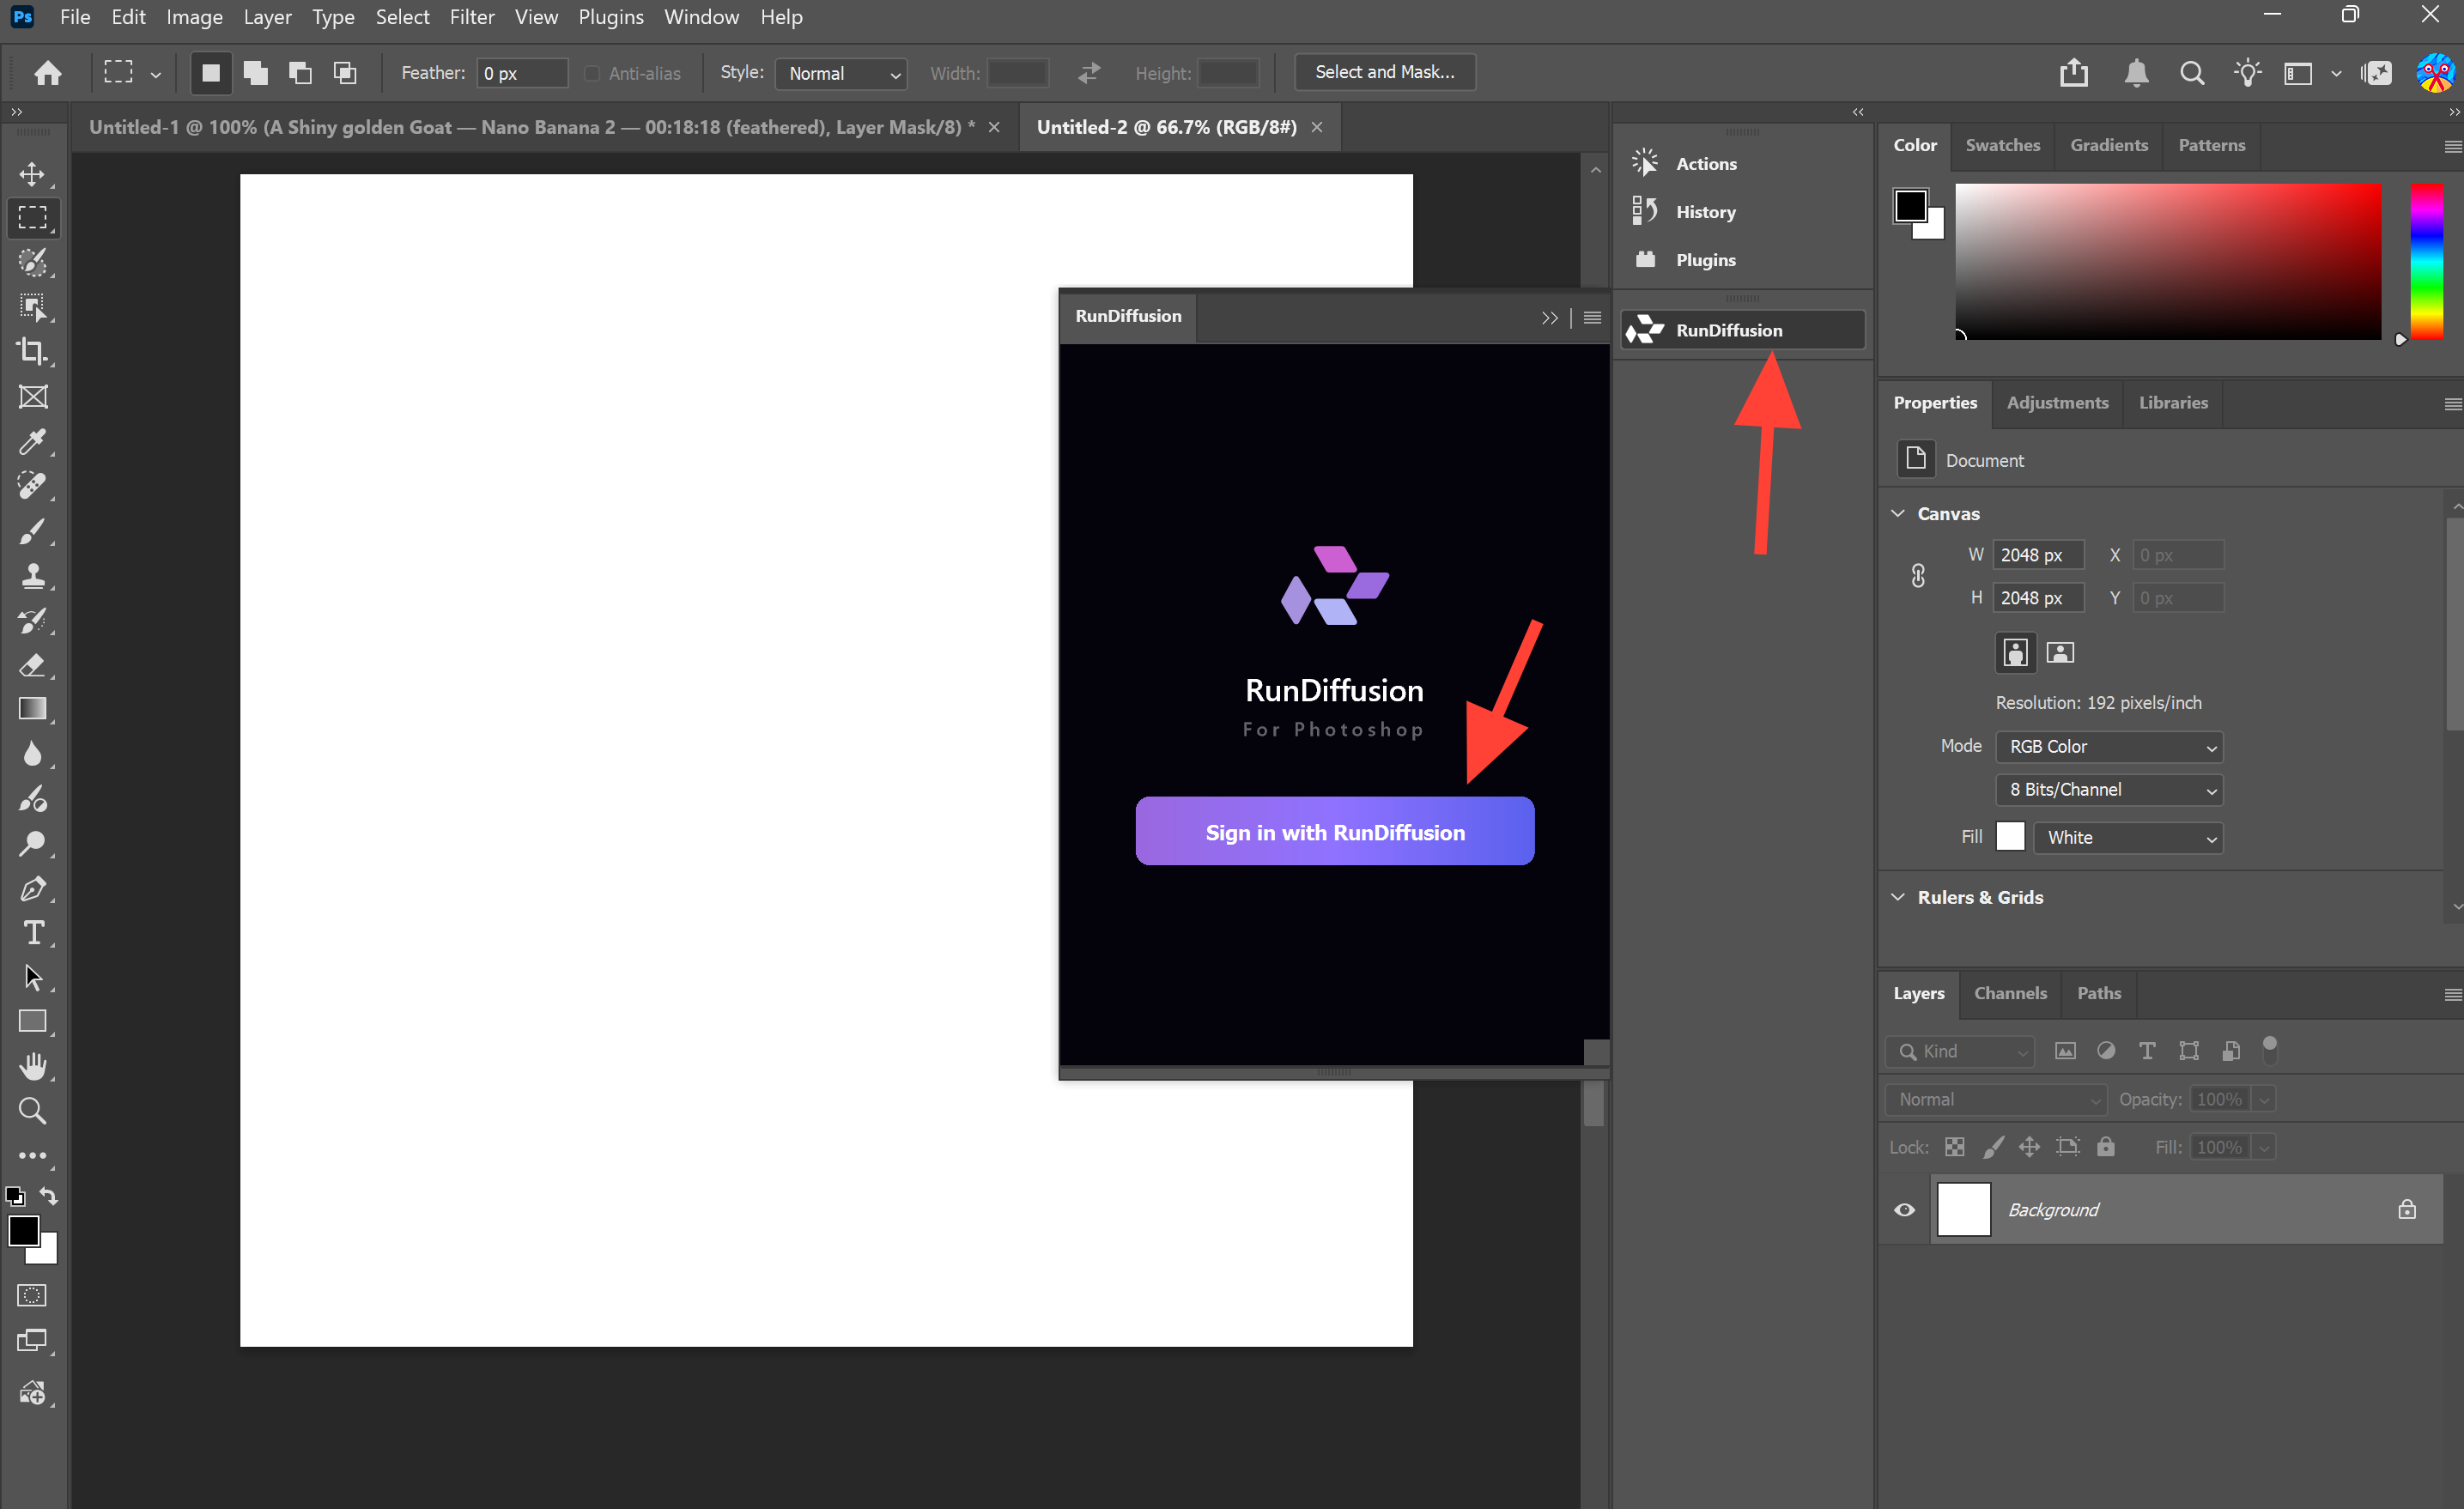
3. Open the RunDiffusion Plugin
Between your canvas and color picker, you should see your plugins. Click RunDiffusion. A pop-out menu will appear. Click Sign In.
5. Verify the Sign-In Code
A special code will appear.
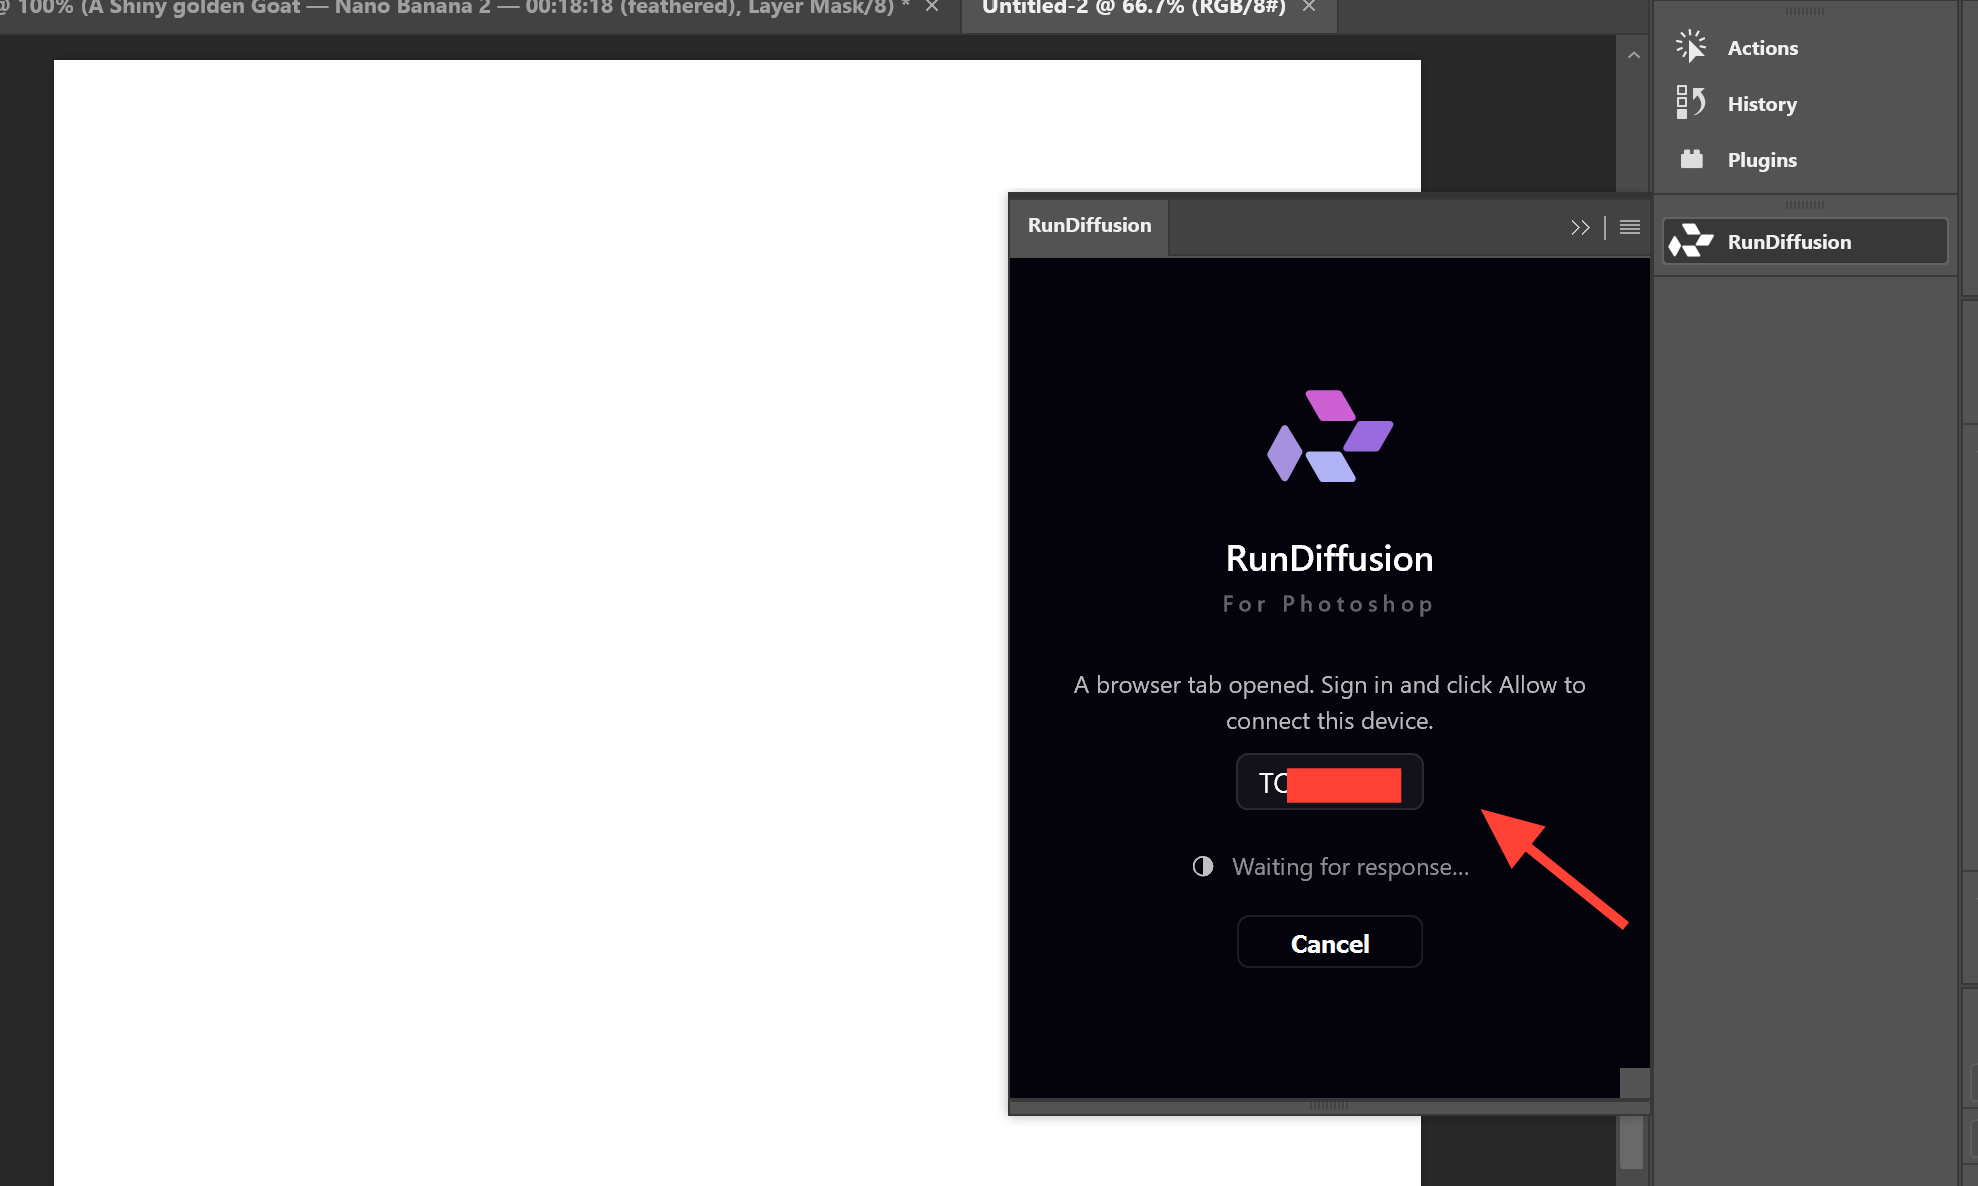
Take note of the code, then check your browser to make sure the code shown there matches the code shown in Photoshop.
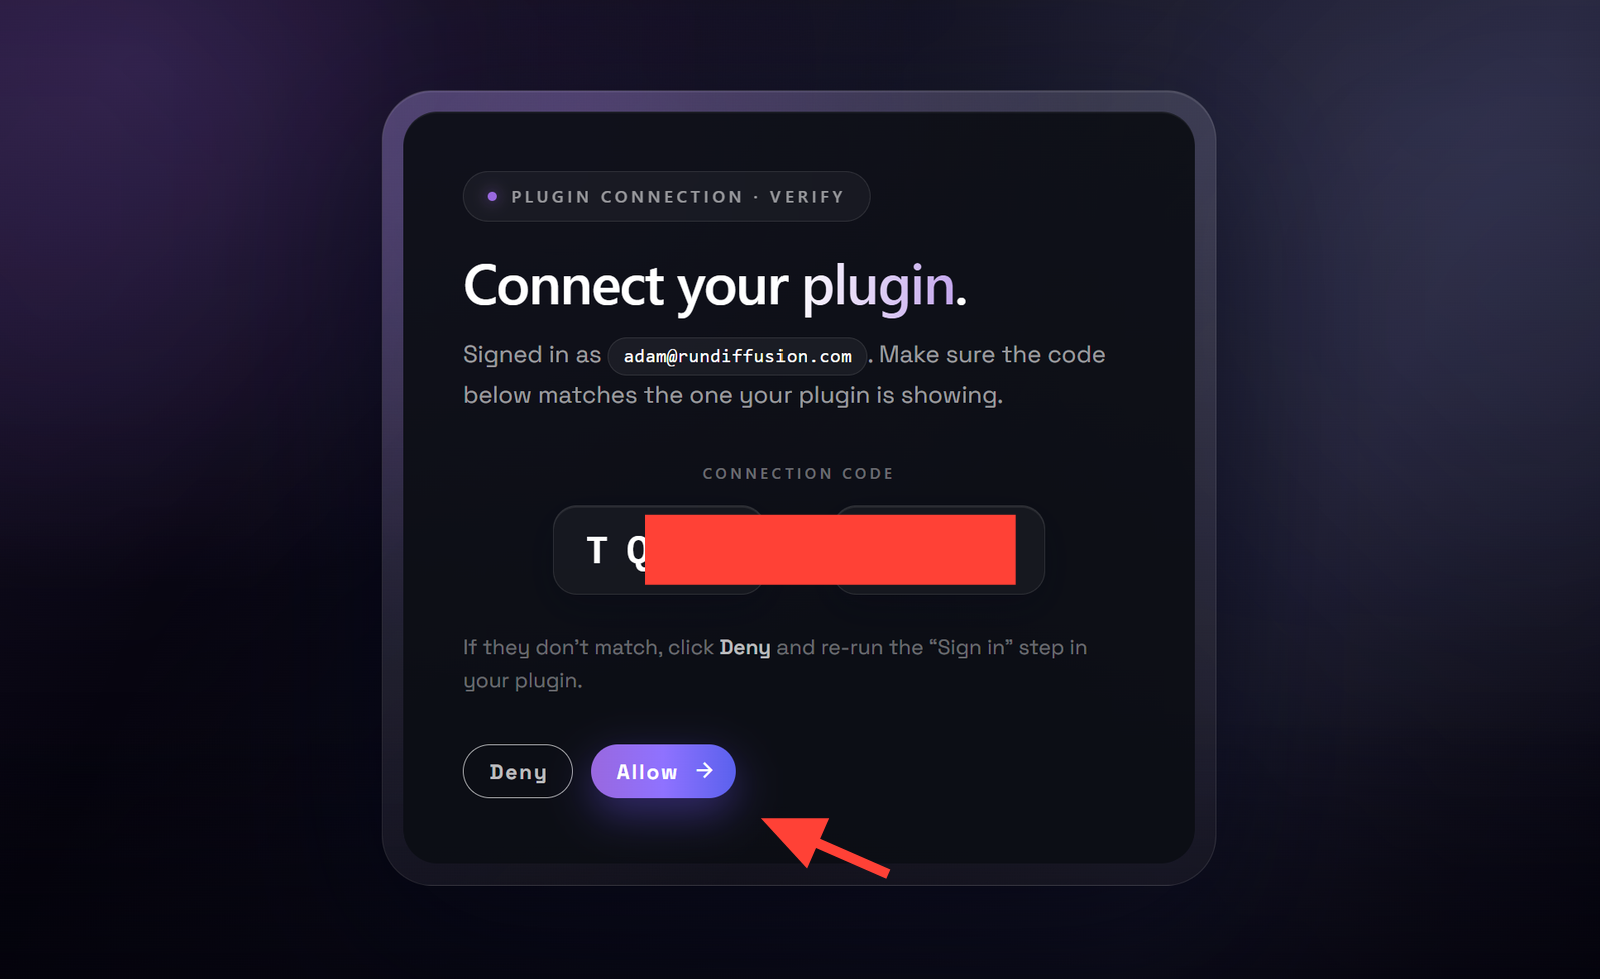
If the codes match, click Allow in your browser. This authorizes Photoshop to connect with your RunDiffusion account. You can minimize this page.
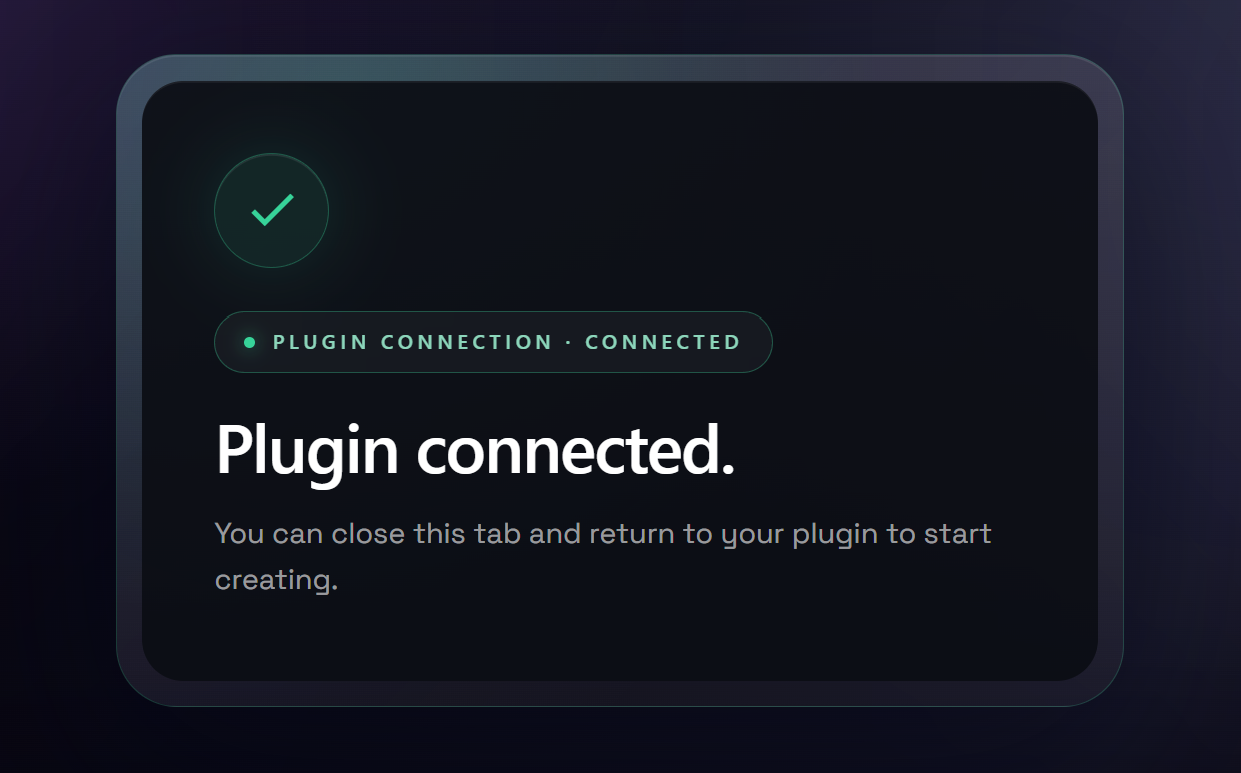
6. Return to Photoshop
Return to Photoshop after authorization is complete.
You will see the option to use:
- Edit
- Generate
- Library
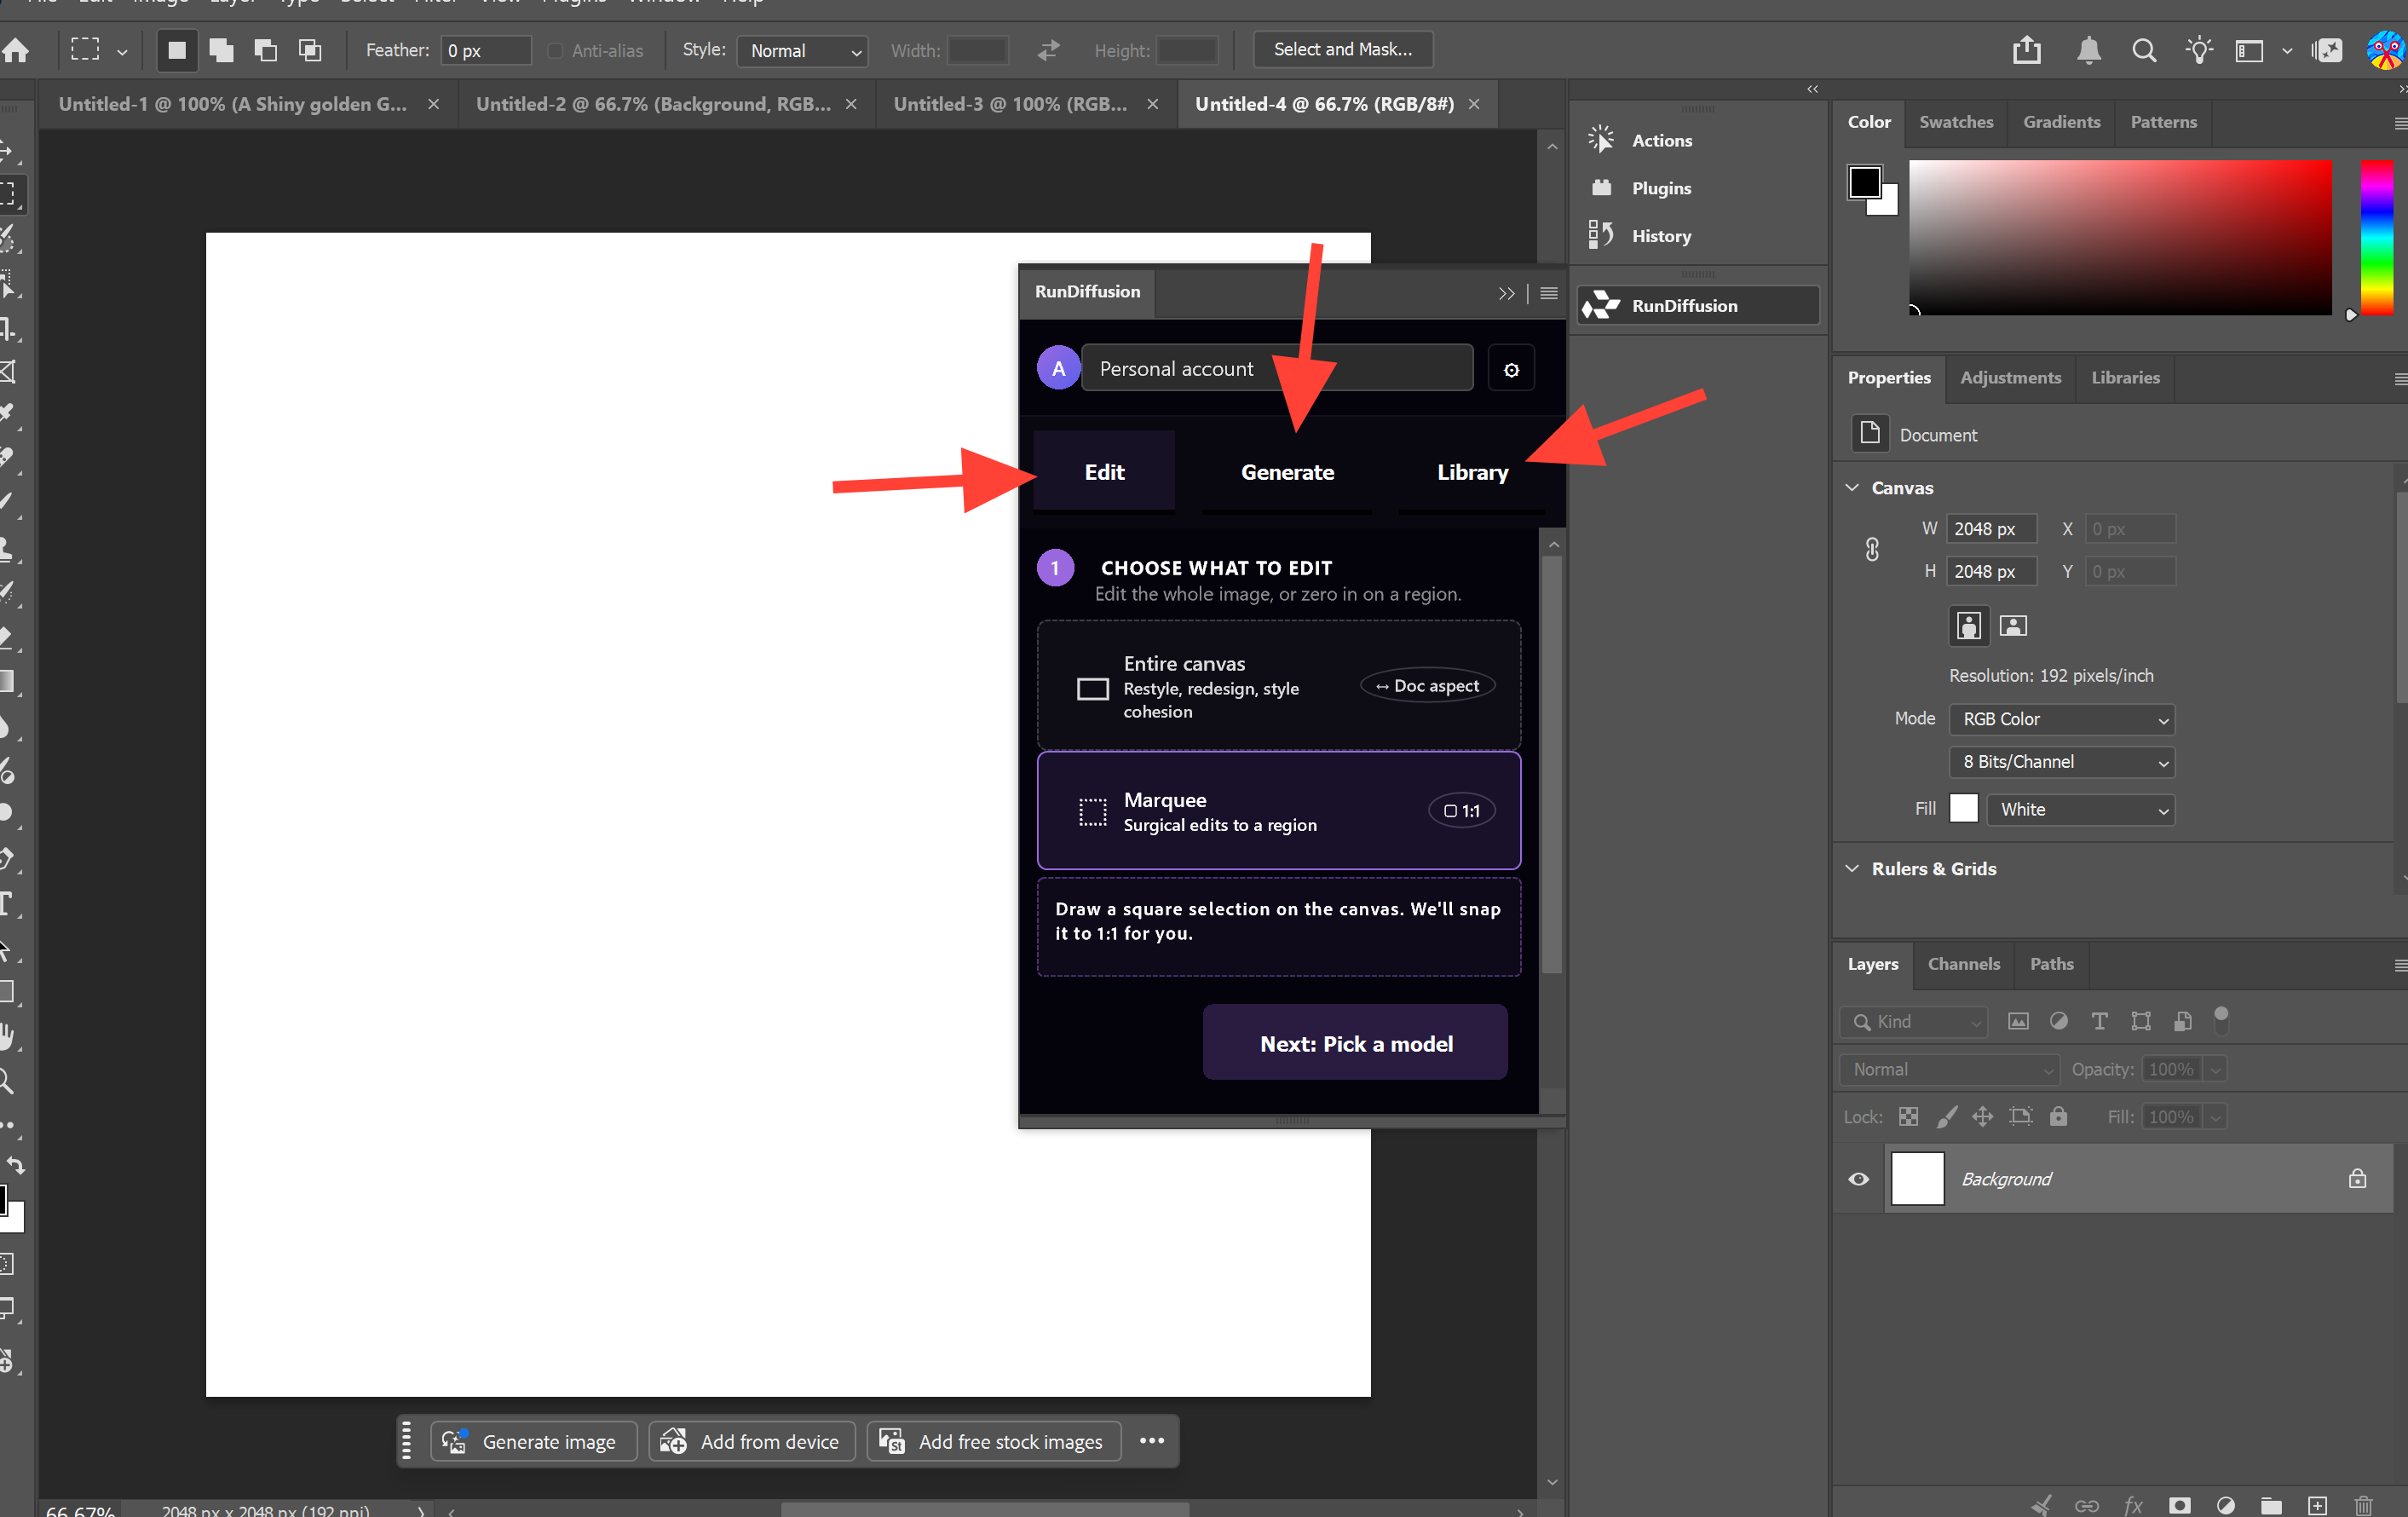
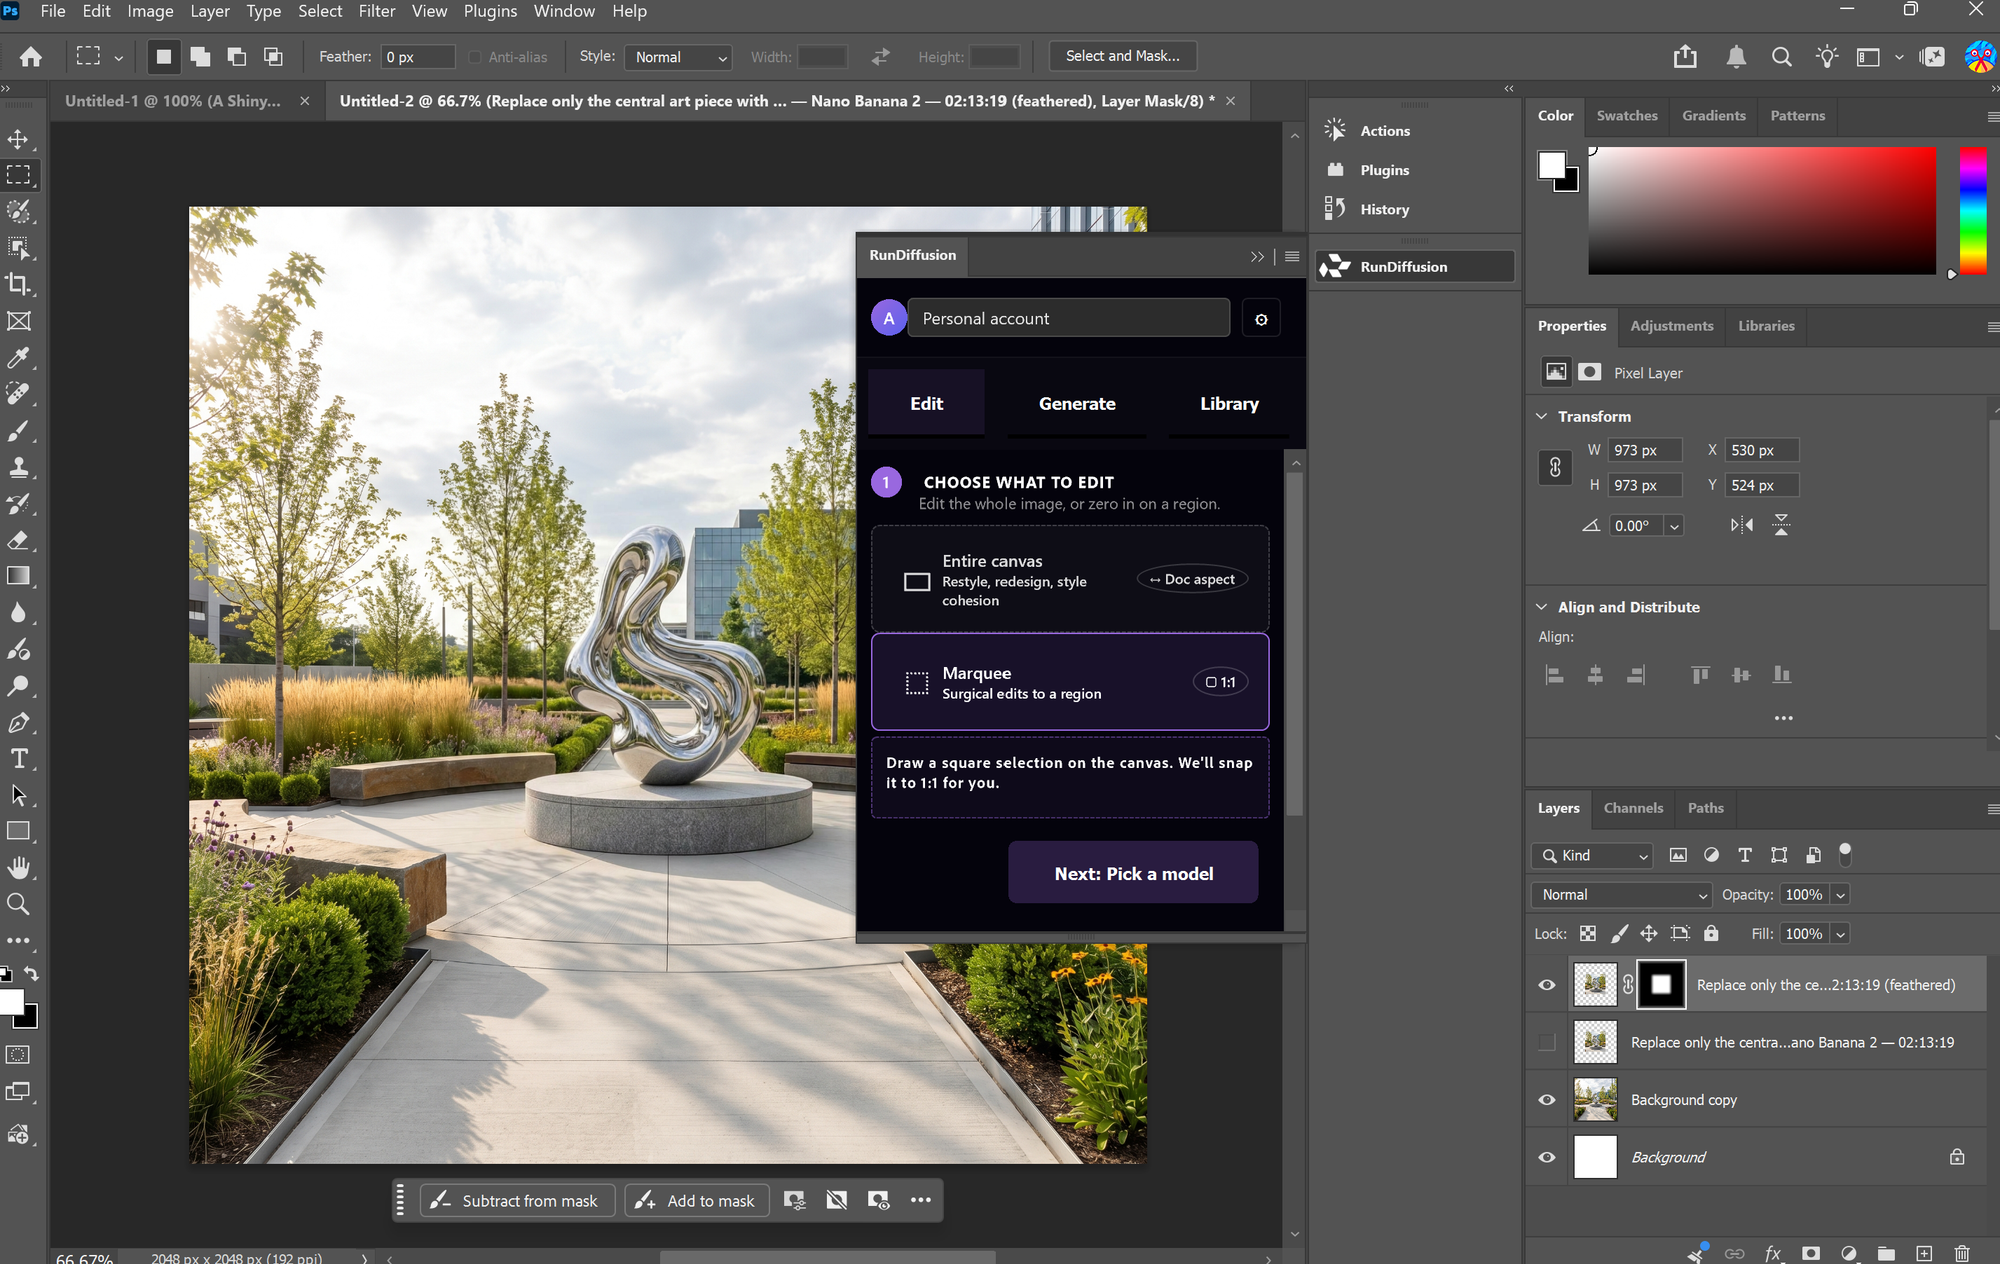
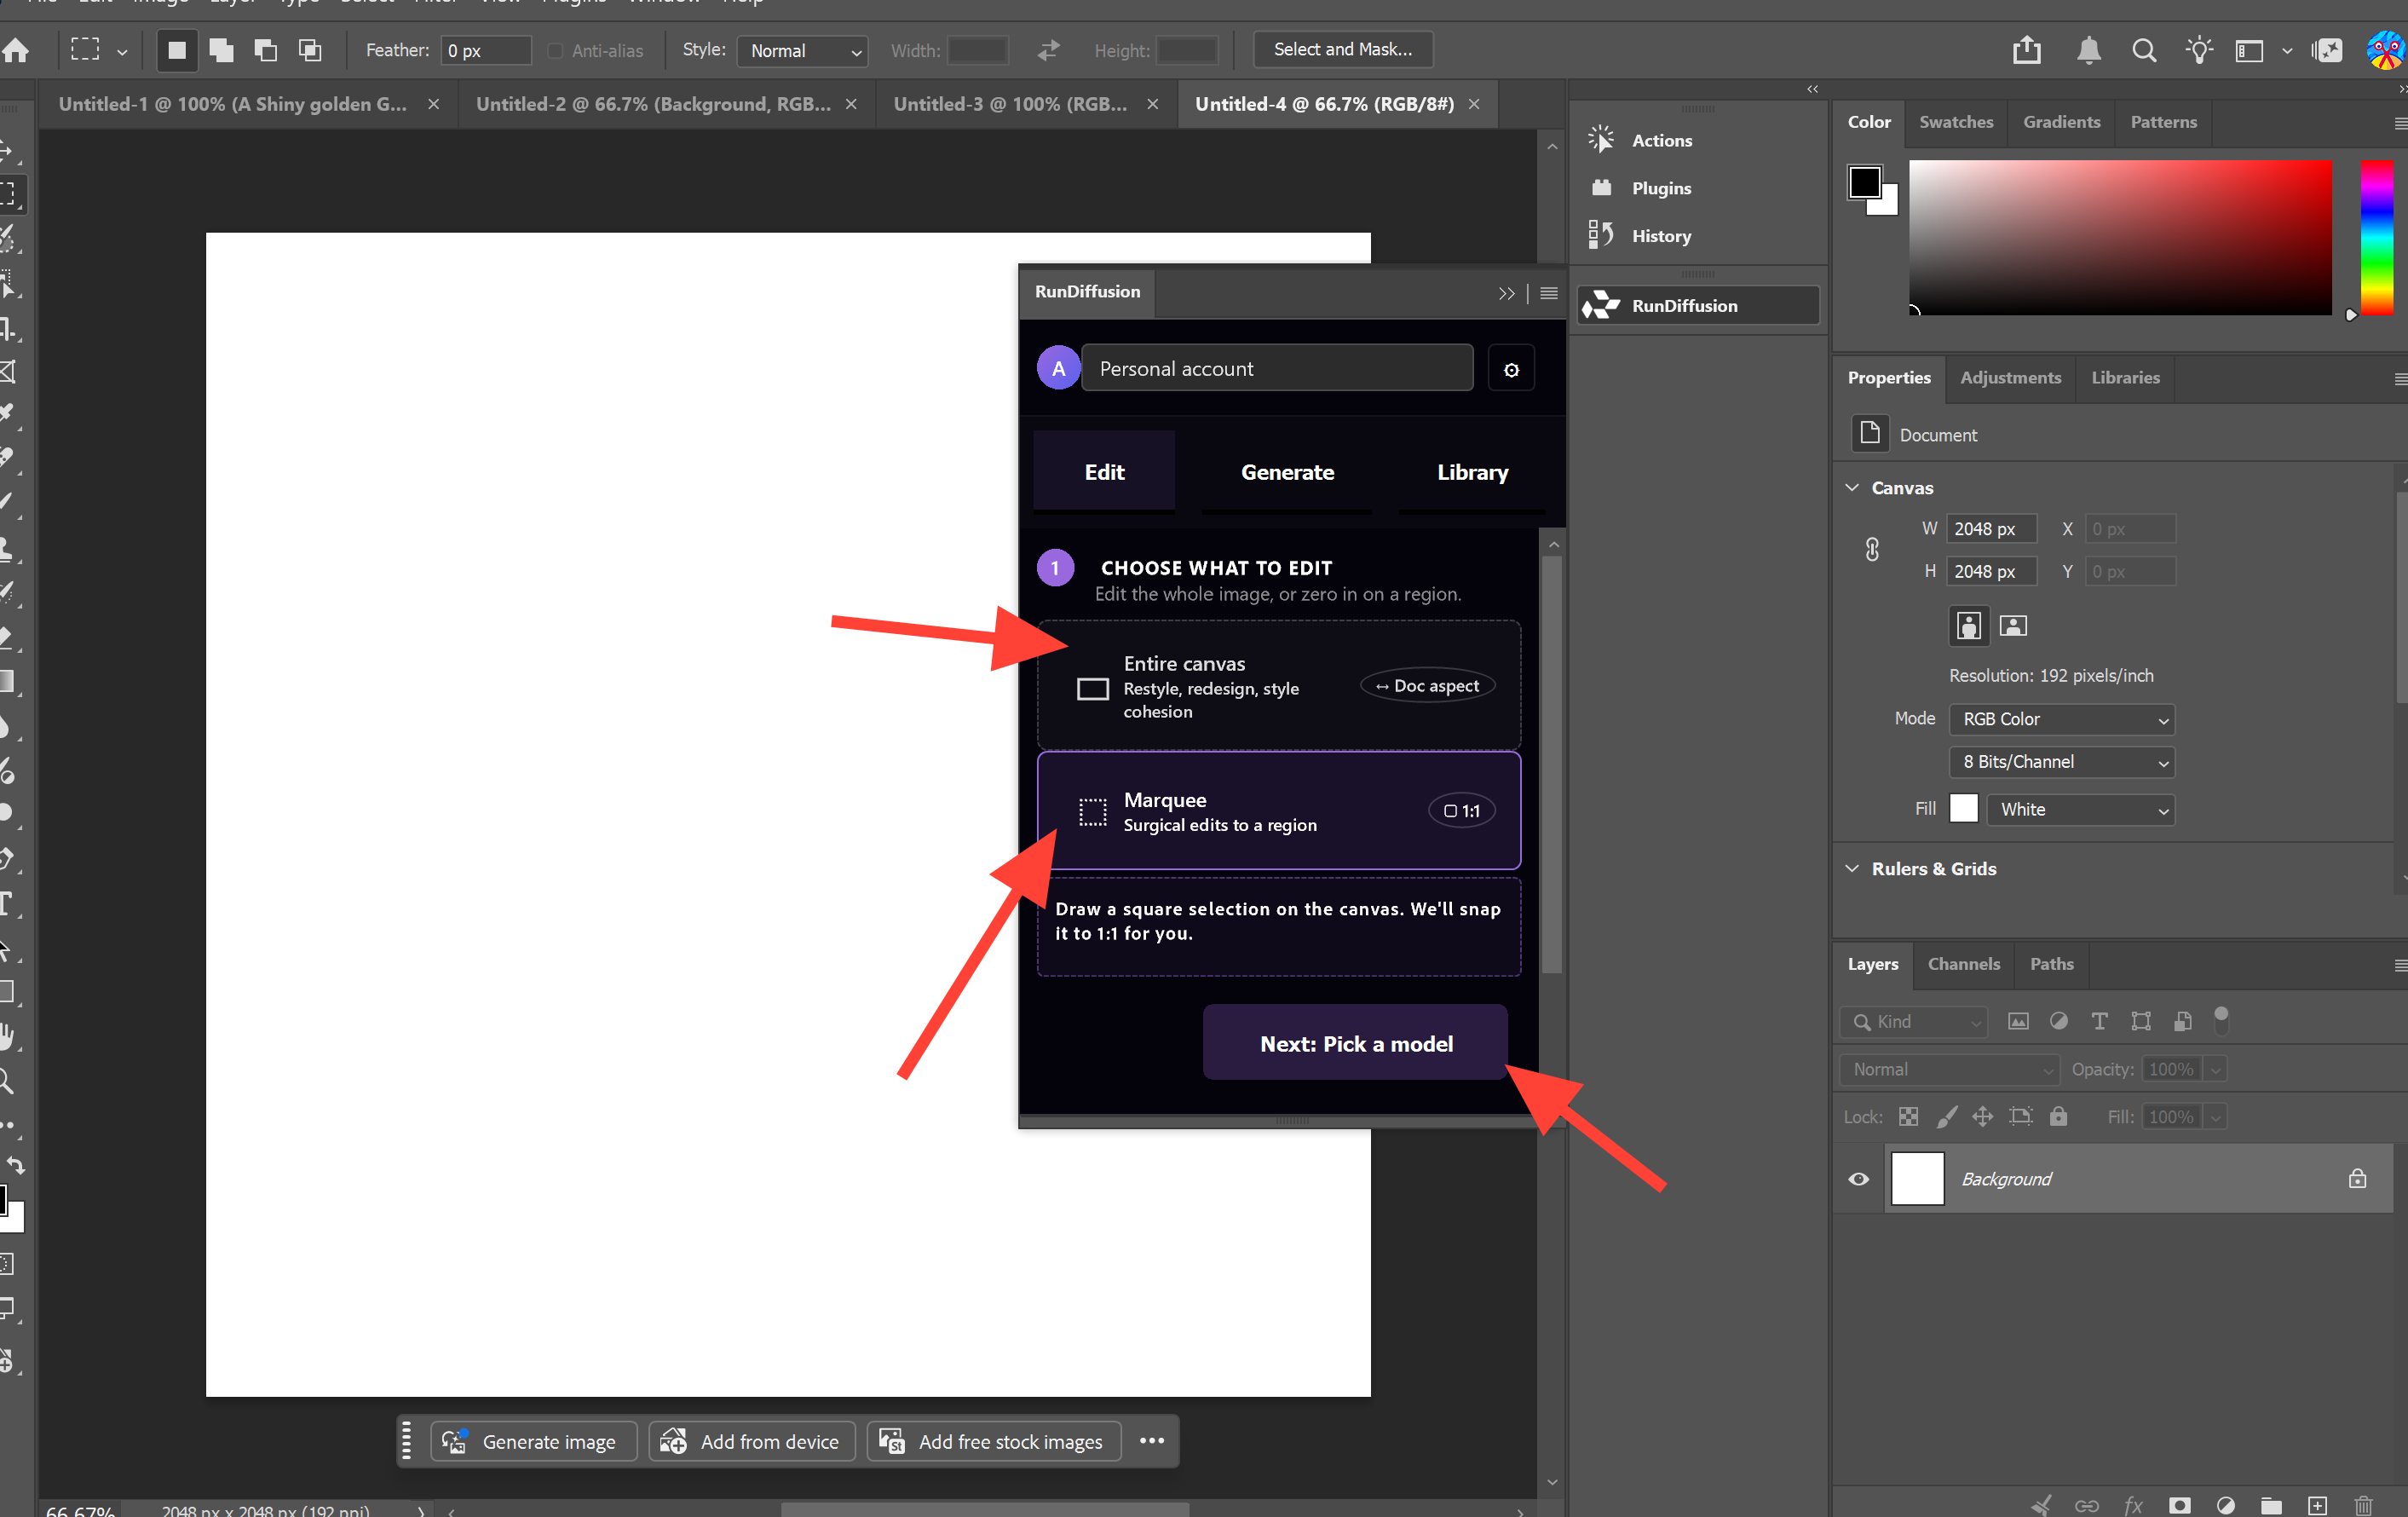
7. Choose What to Edit
If you are editing an image, choose whether to edit:
- Entire Canvas
- Marquee
These will give you the option to edit the full image or only a specific part of it. Once you clicked on your preference click Next: Pick a model
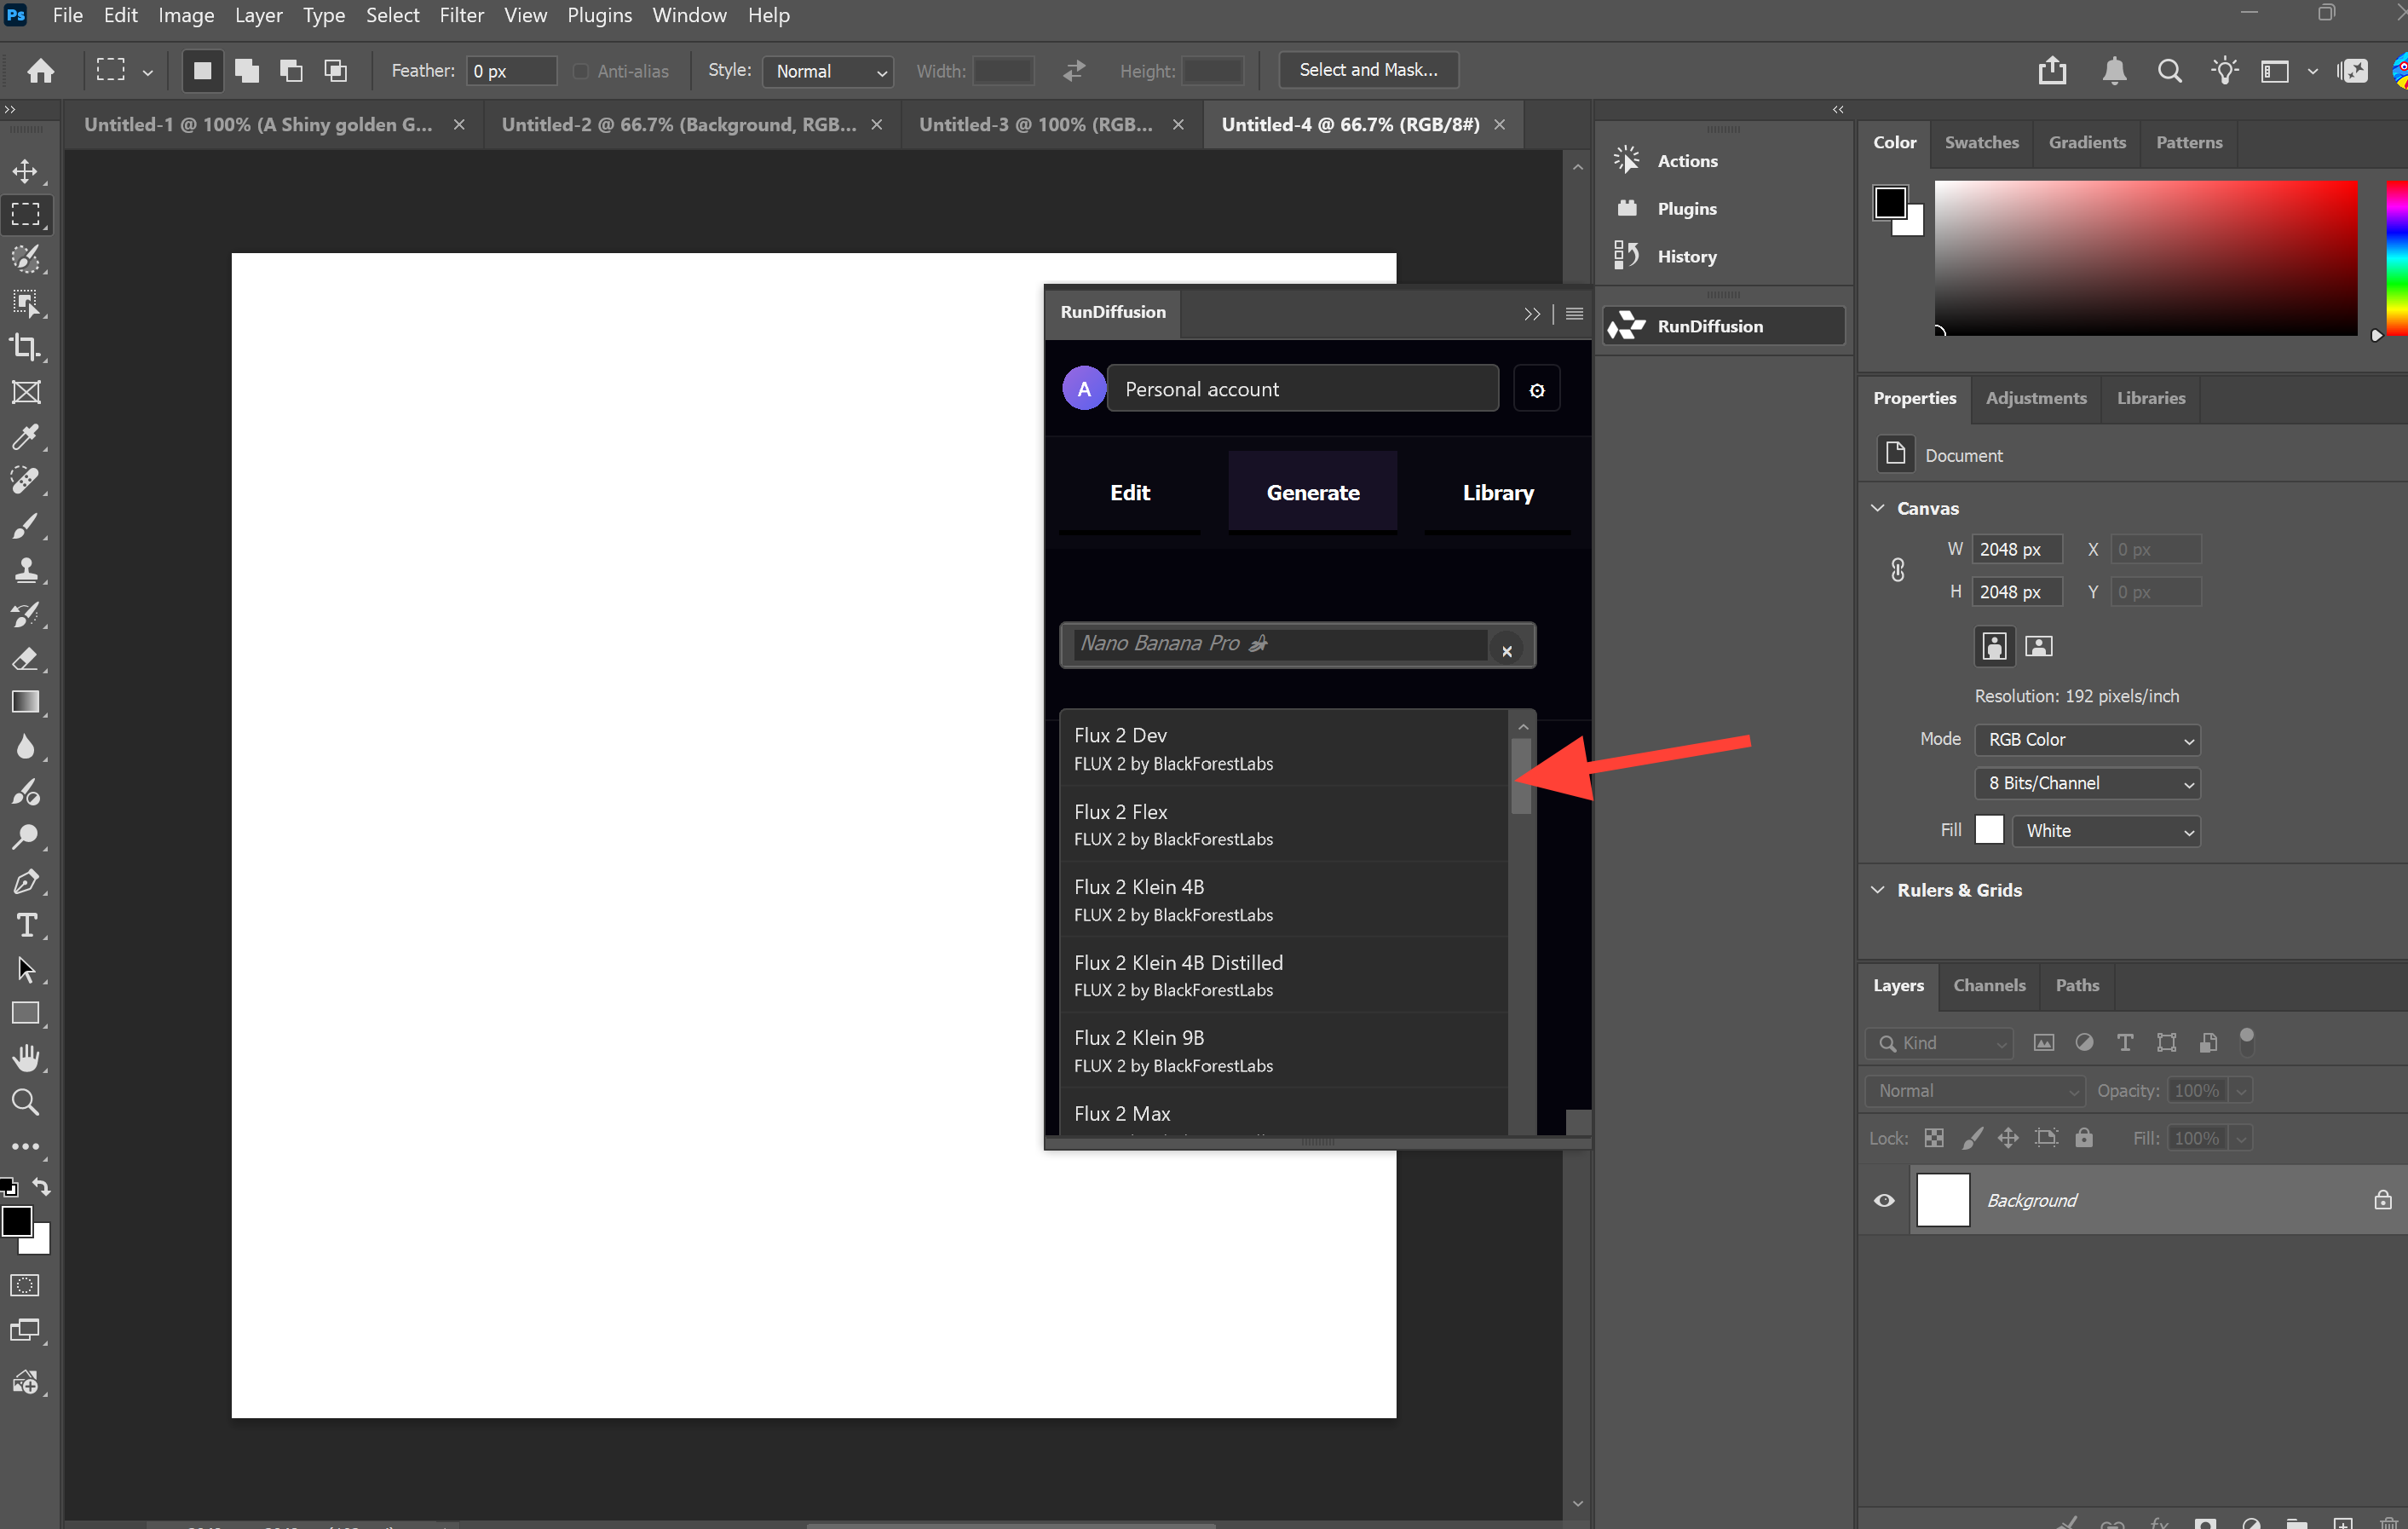
8. Select Your Tool
Choose the model you want to use. Generate lists numerous AI models. We provide 3 strong Edit models Nano Banana 2, Seedream and ChatGPT. More will be add in the future. Available models may vary.
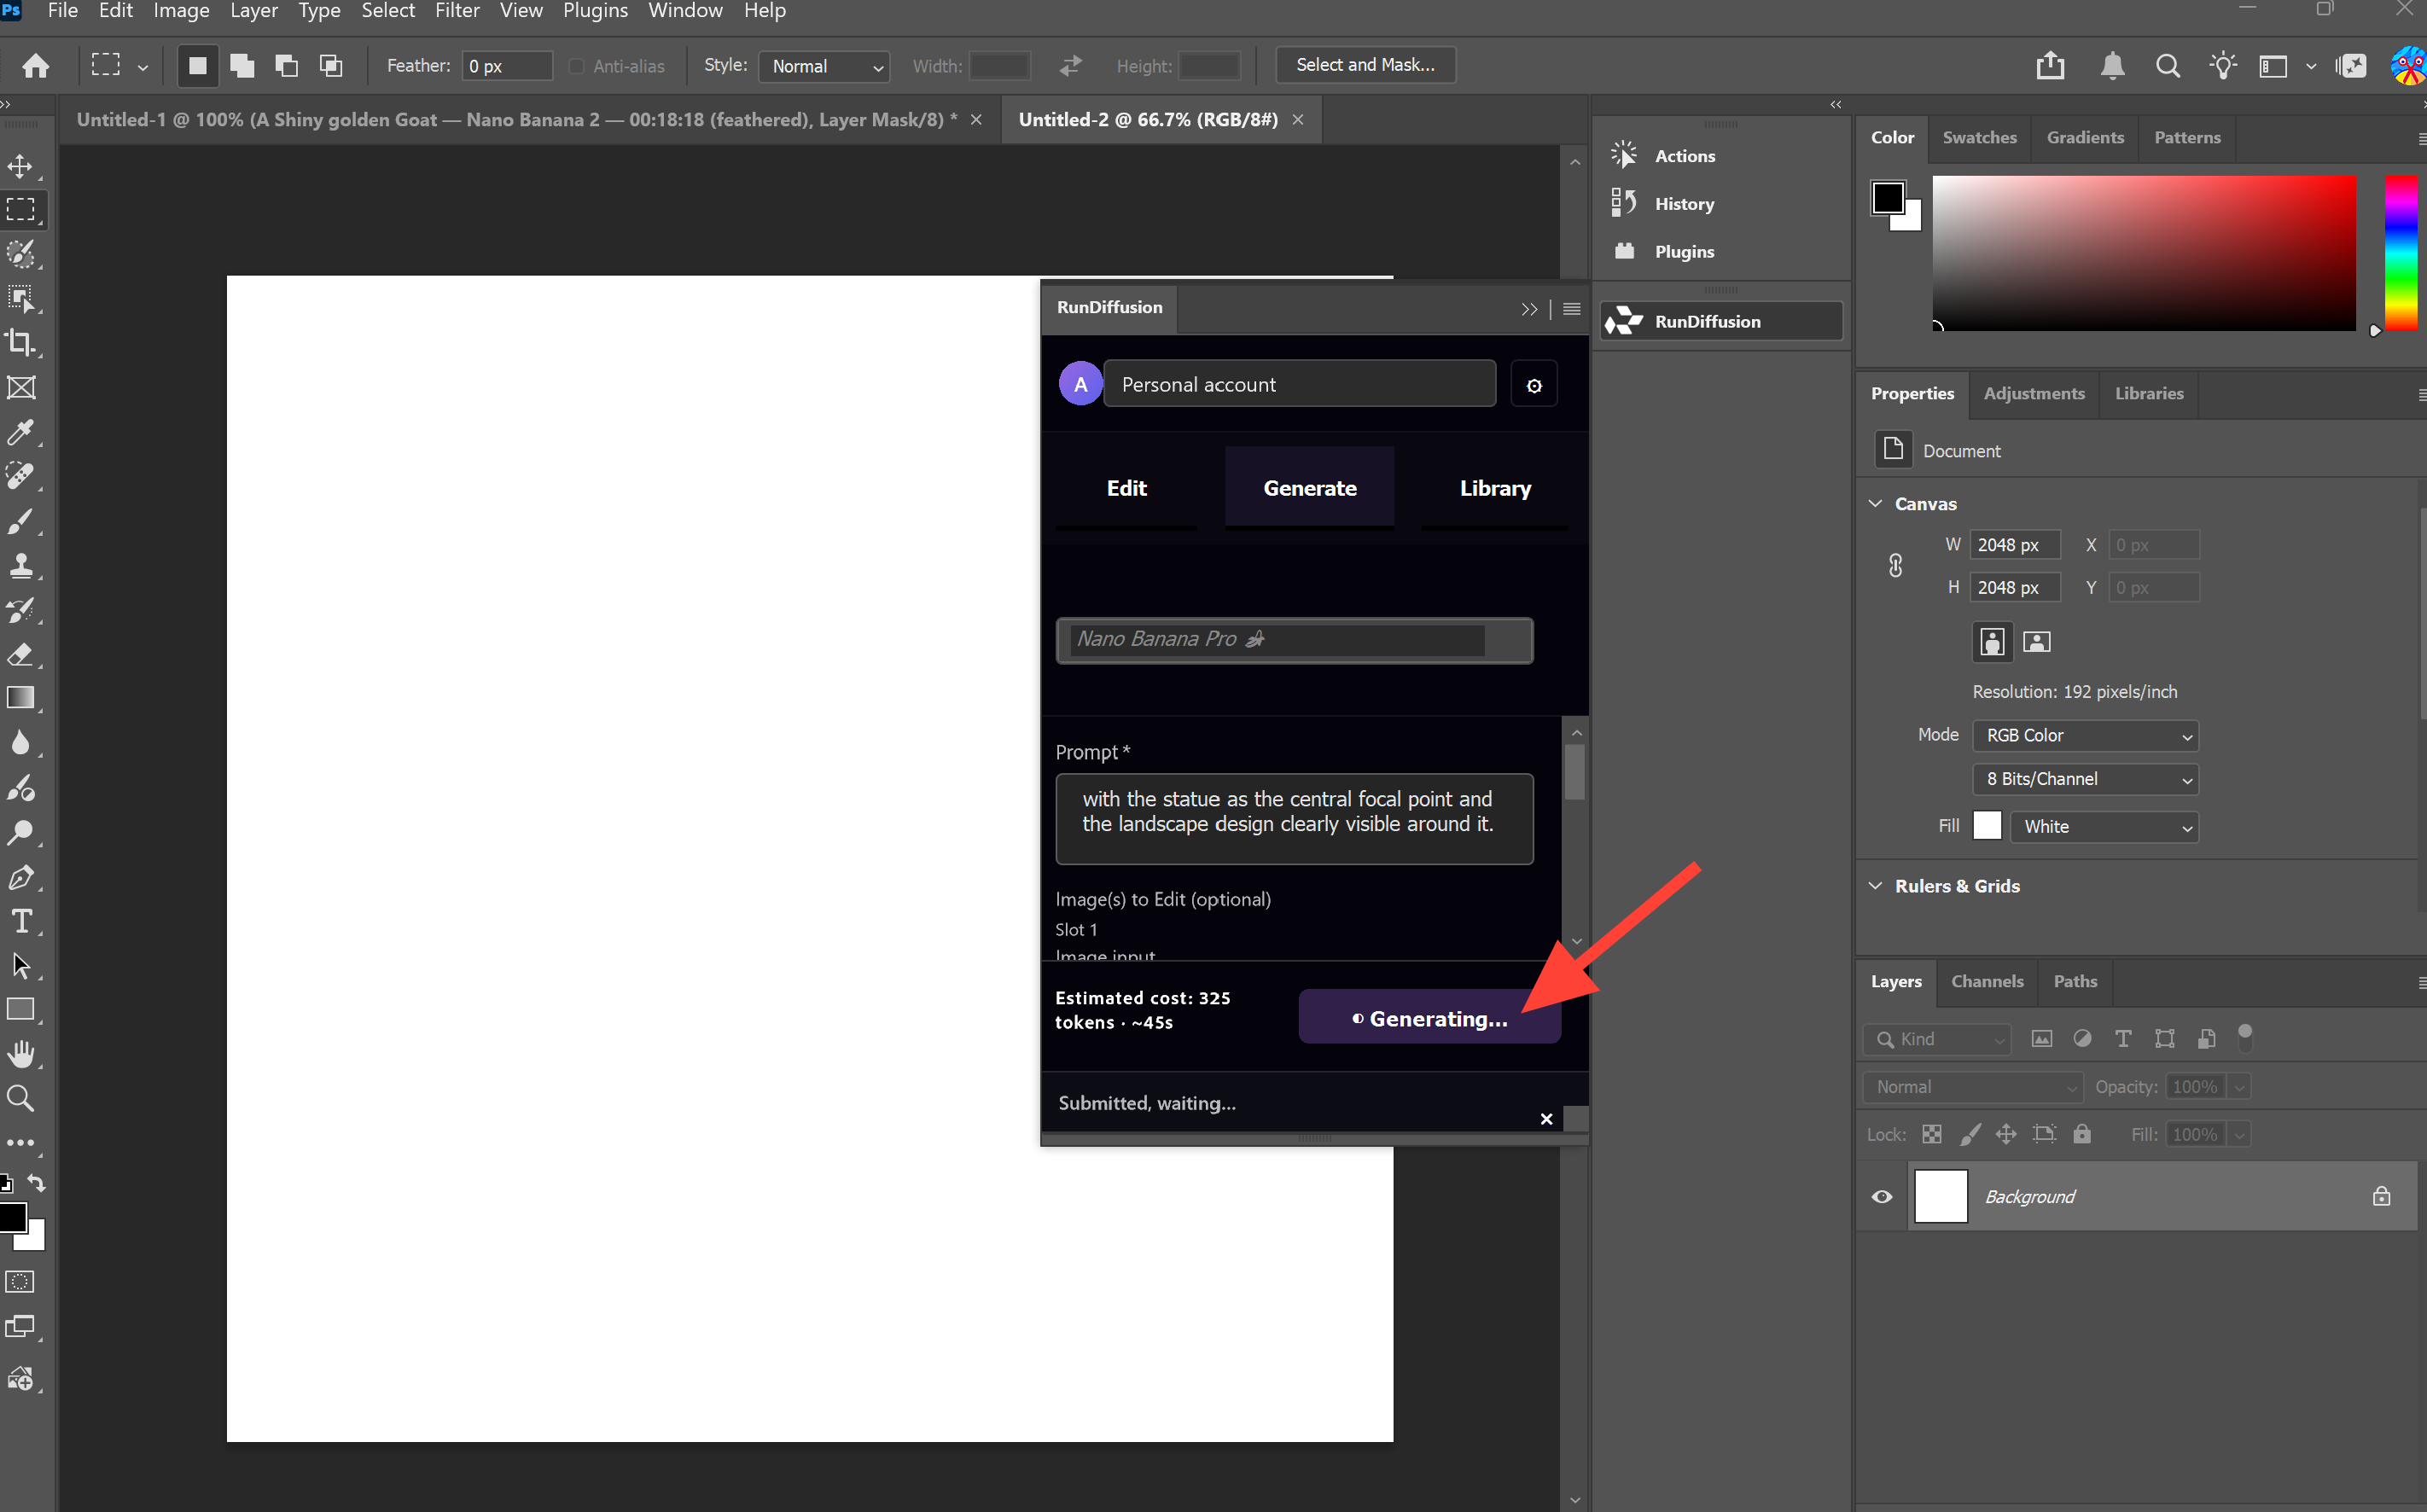
9. Write a Prompt
Enter the prompt describing the result you want. For best results, be specific about subject, style, lighting, materials, mood, or changes you want to make.
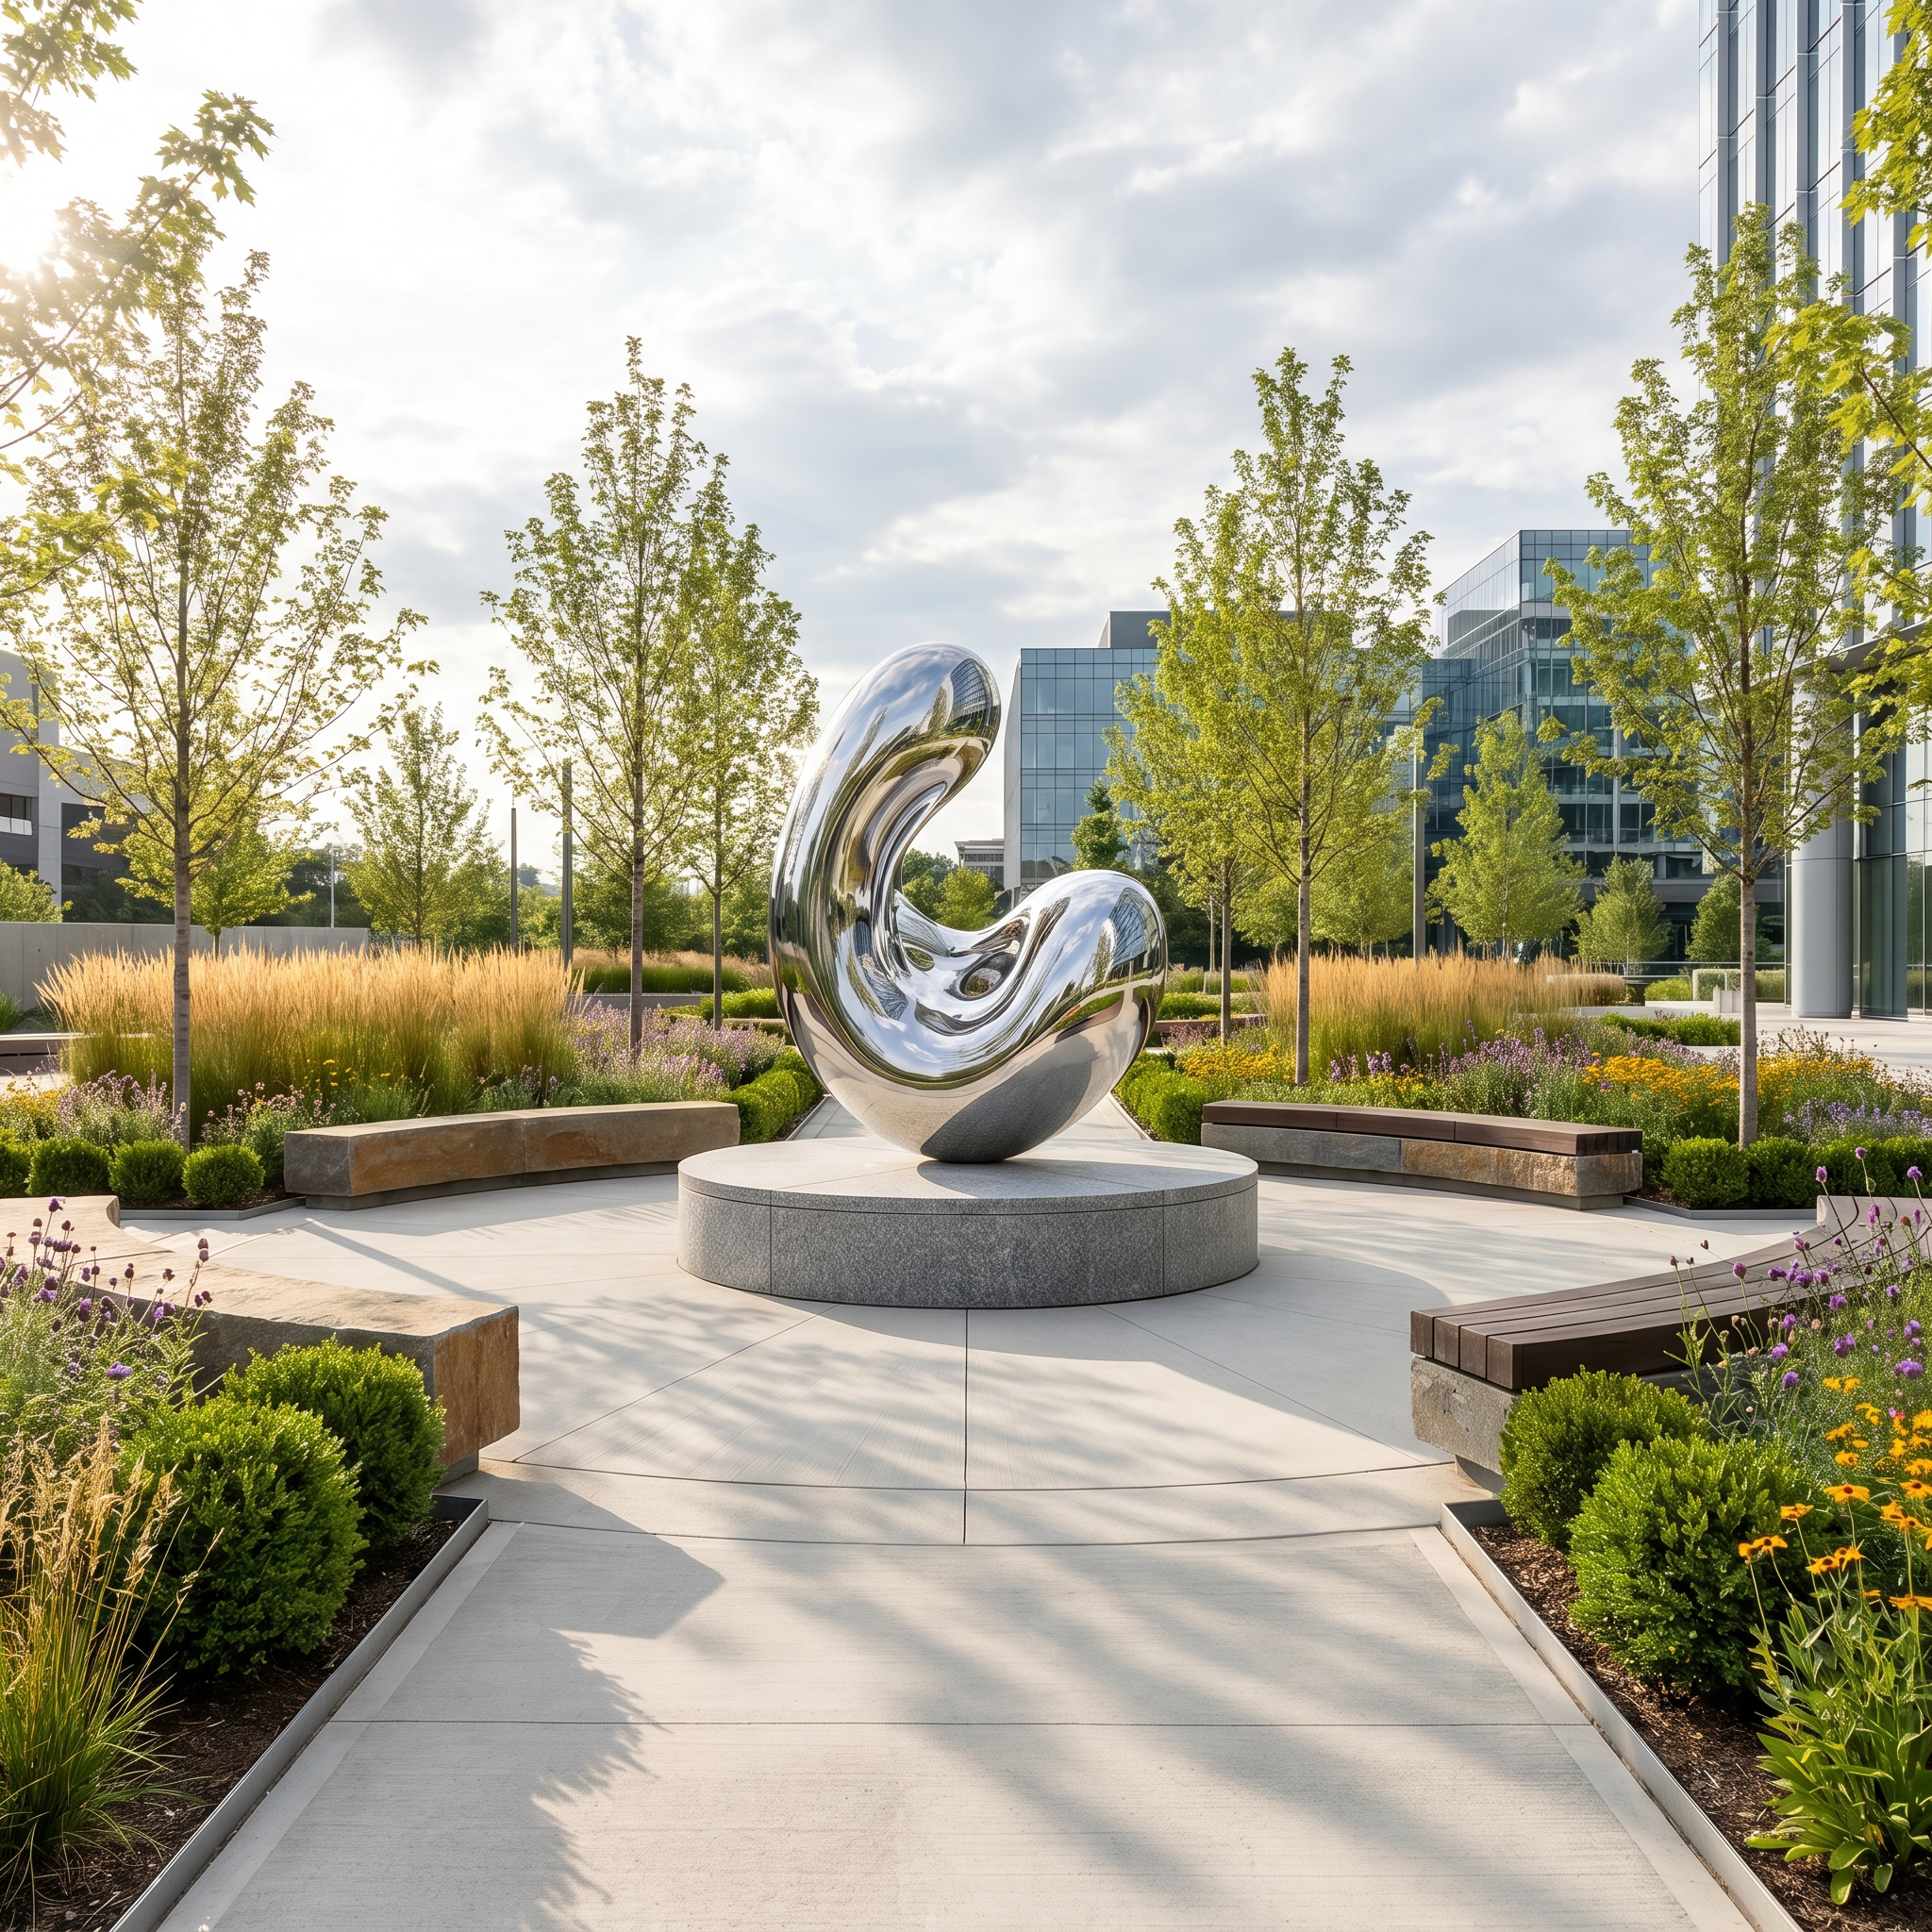
Example Architecture Prompt:
A contemporary landscape architecture scene centered on a smooth metallic statue shaped like a fluid, flowing form. The statue has a polished chrome surface with continuous liquid-like curves, rounded edges, and reflective highlights, positioned on a circular stone plinth in the center of a refined public garden. Surrounding it are clean paved walkways, low ornamental grasses, sculpted shrubs, native flowering plants, and evenly spaced small trees. Modern stone seating borders the planting beds. Natural daylight from the upper left creates soft shadows across the paving and crisp reflections on the metal sculpture. Wide eye-level composition, with the statue as the central focal point and the landscape design clearly visible around
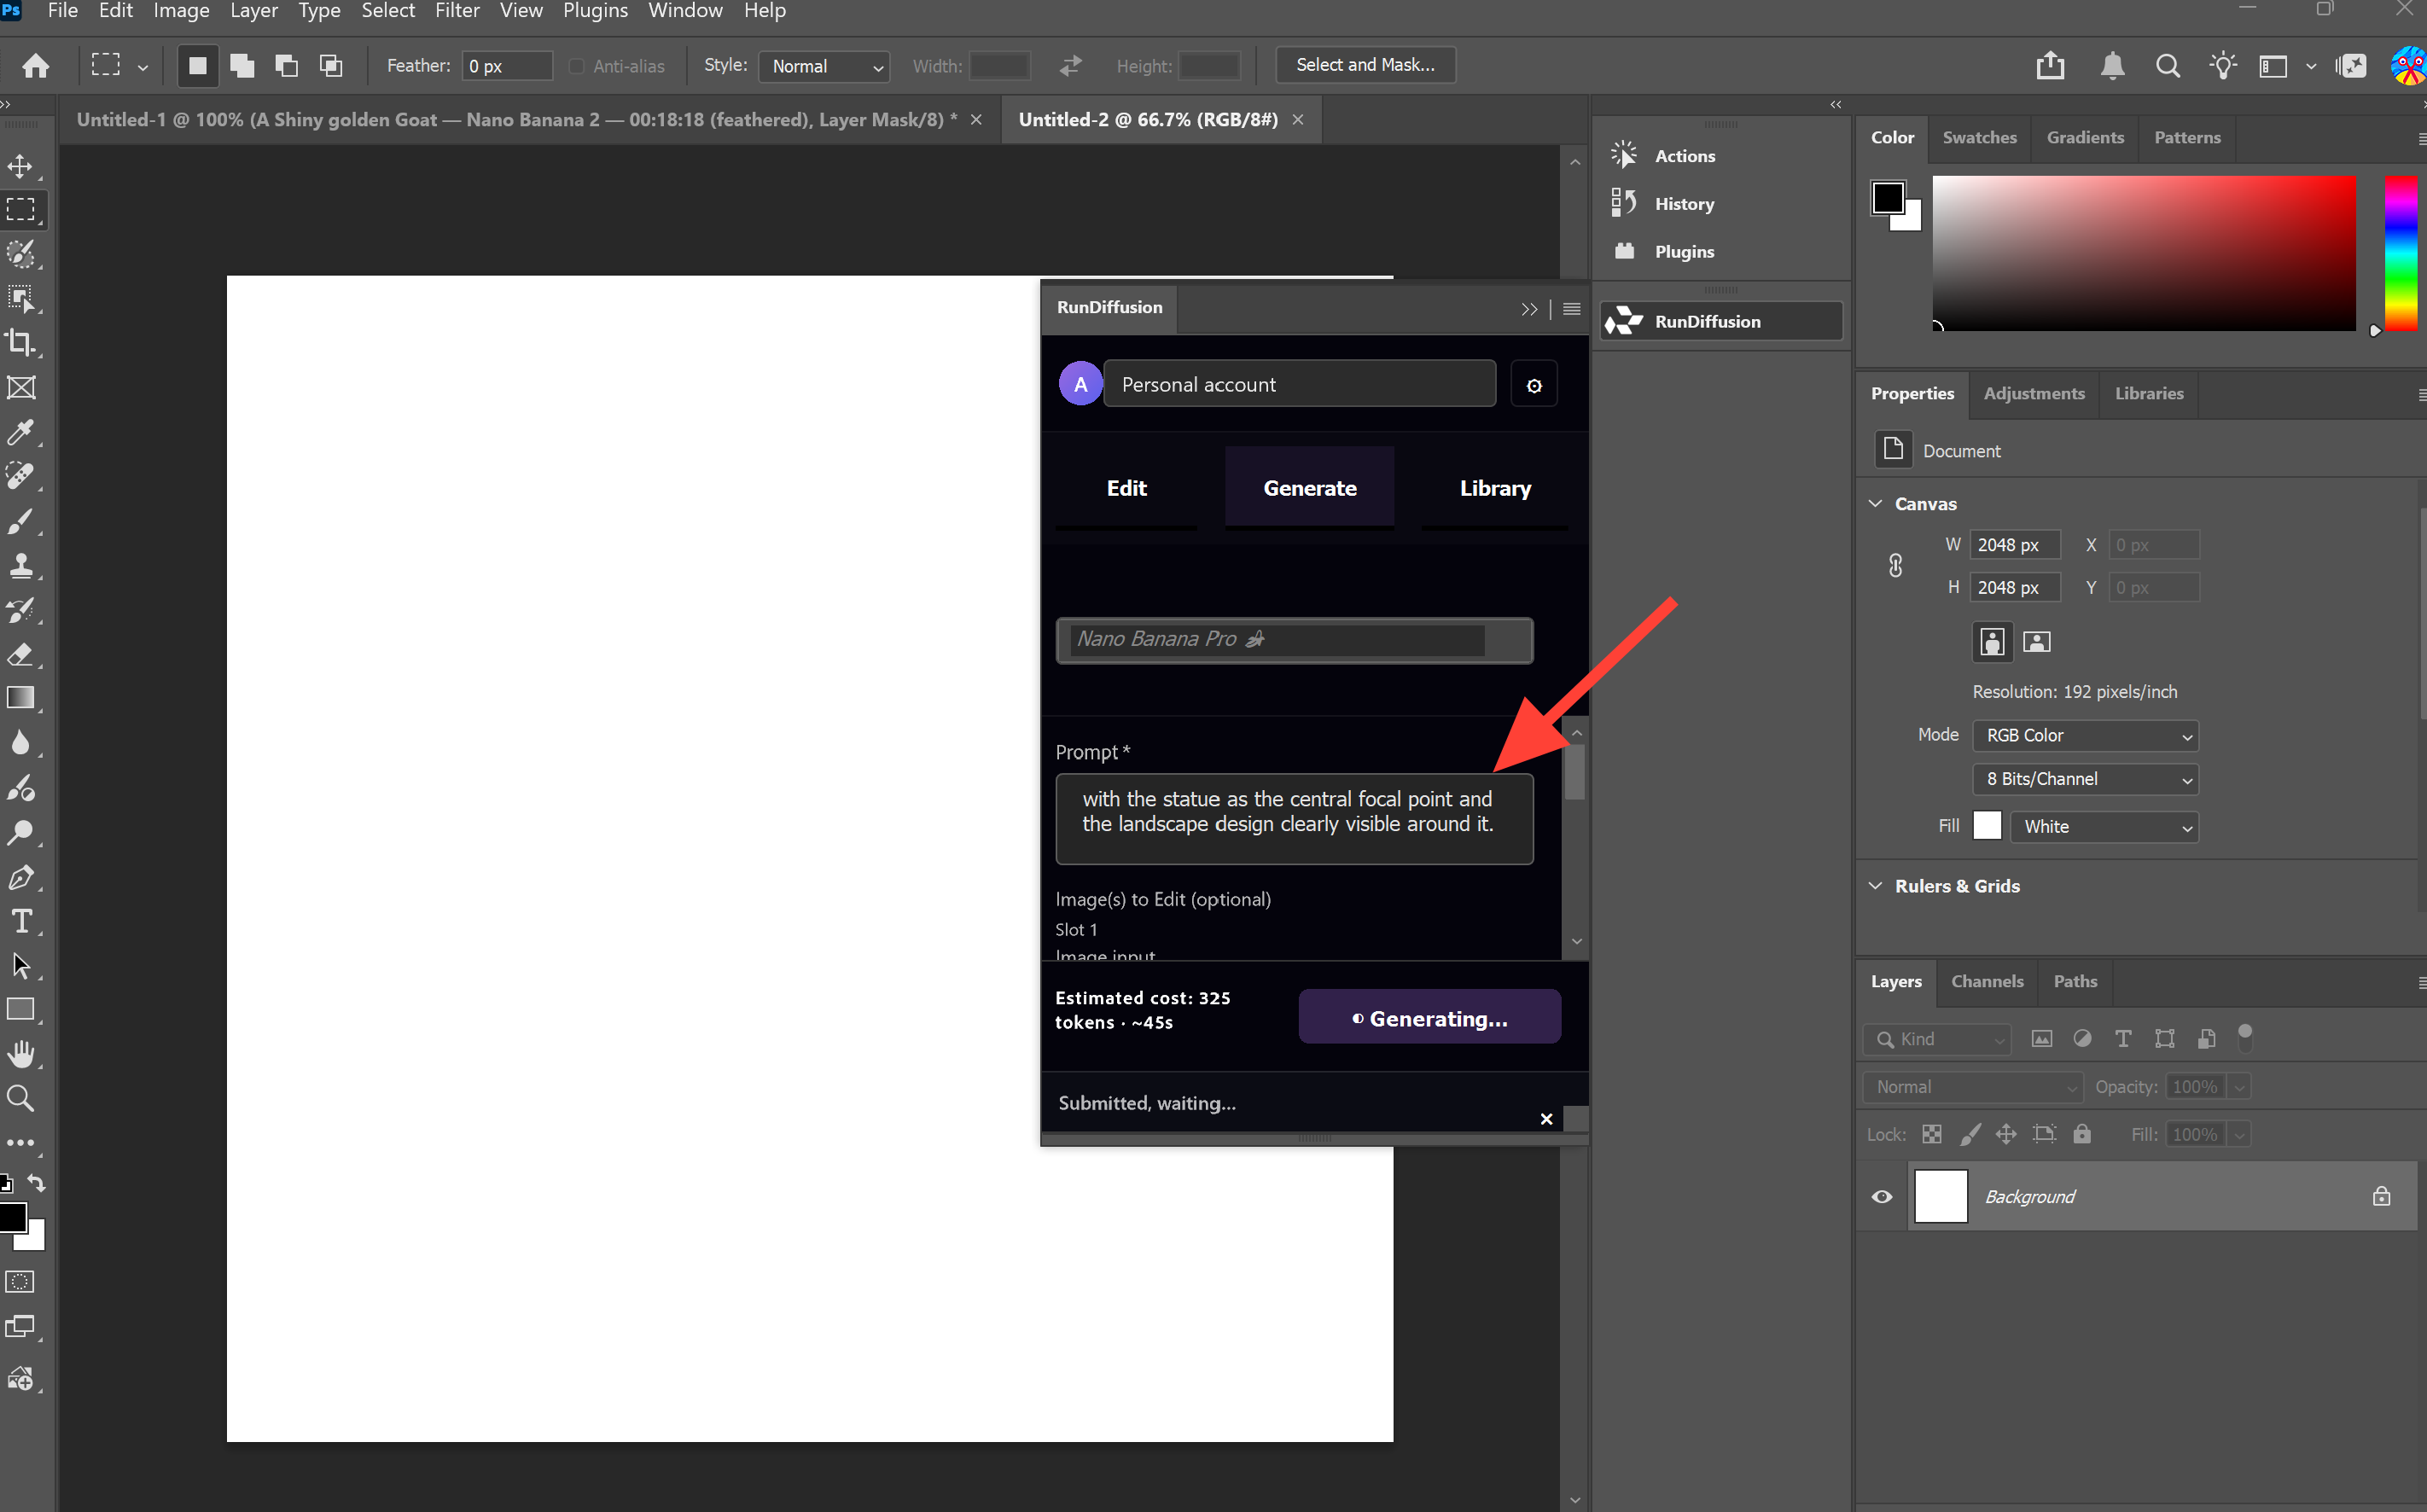
10. Click Generate
Click Generate to make your changes. The plugin will process your request and return the result inside your Photoshop workflow.
How to Edit
Use the marquee tool to select a section of the image. Click Generate to make your changes. The plugin will process your request and return the result inside your Photoshop workflow.
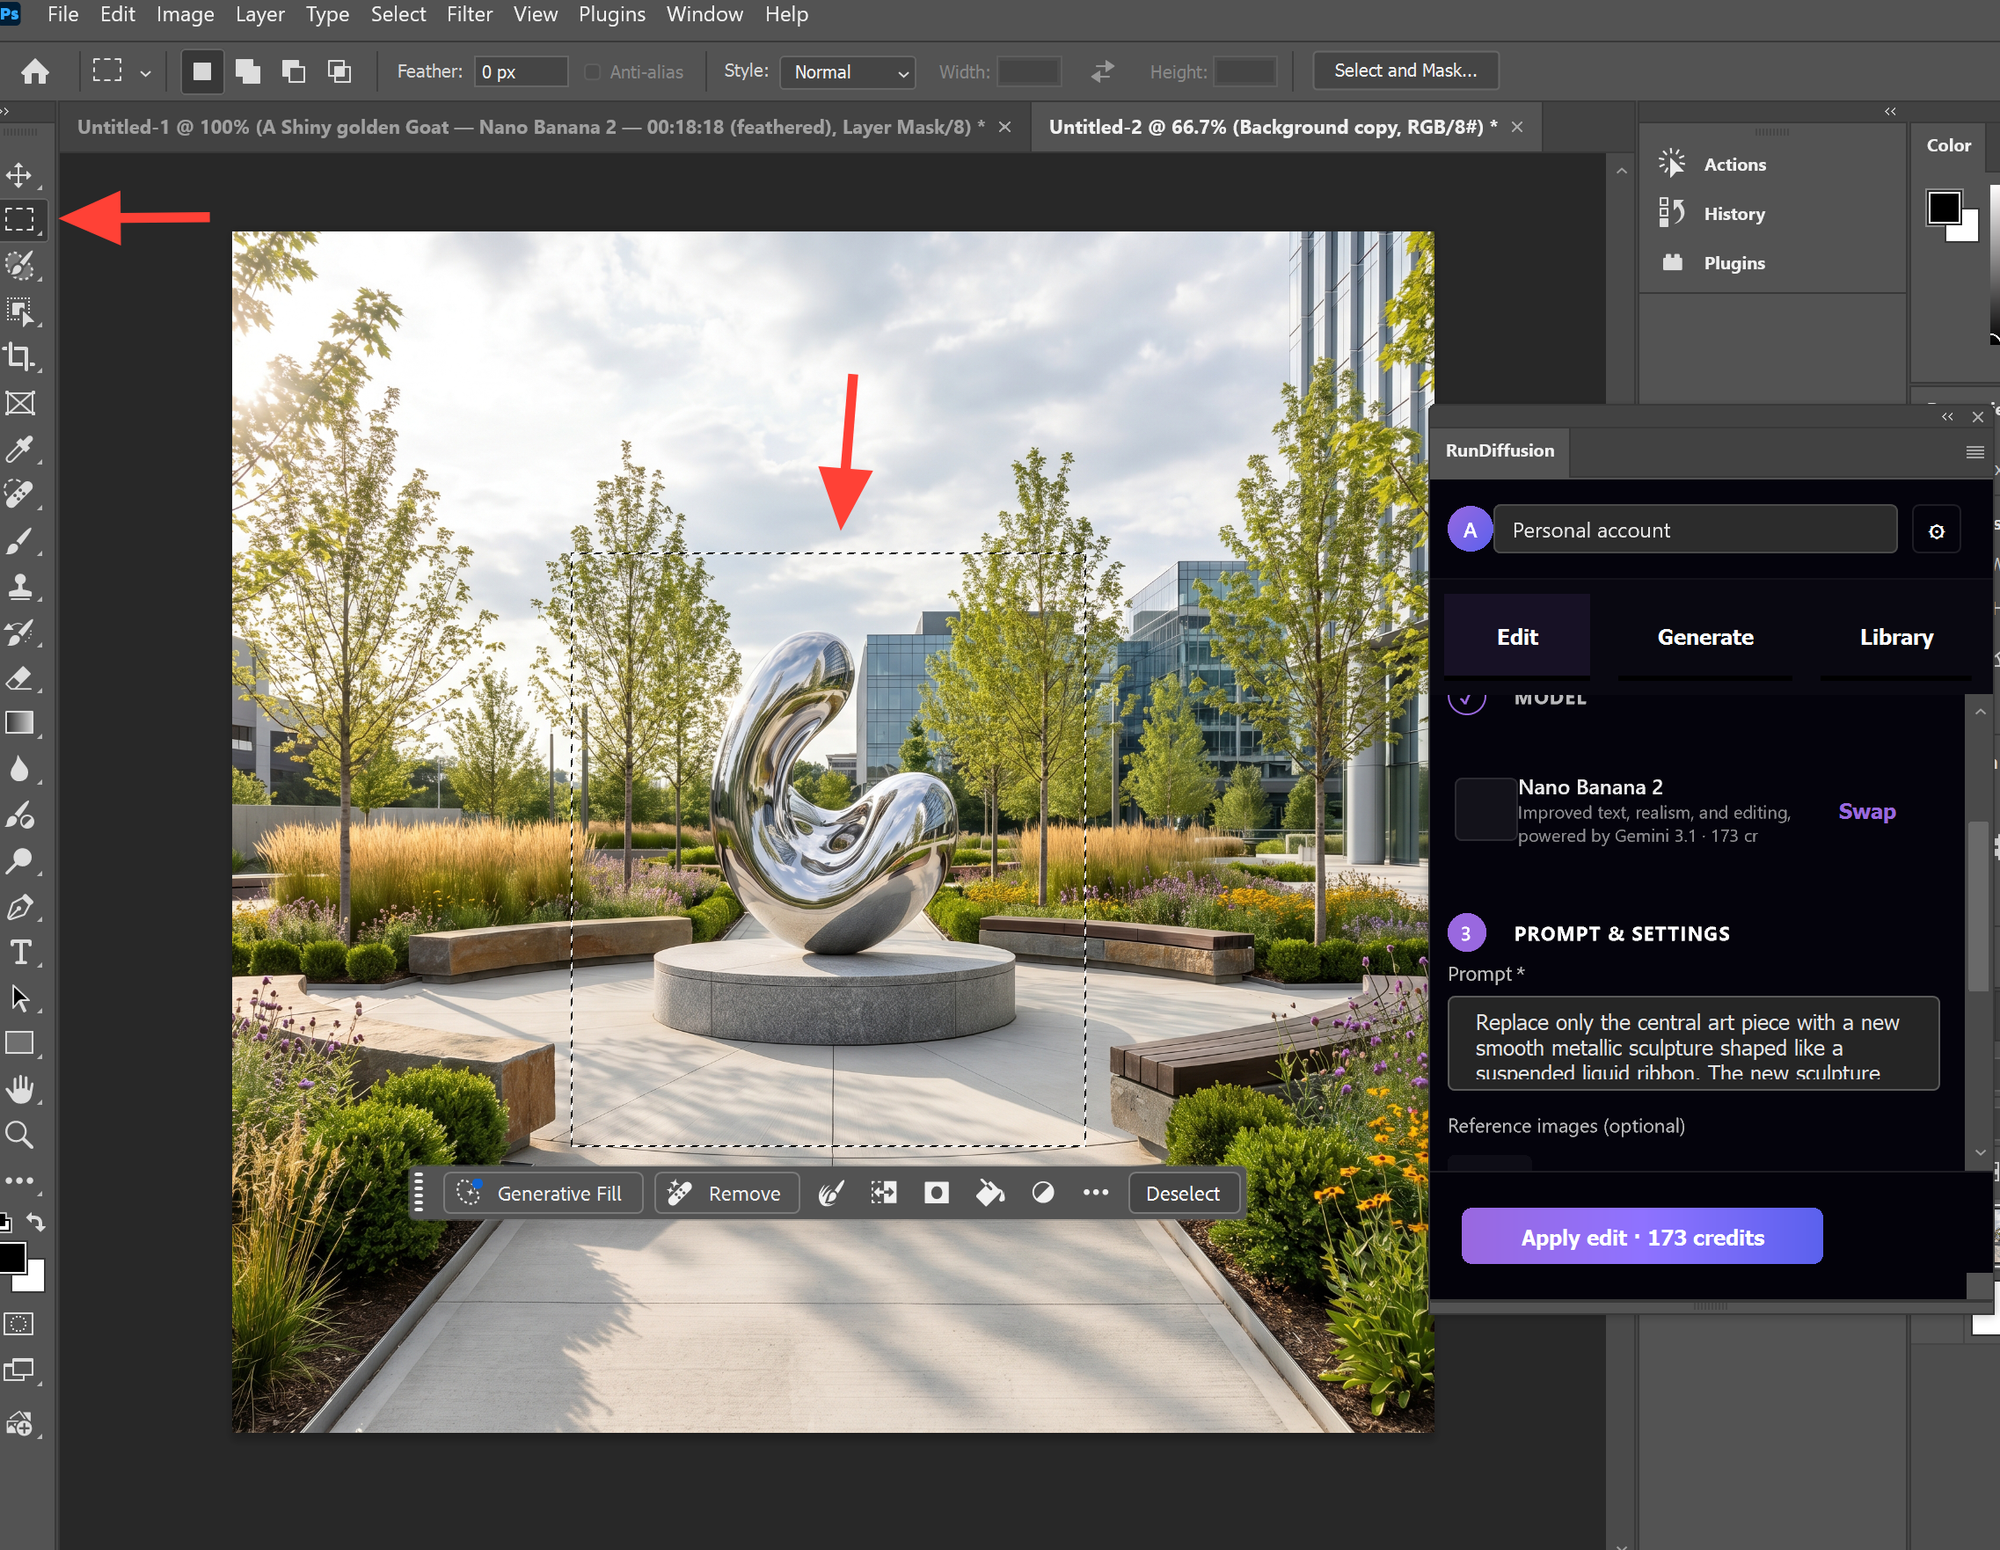
1. Select an Edit Model
Choose between Nano Banana 2, ChatGPT or Seedream 4.5
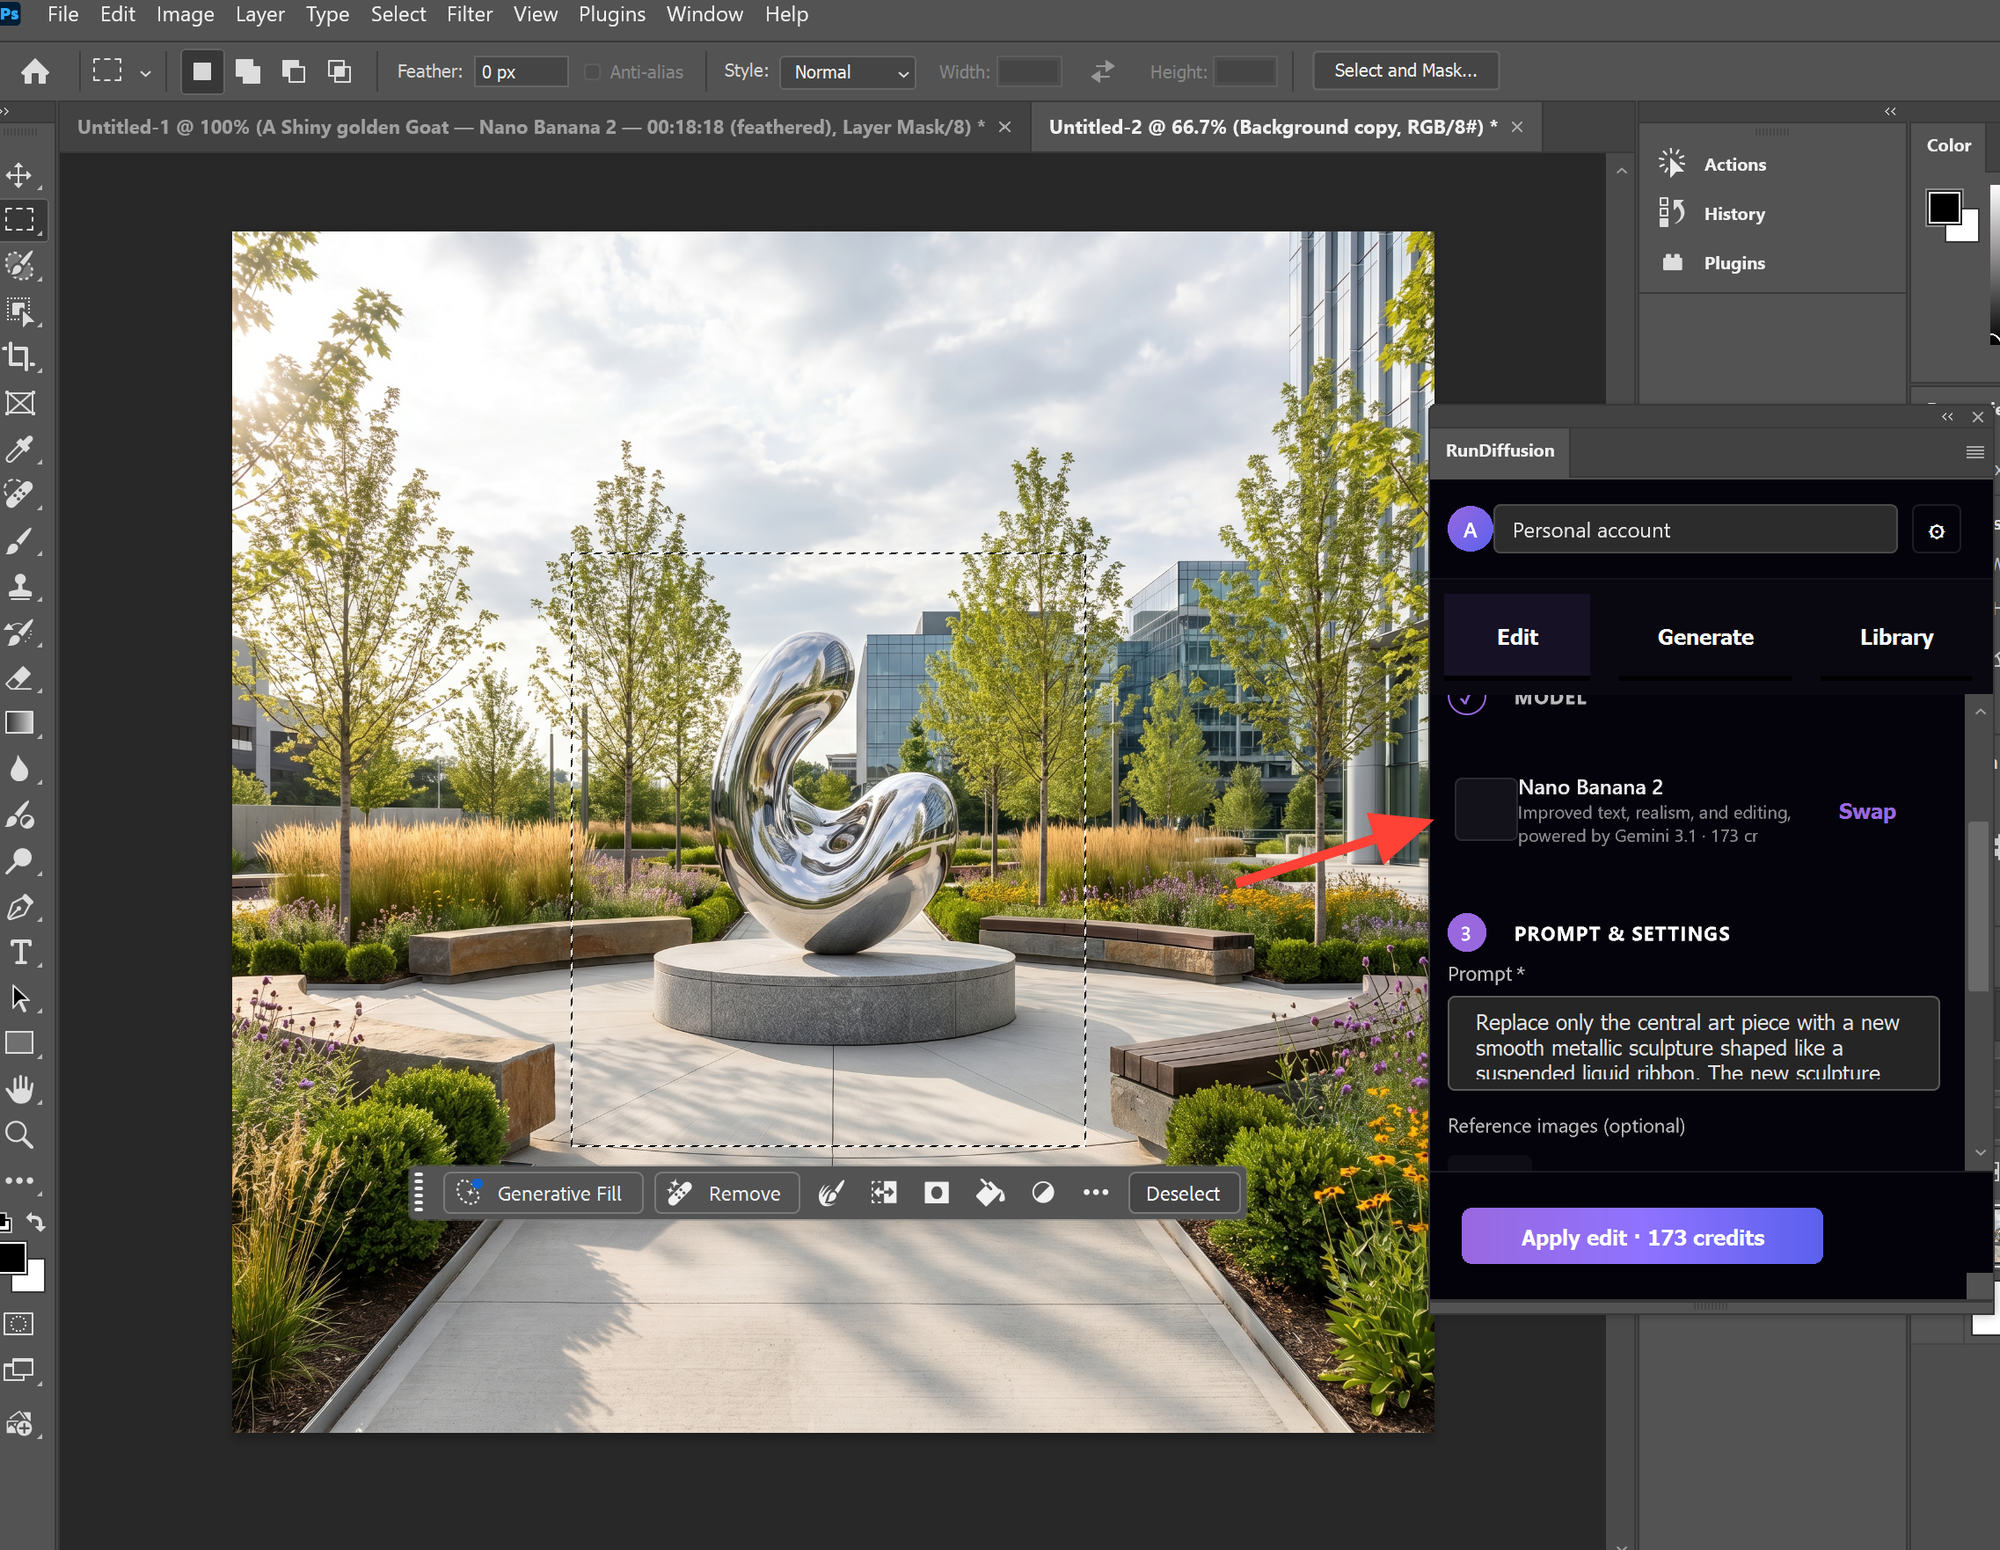
2. Write a Prompt
Enter the prompt describing the result you want. For best results, be specific about subject, style, lighting, materials, mood, or changes you want to make.
Example Architecture Prompt:
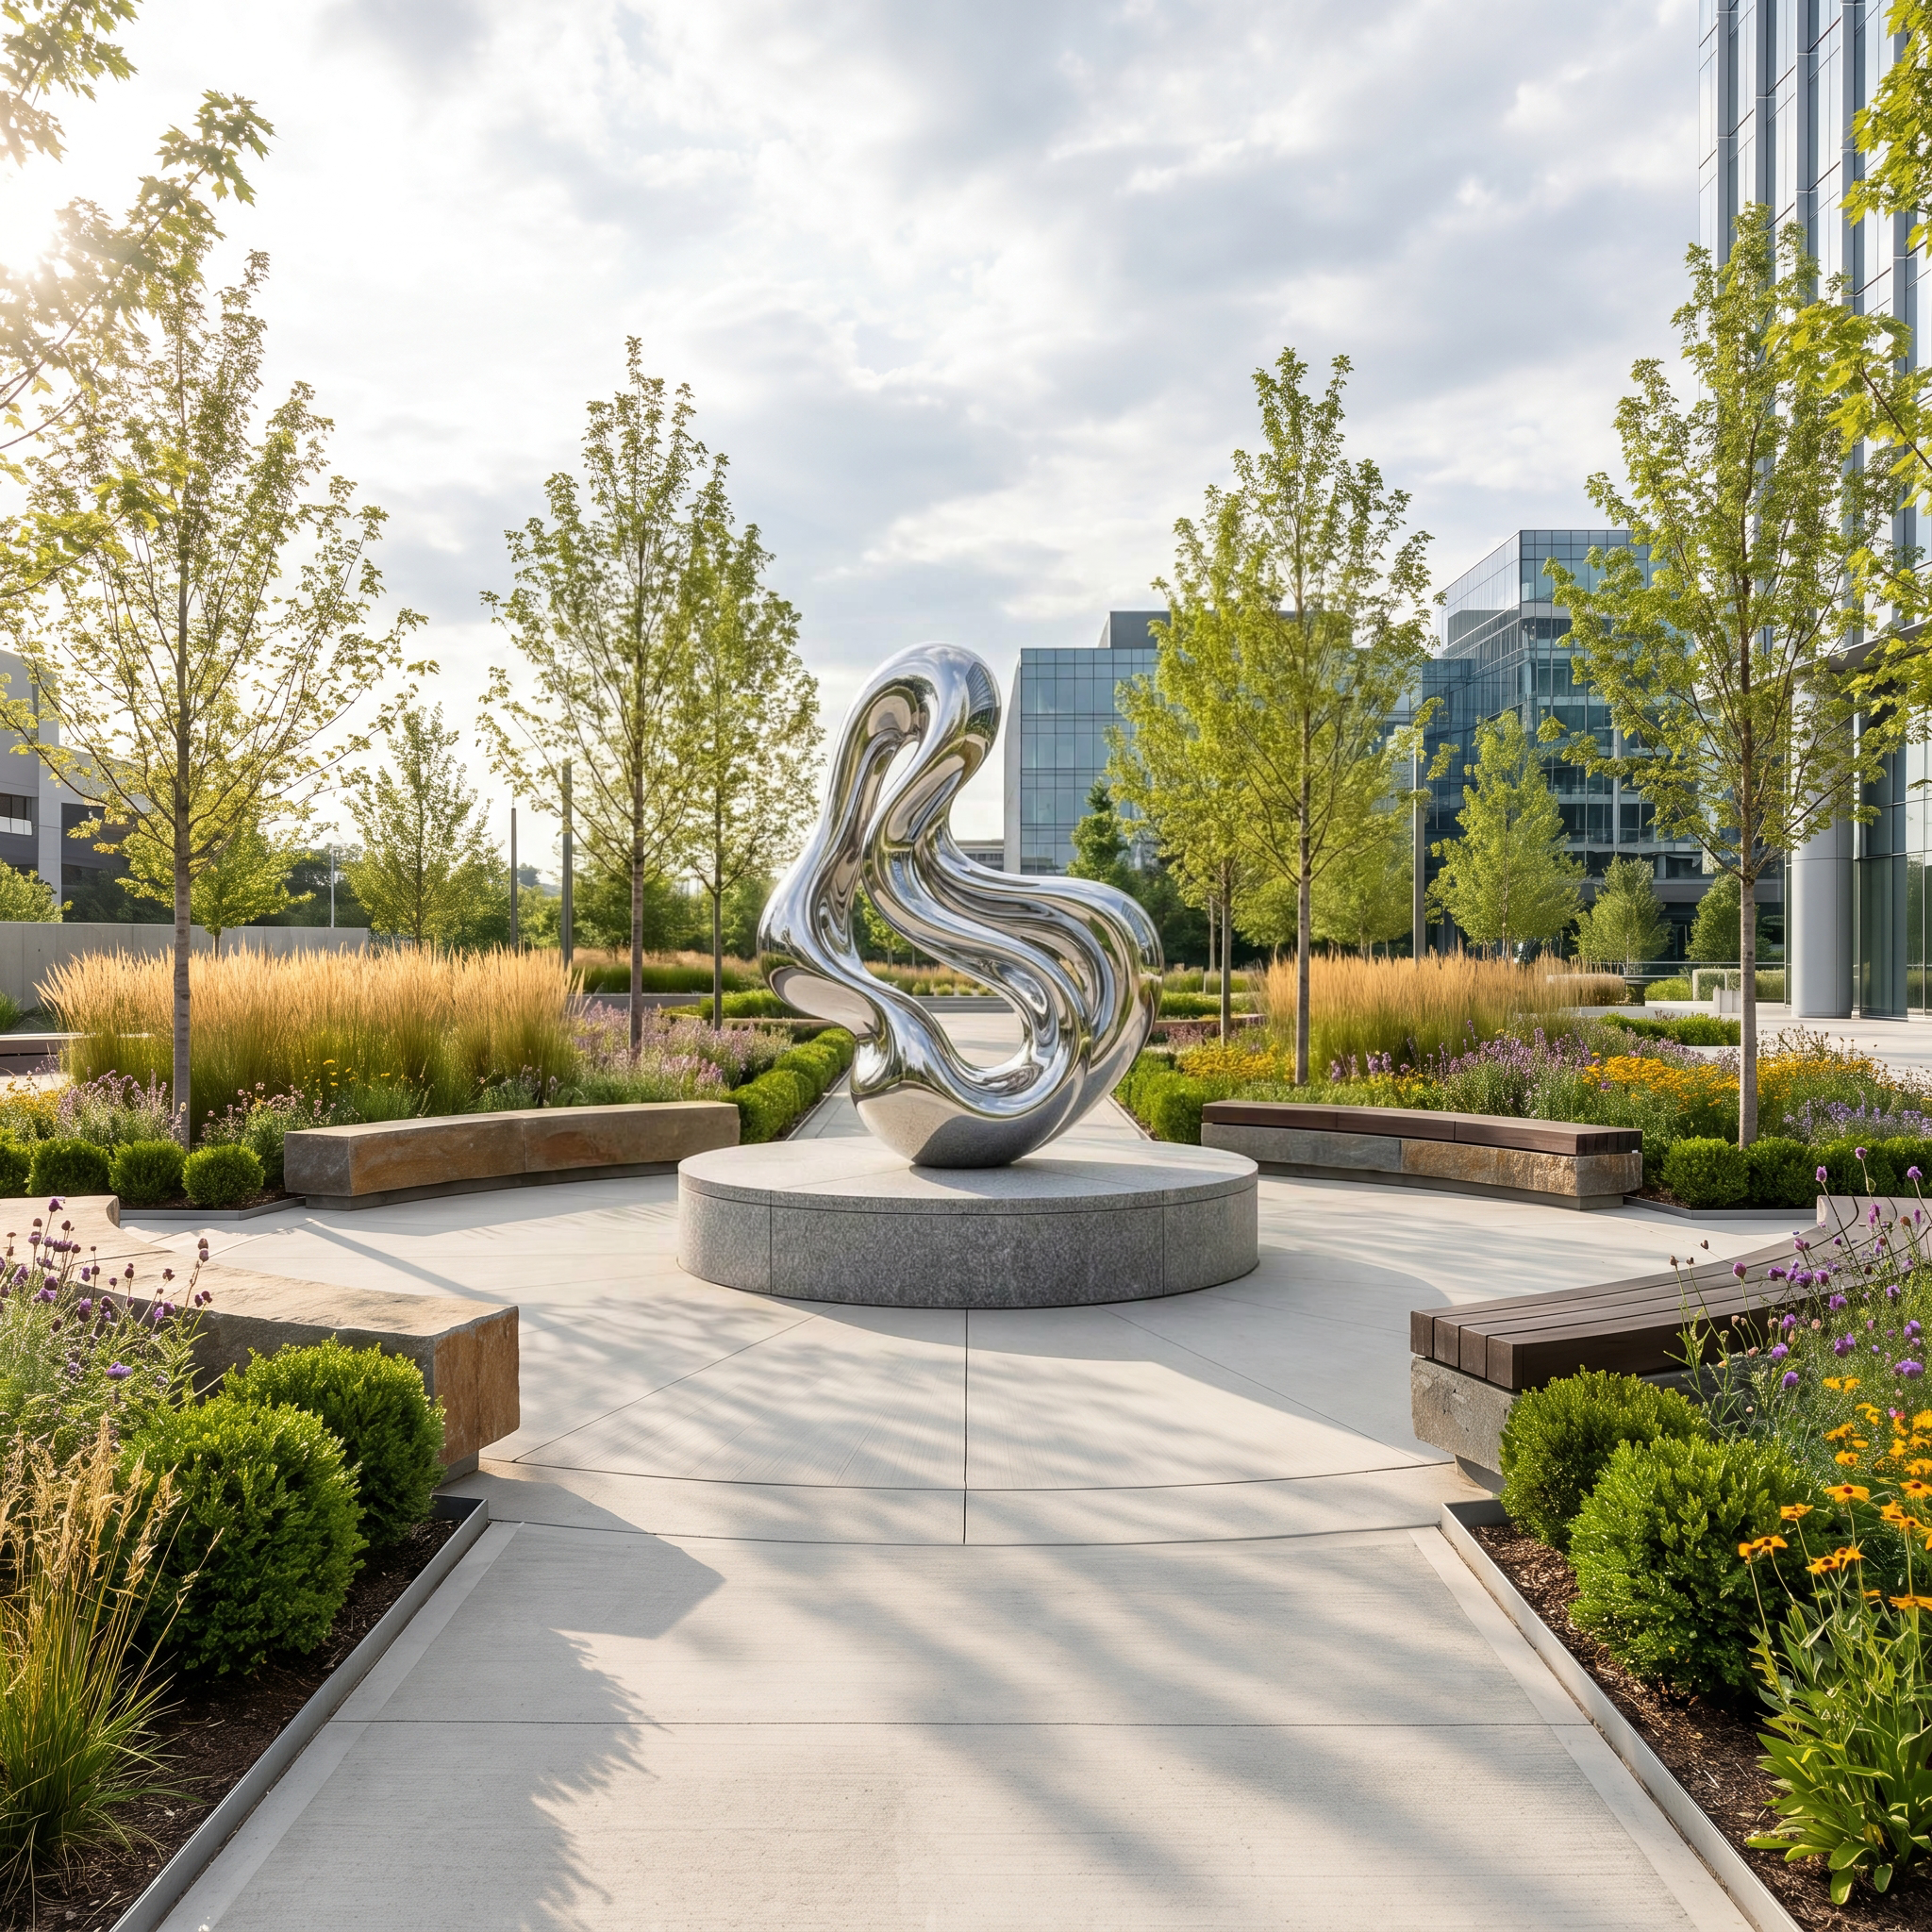
Replace only the central art piece with a new smooth metallic sculpture shaped like a suspended liquid ribbon. The new sculpture should have polished chrome material, seamless rounded surfaces, and flowing organic curves that twist upward from the base like a frozen stream of metal. Keep the same scale, placement, circular plinth, surrounding landscape, paving, trees, lighting, shadows, and camera angle unchanged. The replacement sculpture should look physically installed in the plaza, with realistic reflections, contact shadows, and no visible seams or construction joints.
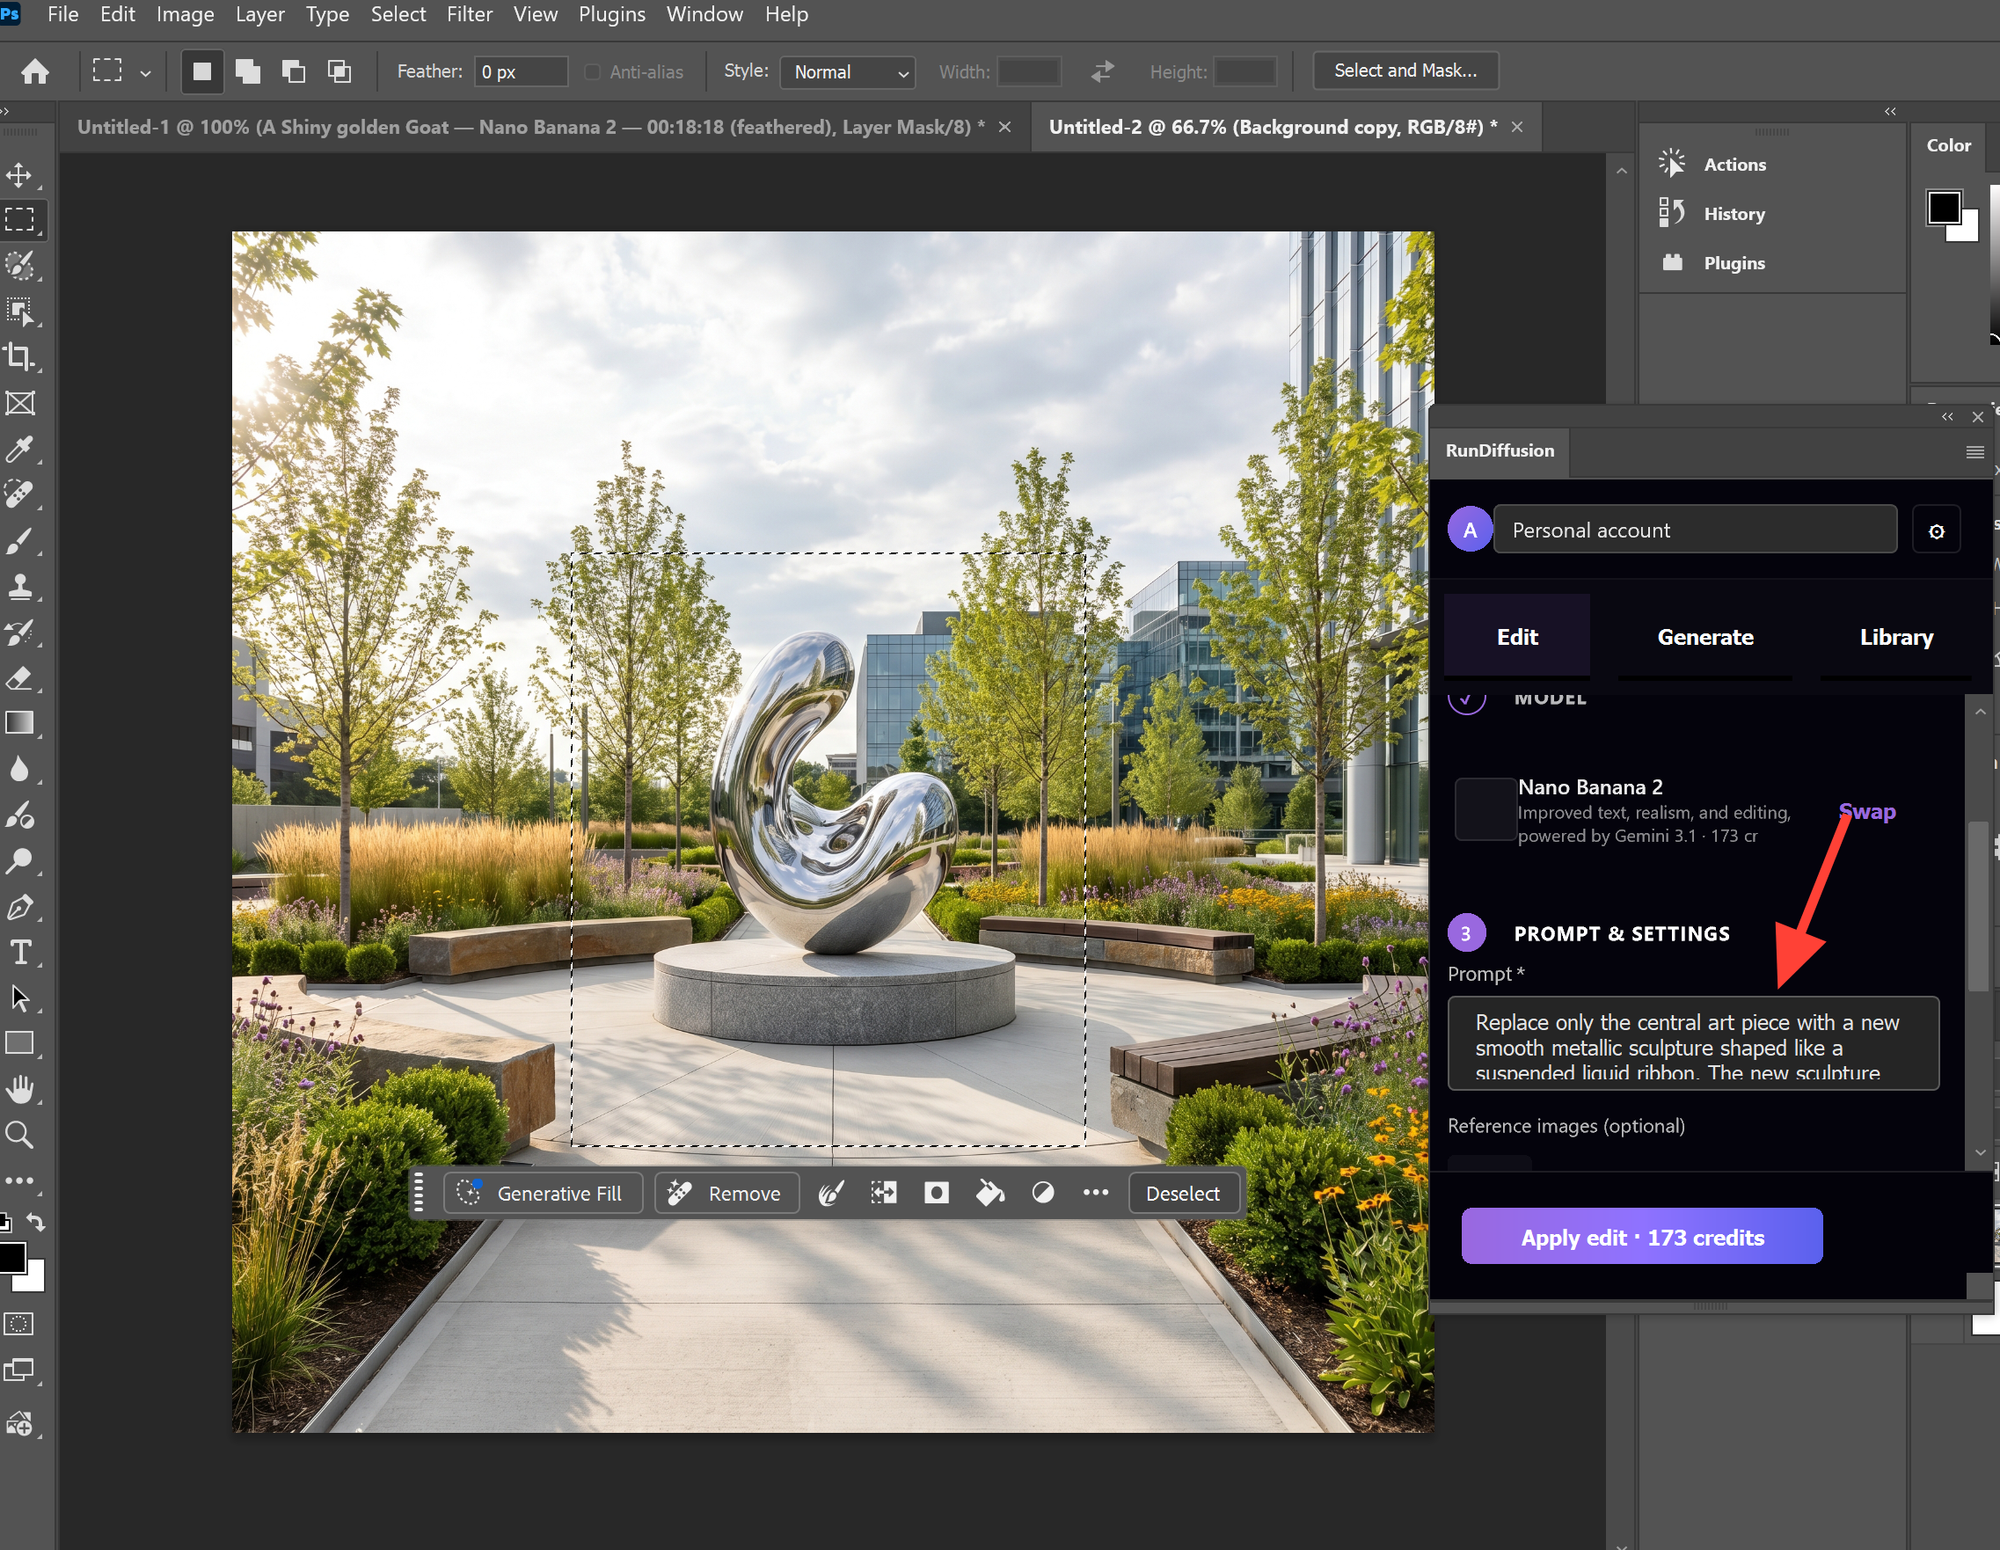
3. Apply the Edits
Click Apply Edit for the AI to create a new layer of the area you selected.
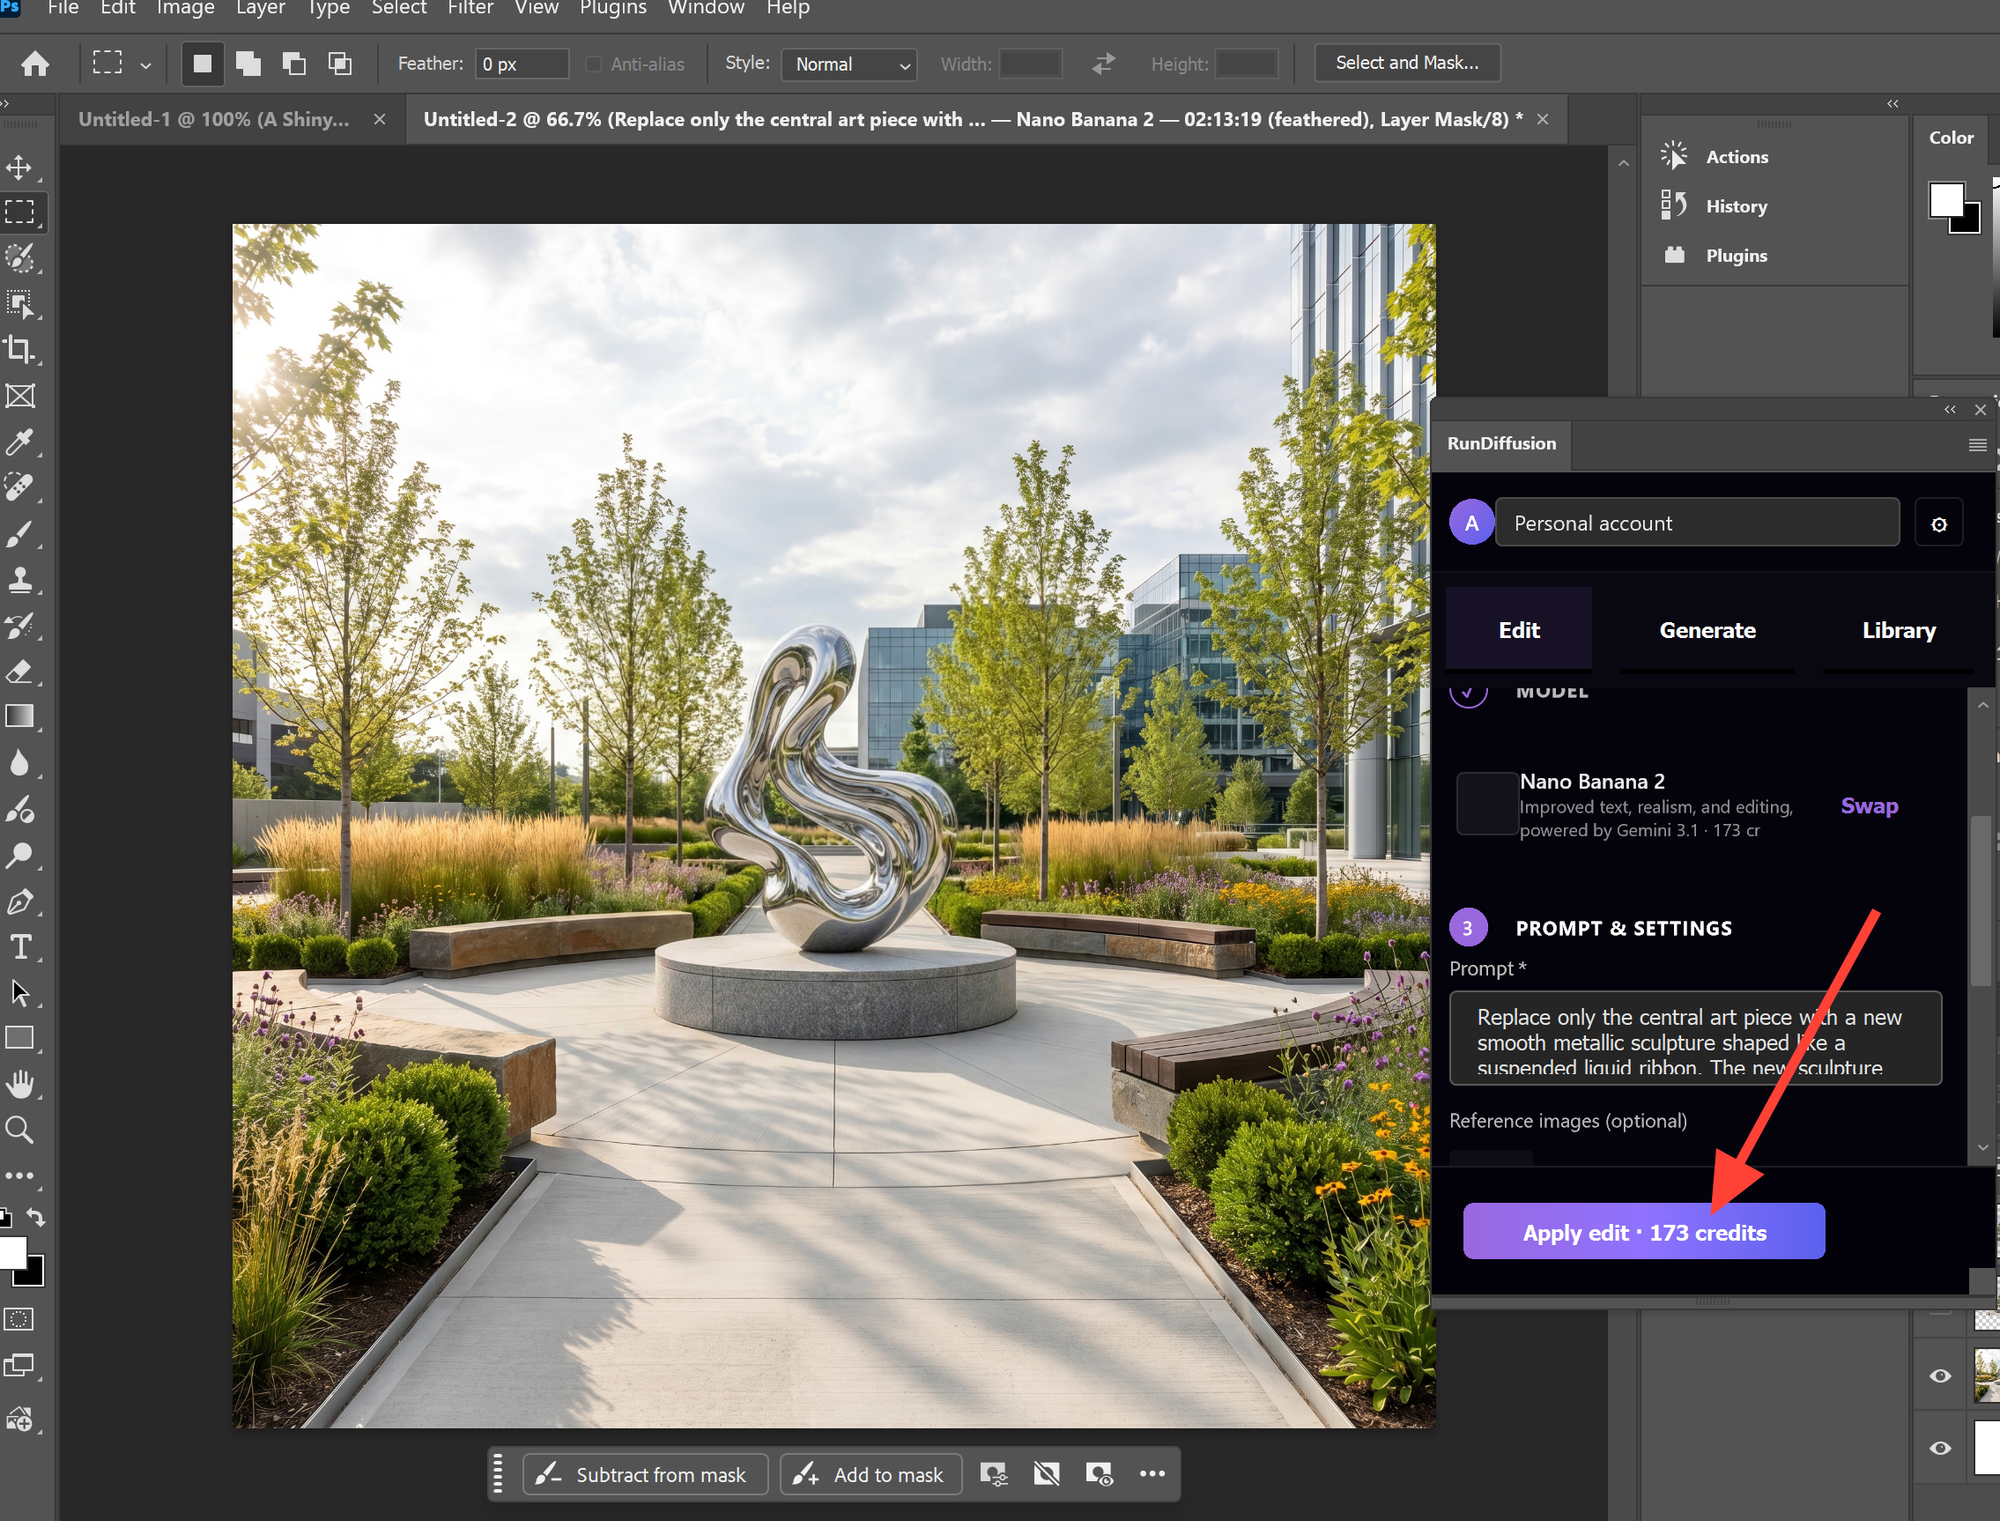
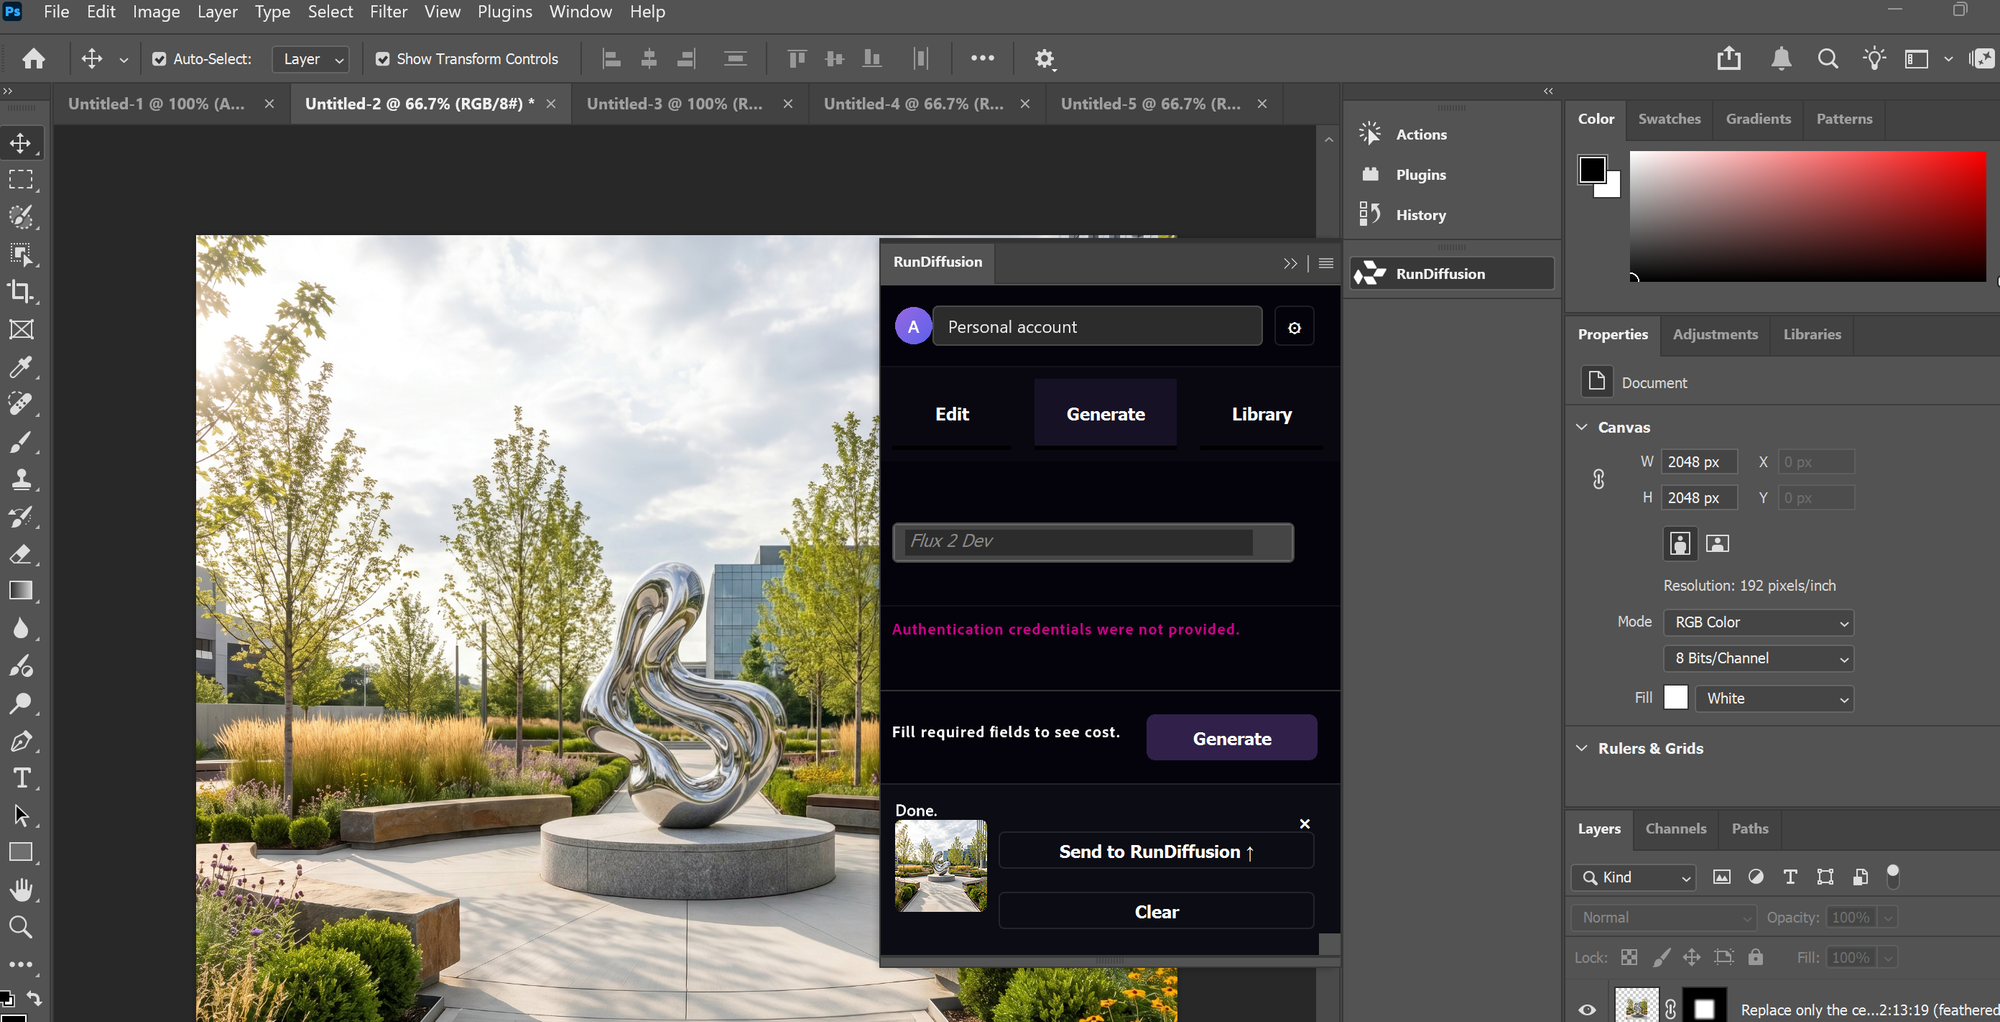
Backup results on RunDiffusion
Click Send to RunDiffusion to send images you created to your RunDiffusion Library. Doing so will send the image to your Library on RunDiffusion. You can also save the image and manually upload it to RunDiffusion when needed.
What You Can Do With the Plugin
The RunDiffusion Photoshop Plugin gives you a faster way to work with AI directly inside Photoshop.
You can use it to:
- generate new images from prompts
- edit an entire canvas
- edit only a selected area with Marquee
- access your library
- bring AI-assisted changes into an existing Photoshop workflow
This makes the plugin especially useful for design exploration, concept development, marketing visuals, architecture imagery, and creative iteration.
Common Installation or Sign-In Issues
The Plugin Does Not Appear in Photoshop
Restart Photoshop and check the Plugins menu again. Also confirm that you installed the plugin from Adobe Exchange while signed in to the correct Adobe account.
The Browser Login Does Not Complete
Make sure the browser window opens and that you approve the request. Check that the code in Photoshop matches the code in your browser before clicking Allow.
Models Do Not Appear
Confirm that you are signed in to the correct RunDiffusion account and that your account is on a paid plan. If needed, close Photoshop and reopen it after completing sign-in.
How This Fits With RunDiffusion
The RunDiffusion Photoshop Plugin extends select AI model access into Photoshop. It is designed for users who want AI generation and editing closer to their existing creative workflow. For broader creative workflows, users can also log in to RunDiffusion and access RunDiffusion's Platform.
If you work in architecture, interior design, or visualization, this plugin also fits naturally into a broader AI-assisted design workflow.
Install RunDiffusion for Photoshop
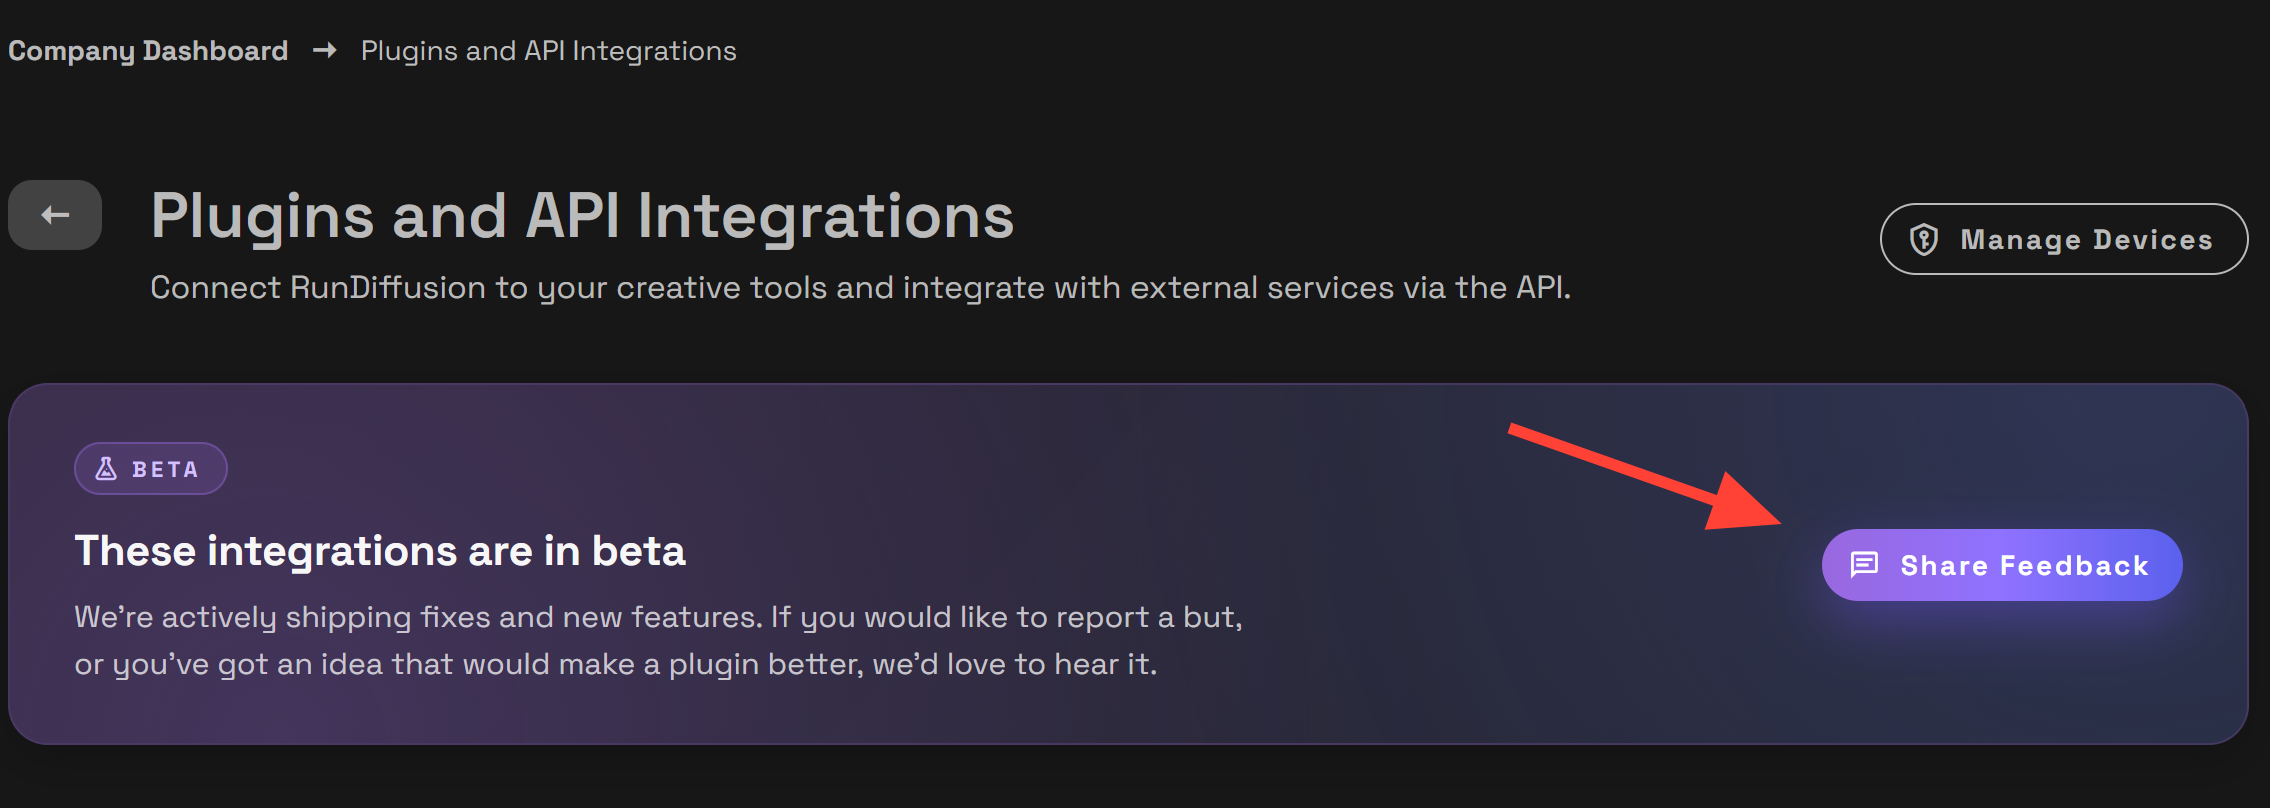
Need to Report a Bug?
Found a bug or have feedback on this Plugin? You can share your findings by going to our Plugins and API Integration page. Your reports directly shape the final release. If you are not on an Enterprise team you can click here to share your feedback.